Hackintosh
Making a Hackintosh USB Flash Drive
You can refer to the previously written section: USB Flash Drive Preparation
I have also open - sourced the EFI used for this model's installation this time on Github.
The project address is: https://github.com/sqlsec/GIGABYTE - B360M - AORUS - PRO
Set the USB Flash Drive as the First Boot Option
Different motherboards are different. The shortcut key for booting from the USB flash drive in this operation is F12. If you really can't find the shortcut key for booting from the USB flash drive, you can also directly go to the BIOS to change the USB flash drive to the first boot option:
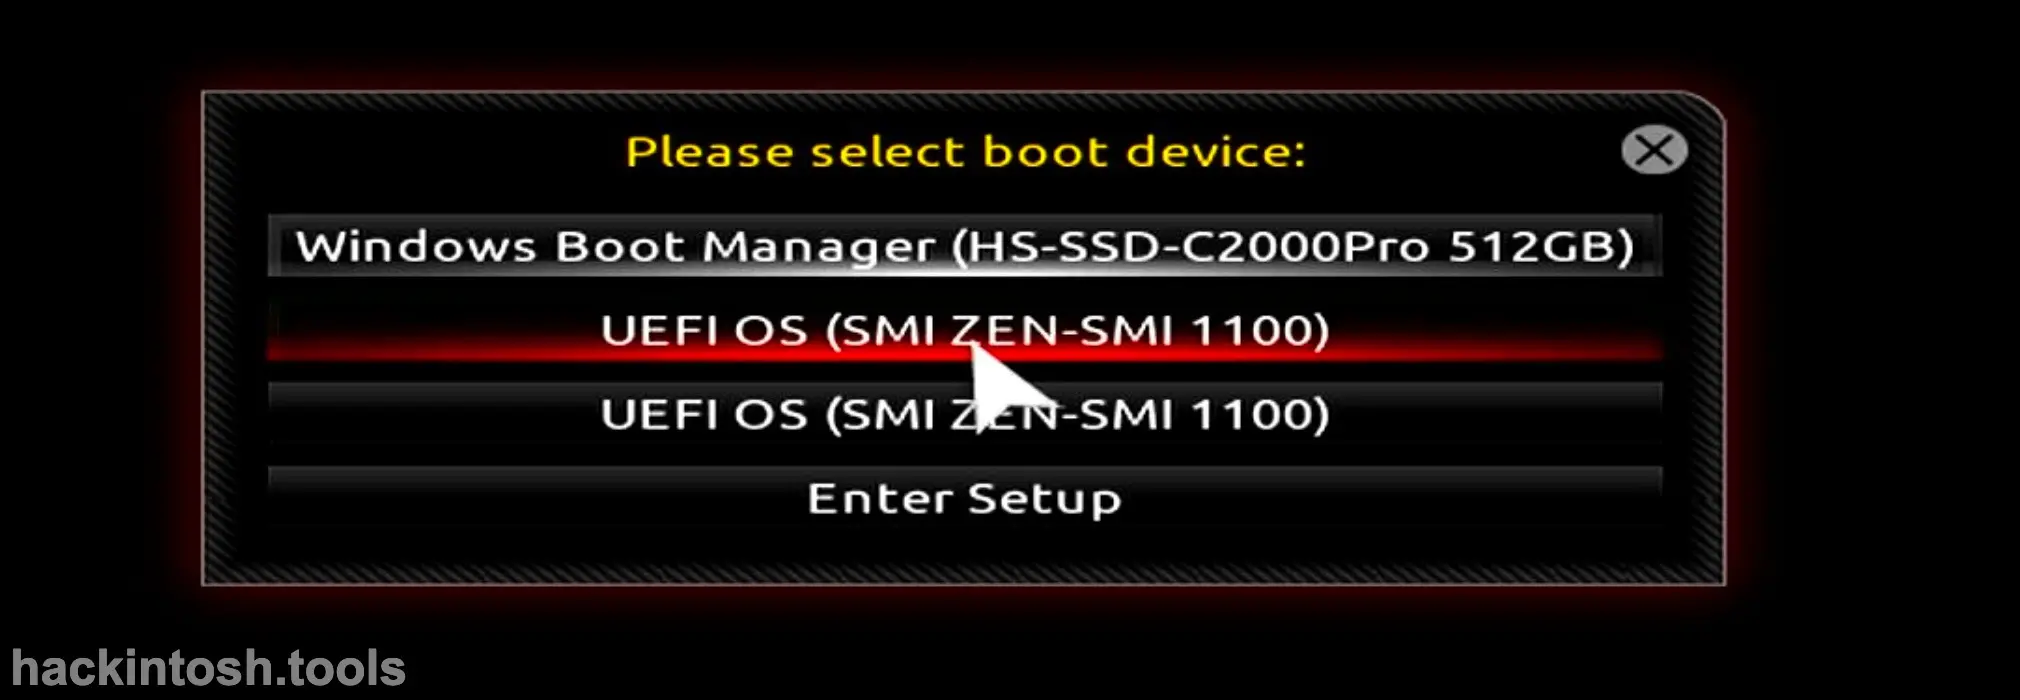
You can see that the name of my USB flash drive is SMI ZEN - SMI, and there are two boot partitions. One partition is for Windows PE and the other is for OC. Since we need OC for installation, just select the OC partition. If you don't know which partition it is, you can try them one by one.
Explanation of the OpenCore Interface
The main interface when entering the OpenCore interface is as follows:
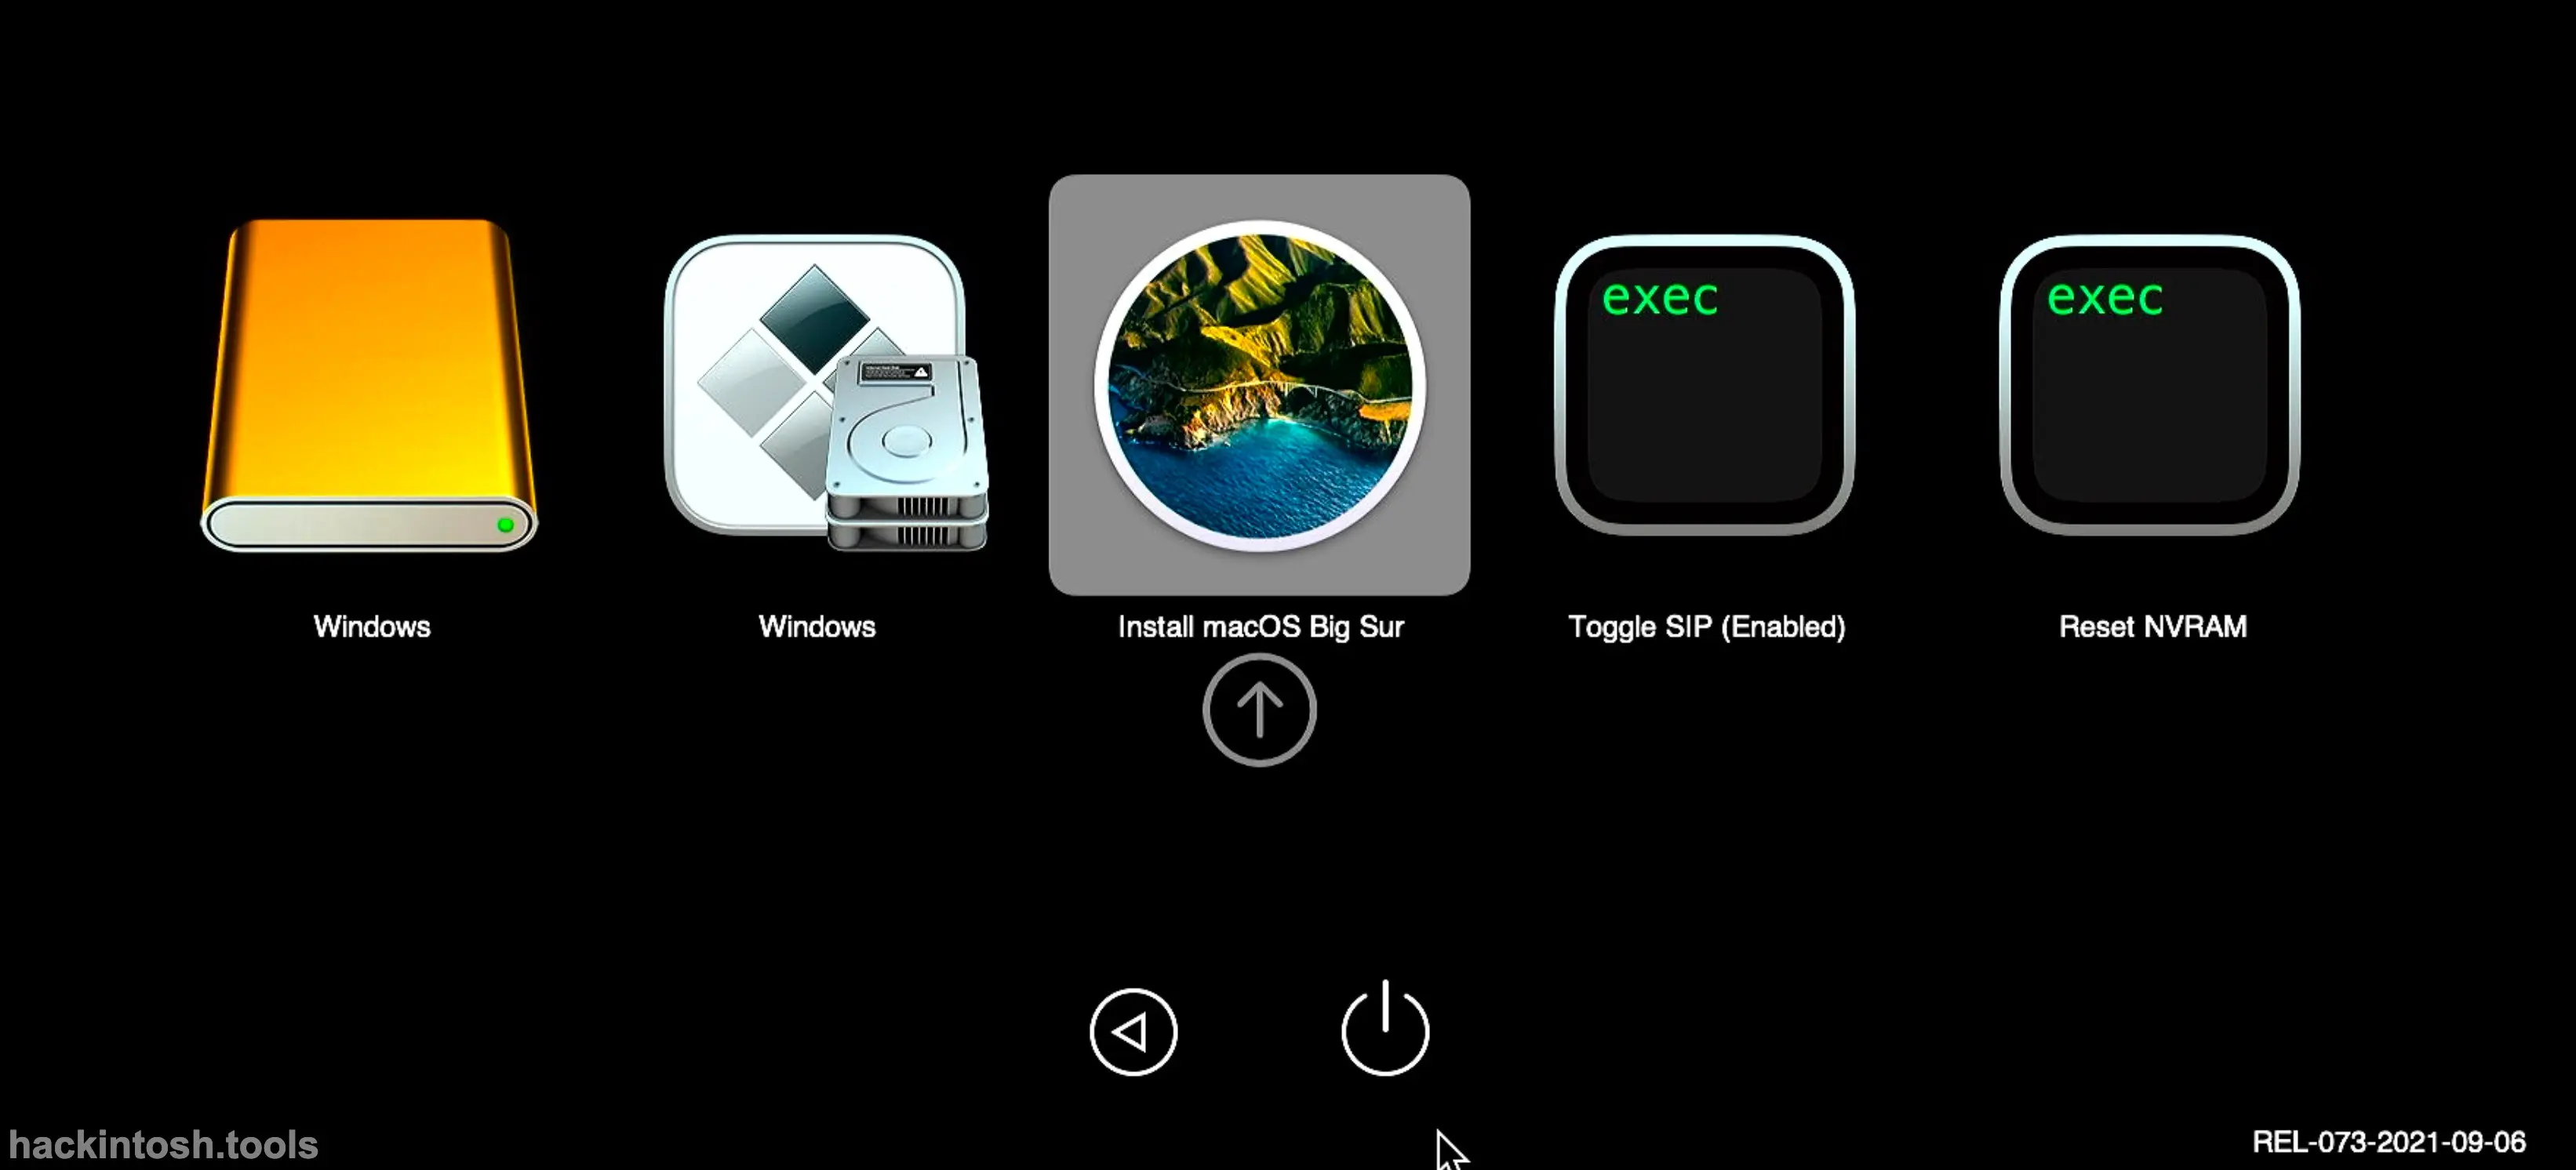
From left to right, they are: Windows PE, Windows 10 on the hard disk, the boot disk for installing macOS, switching SIP, and resetting NVRAM.
Since our EFI is customized, just directly select Install macOS Big Sur.
If you are not confident in the EFI, you can press the Command/Windows + V keys before pressing Enter. In this way, you will enter the -v verbose mode.
If the shortcut keys don't work, it means that your EFI has not configured the Apple hotkeys properly. Then you can manually add -v in the boot - args boot option.
The First Progress Bar
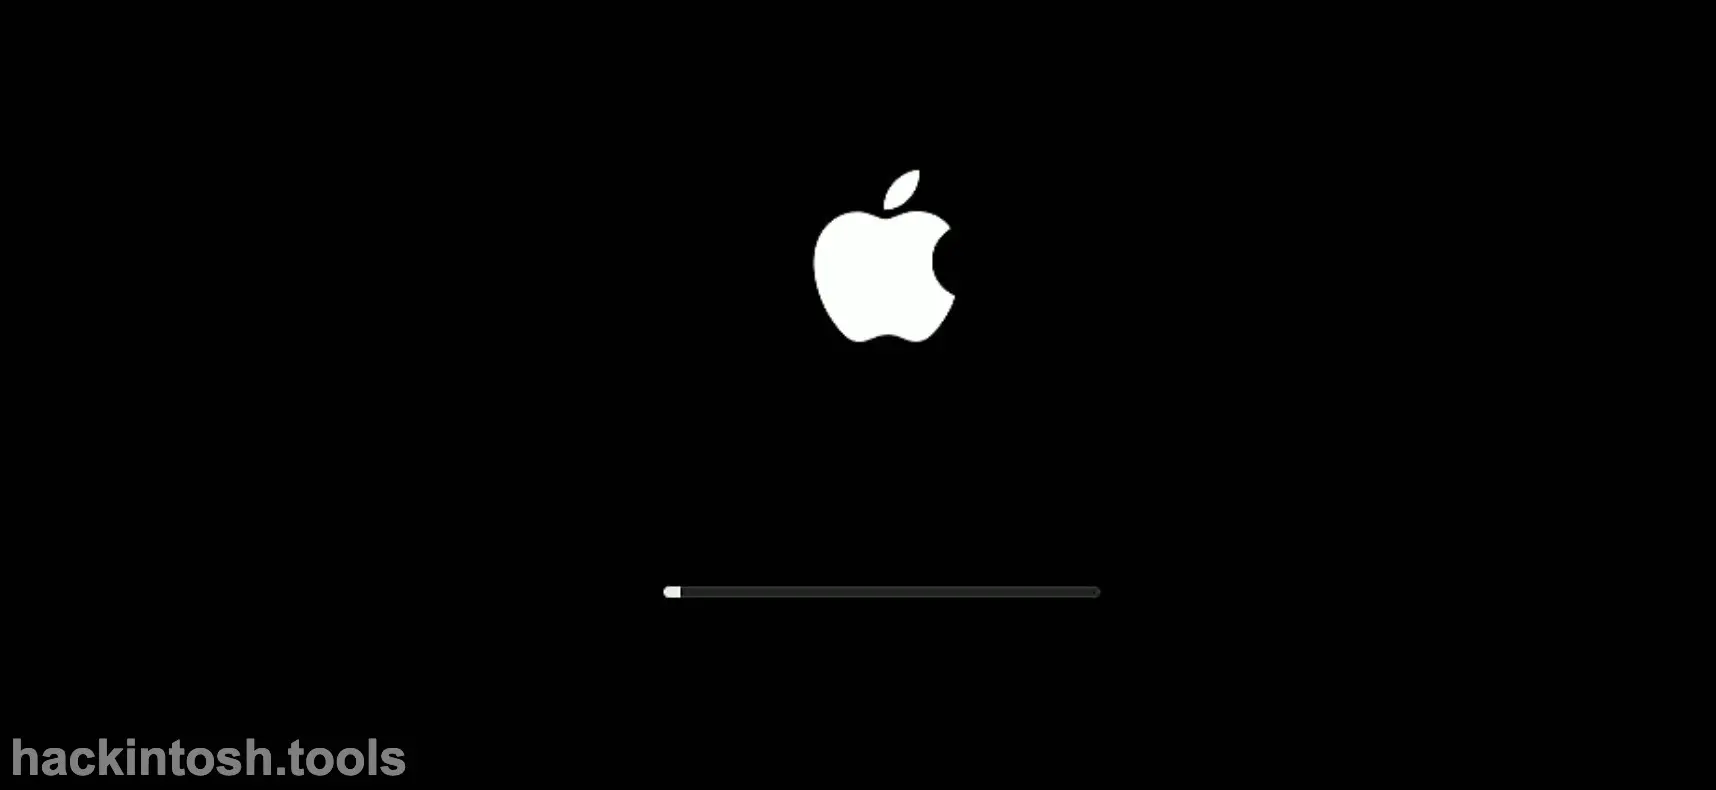
If your EFI is perfect, the progress bar should move very quickly:
Enter the System Installation Interface
Then you will come to the system installation interface:
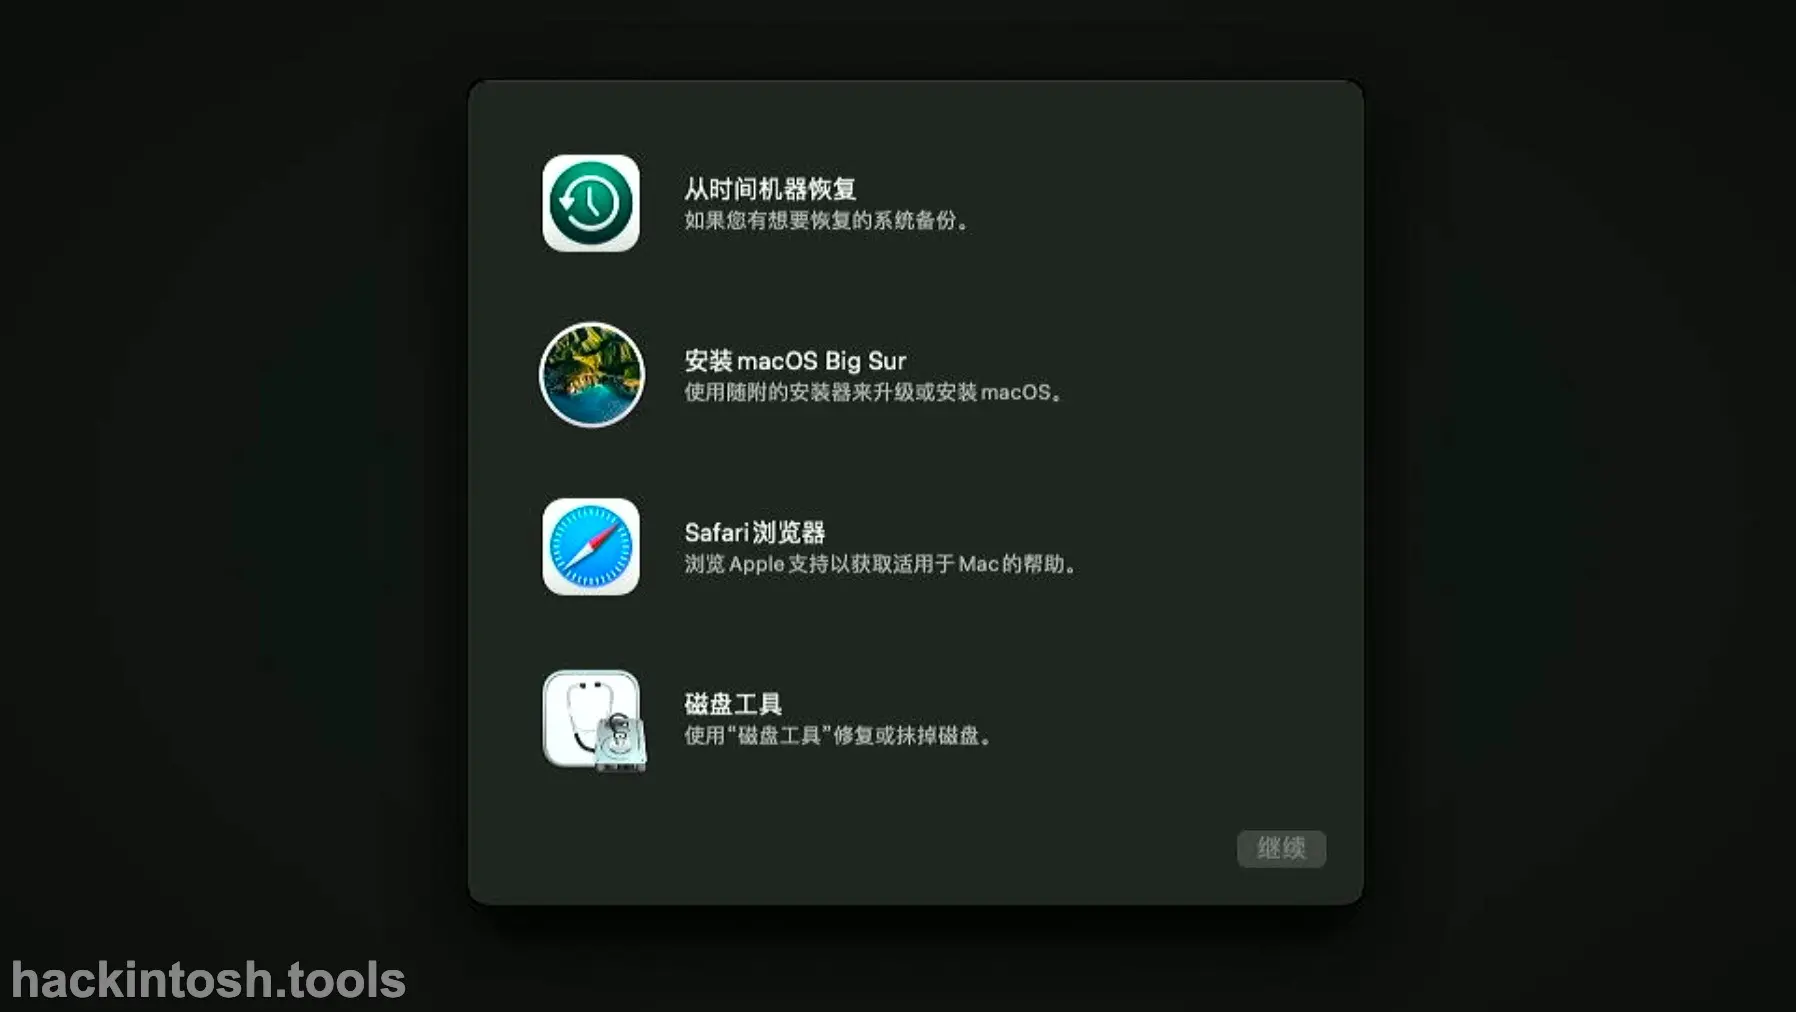
If this interface is in Russian, it means that the language setting in the EFI NVRAM part is wrong. You can set it to Chinese and then reset the NVRAM.
Format as Apple's Disk Format
Now we open "Disk Utility", find the disk partition reserved for macOS before, select it, and then click "Erase" in the upper right corner:
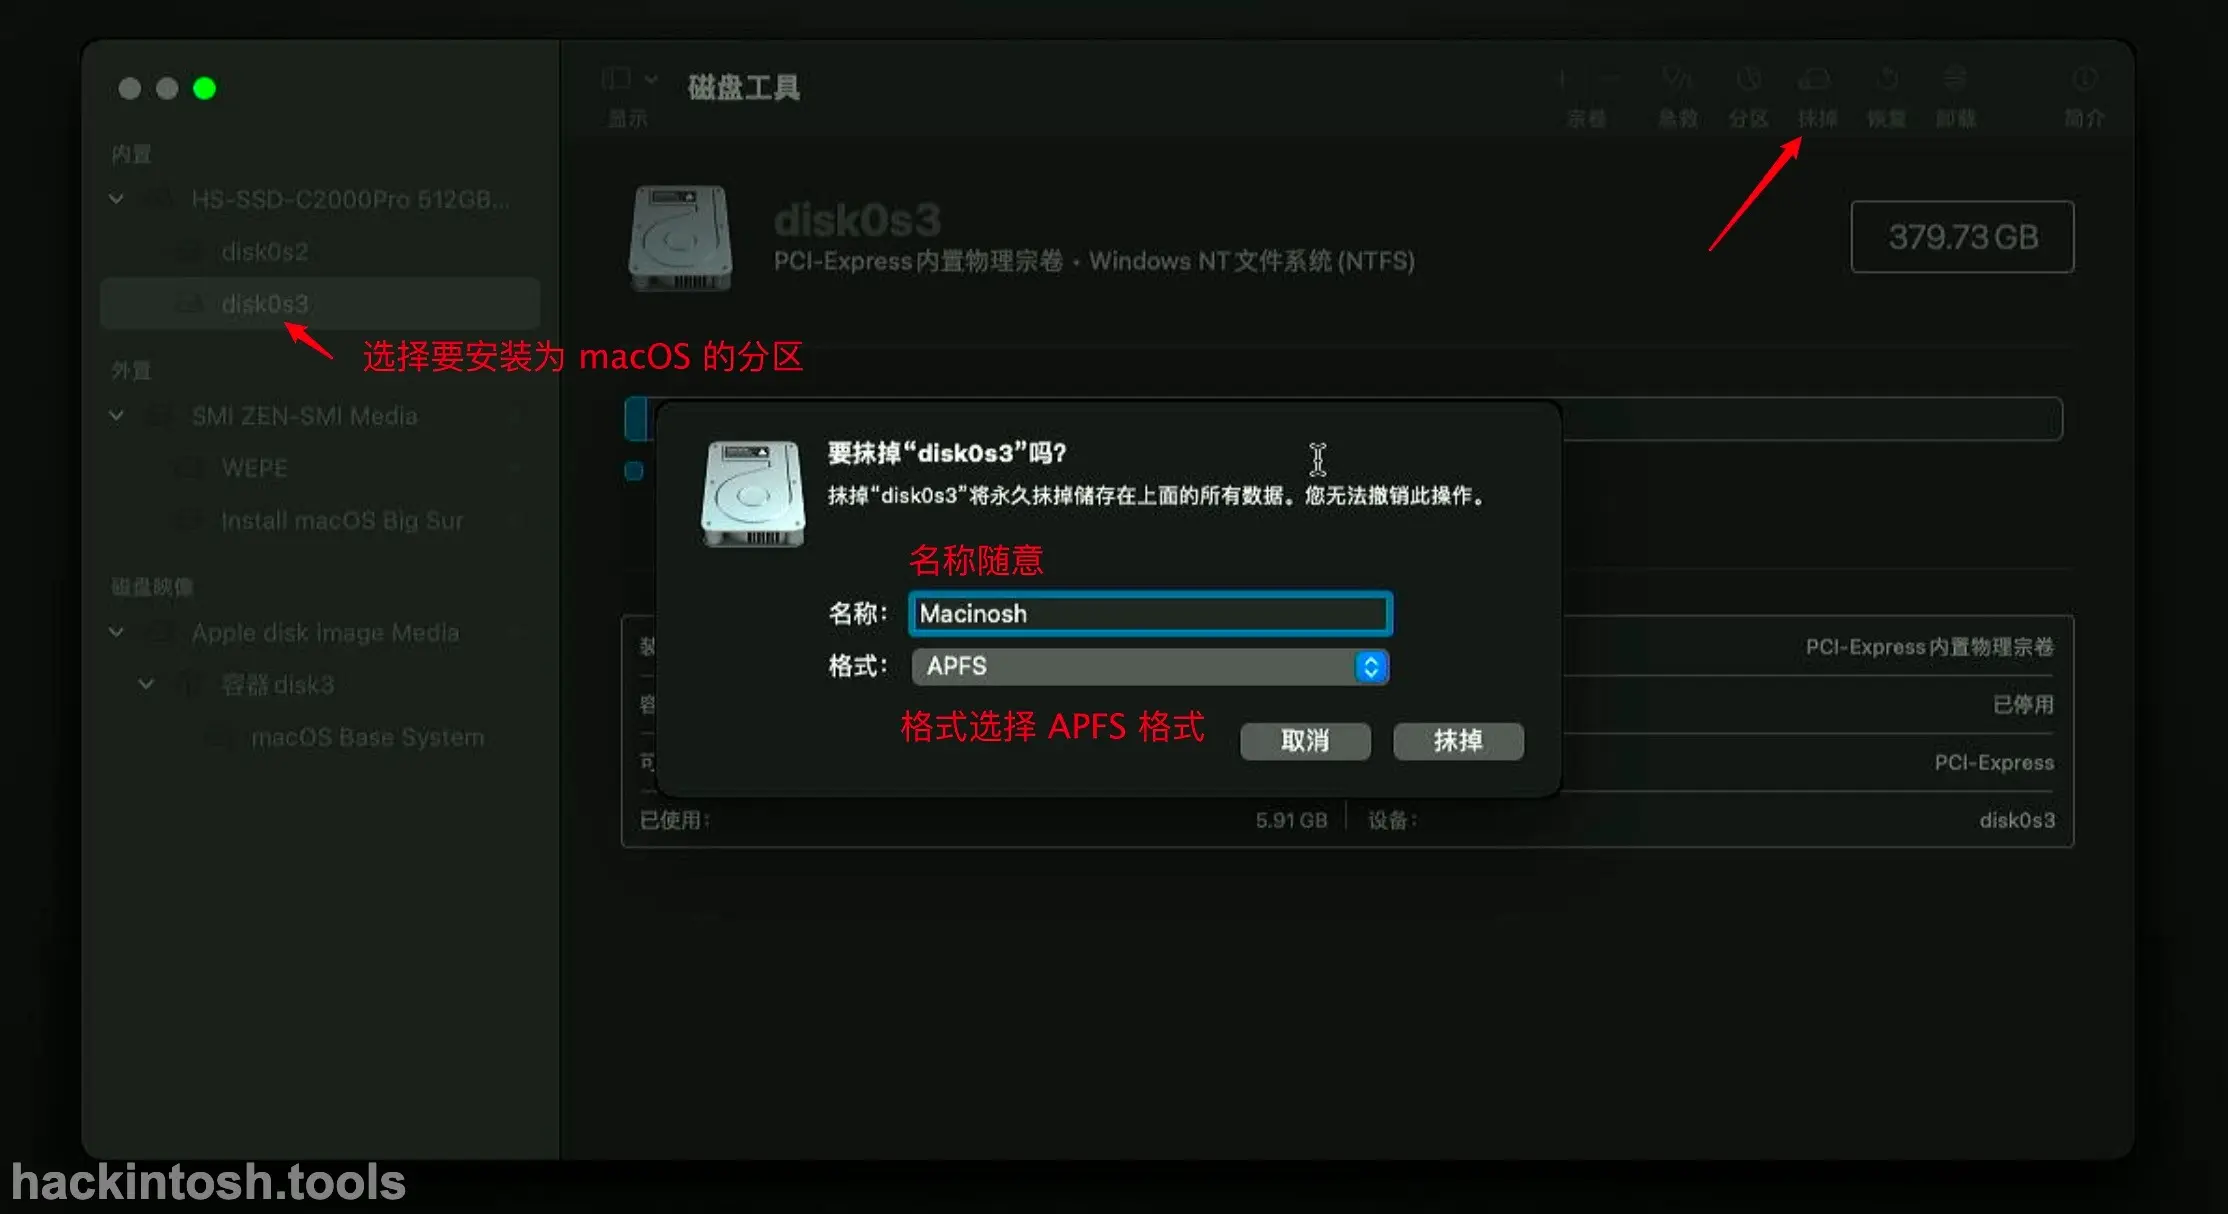
Then write any name you like. Remember to choose the "APFS" format (for older macOS systems without this format, choose the HFS format).
The interface after successful formatting is as follows:
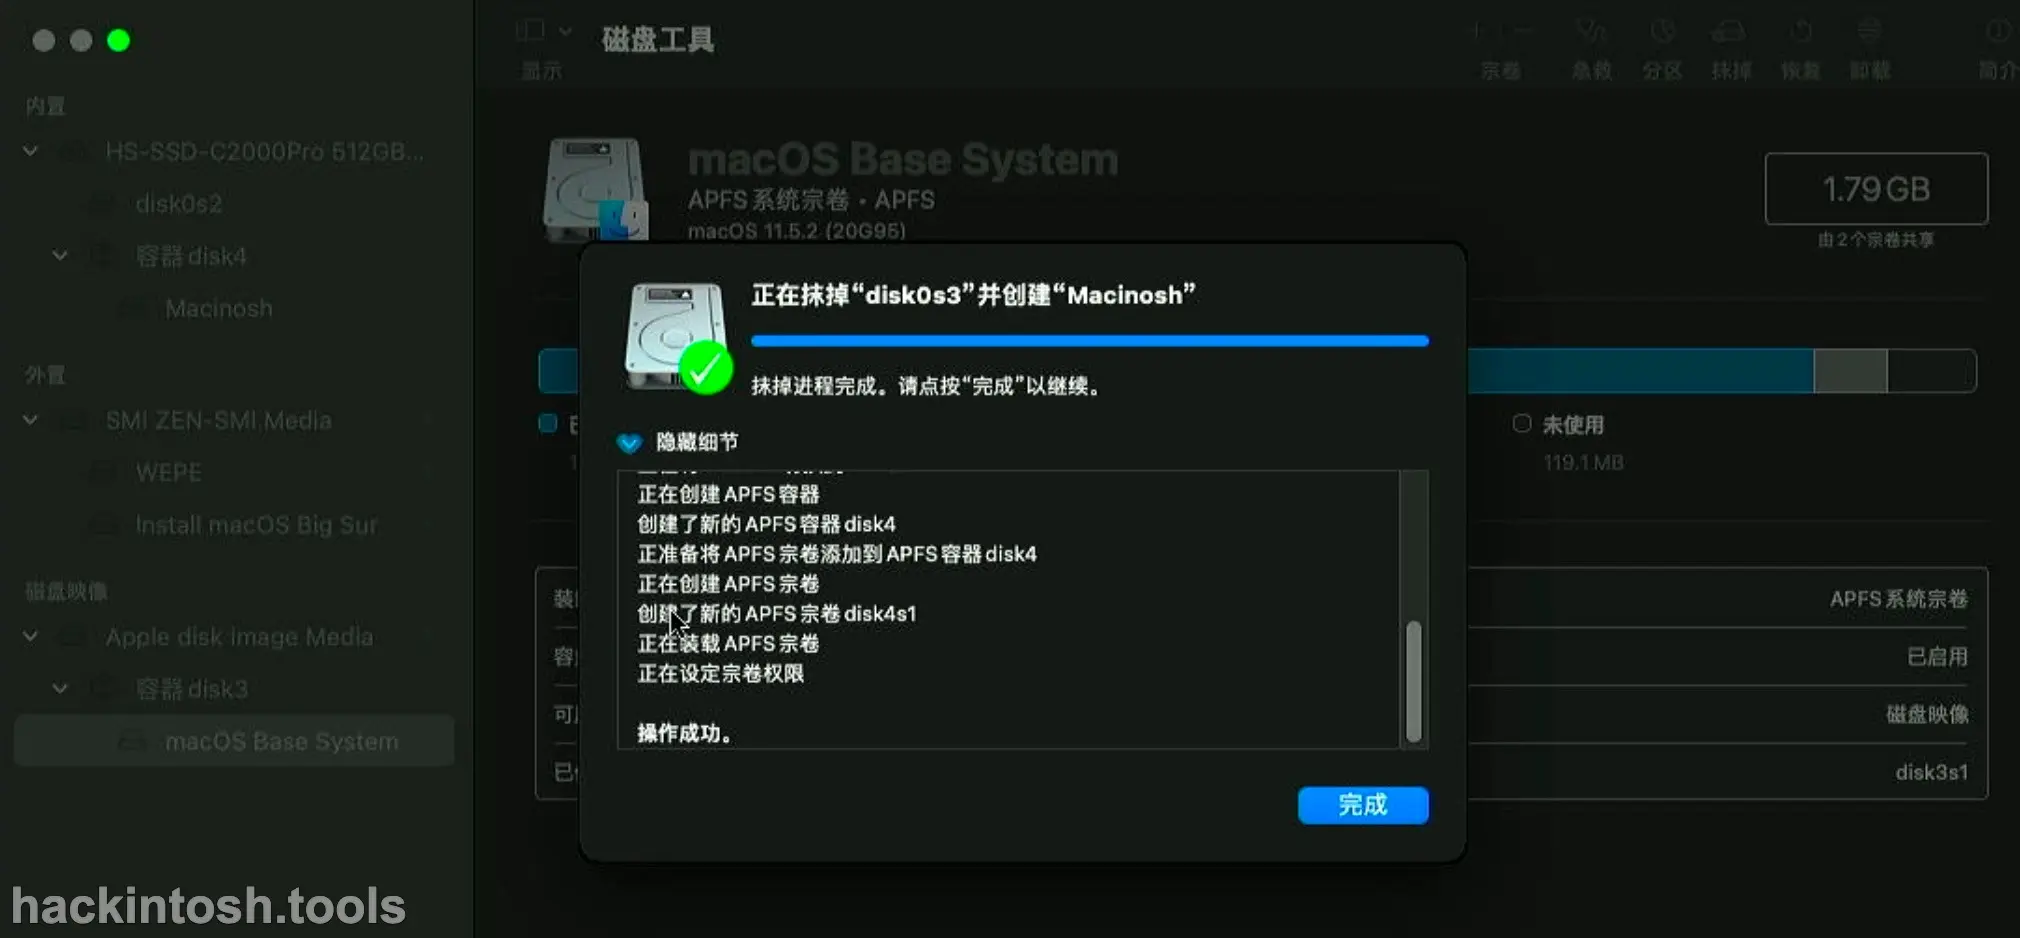
After clicking "Done", you can exit Disk Utility. Find the upper left corner, click "Disk Utility" and select "Quit Disk Utility" to exit.

Install macOS
Then you will return to the previous interface. At this time, select "Install macOS Big Sur" and then click "Continue":
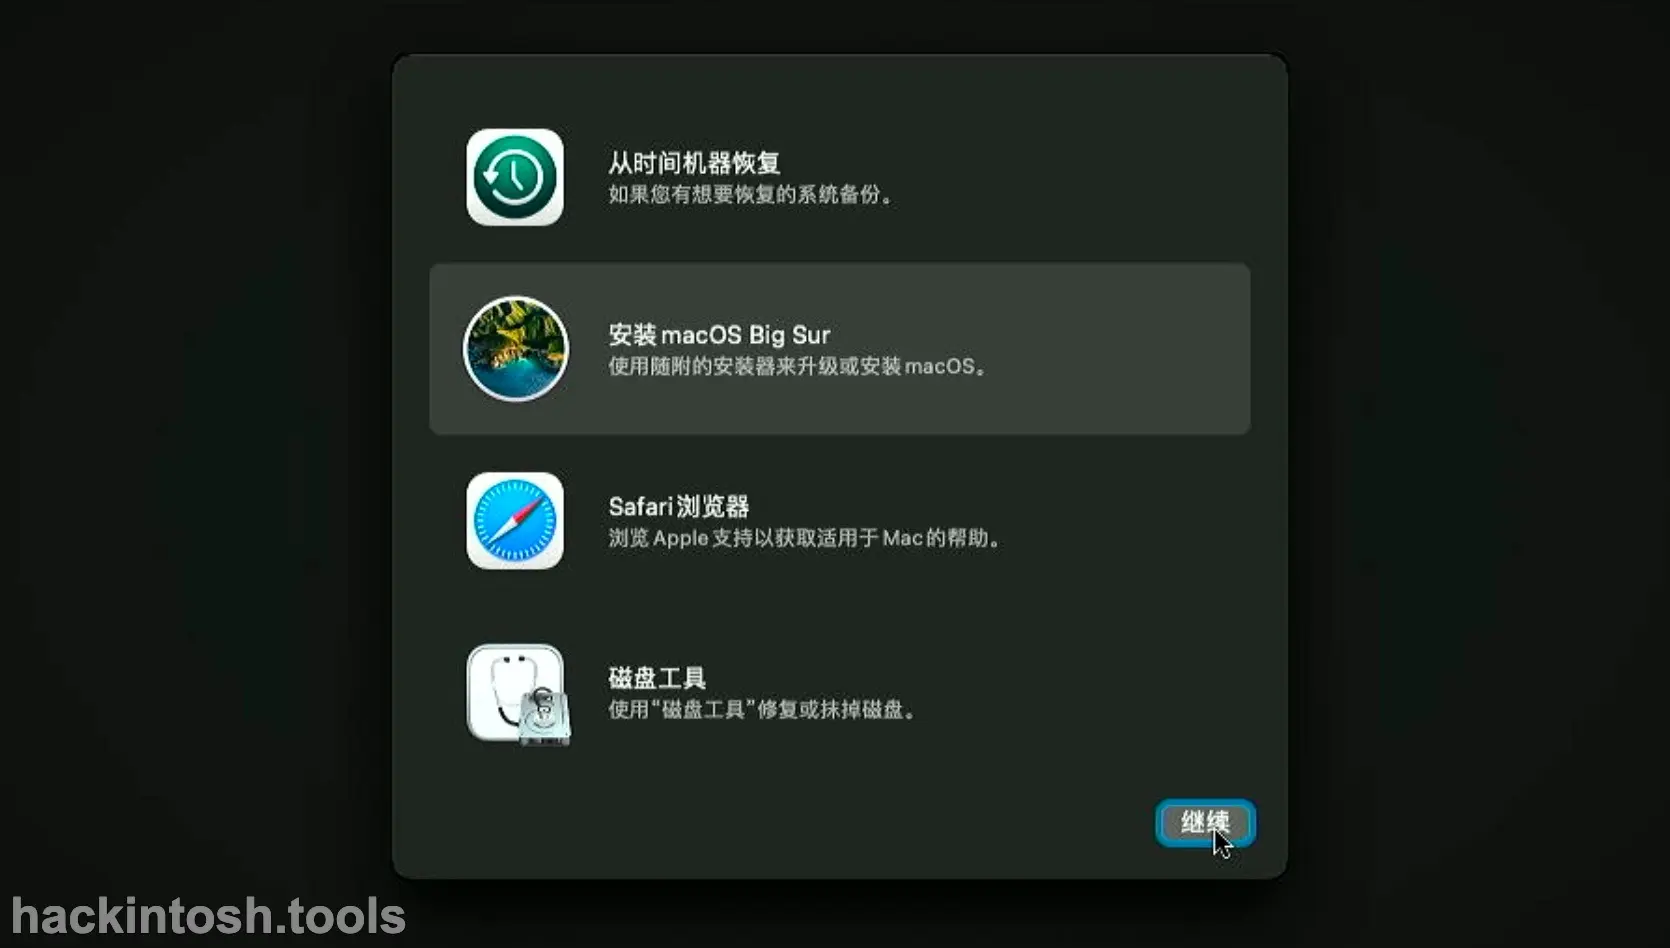
Keep clicking "Continue", and "Agree" to Apple's agreement. Then select the disk partition in Apple format that we formatted before, "Macintosh", and then click "Continue":
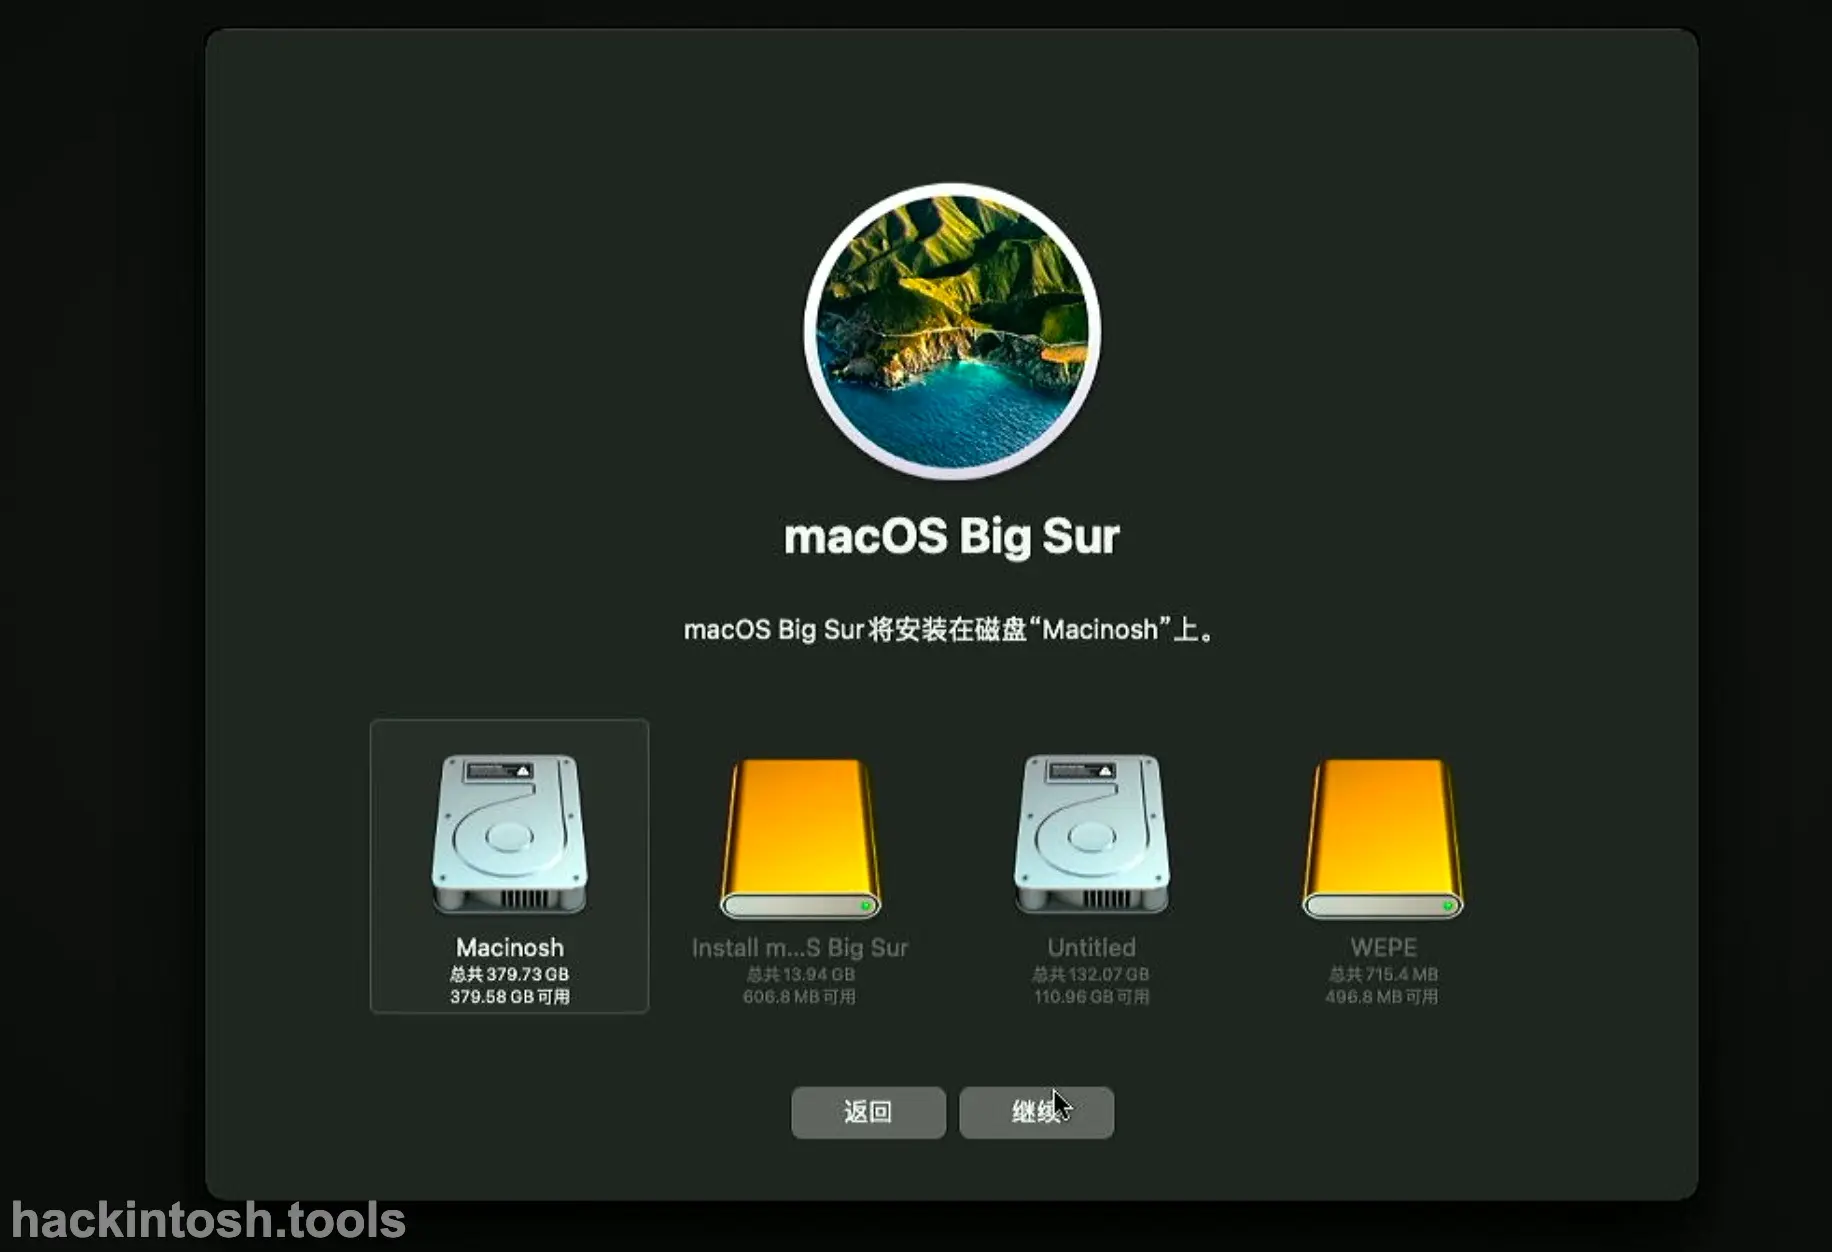
Then it will start to copy the image from the USB flash drive and write it to the hard disk:
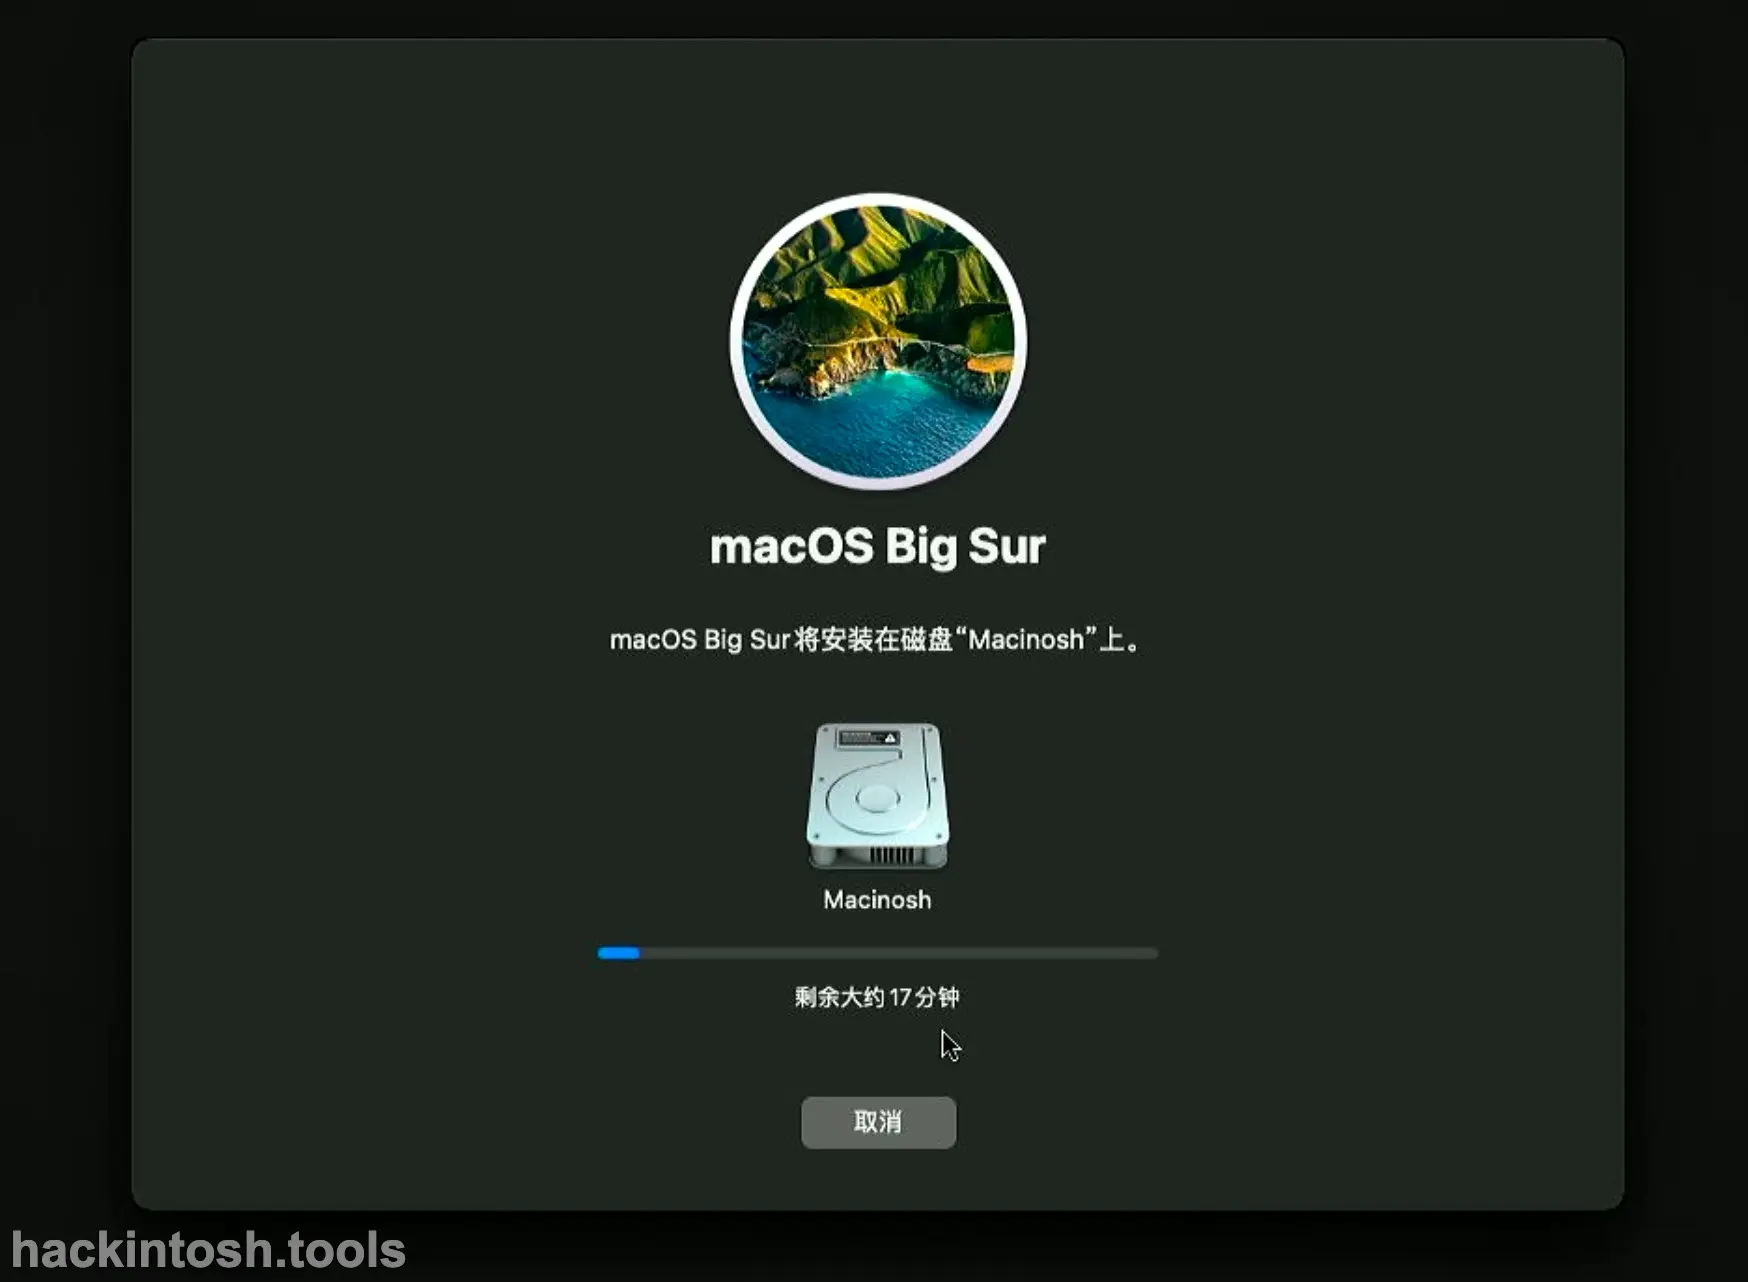
The writing speed depends on the speeds of your hard disk and USB flash drive. So a high - speed USB flash drive can save a lot of time.
The Second Progress Bar
During the above writing operation, the computer will suddenly restart. We continue to select the OC partition:

At this time, the OC installation interface is a little different, probably like the following:
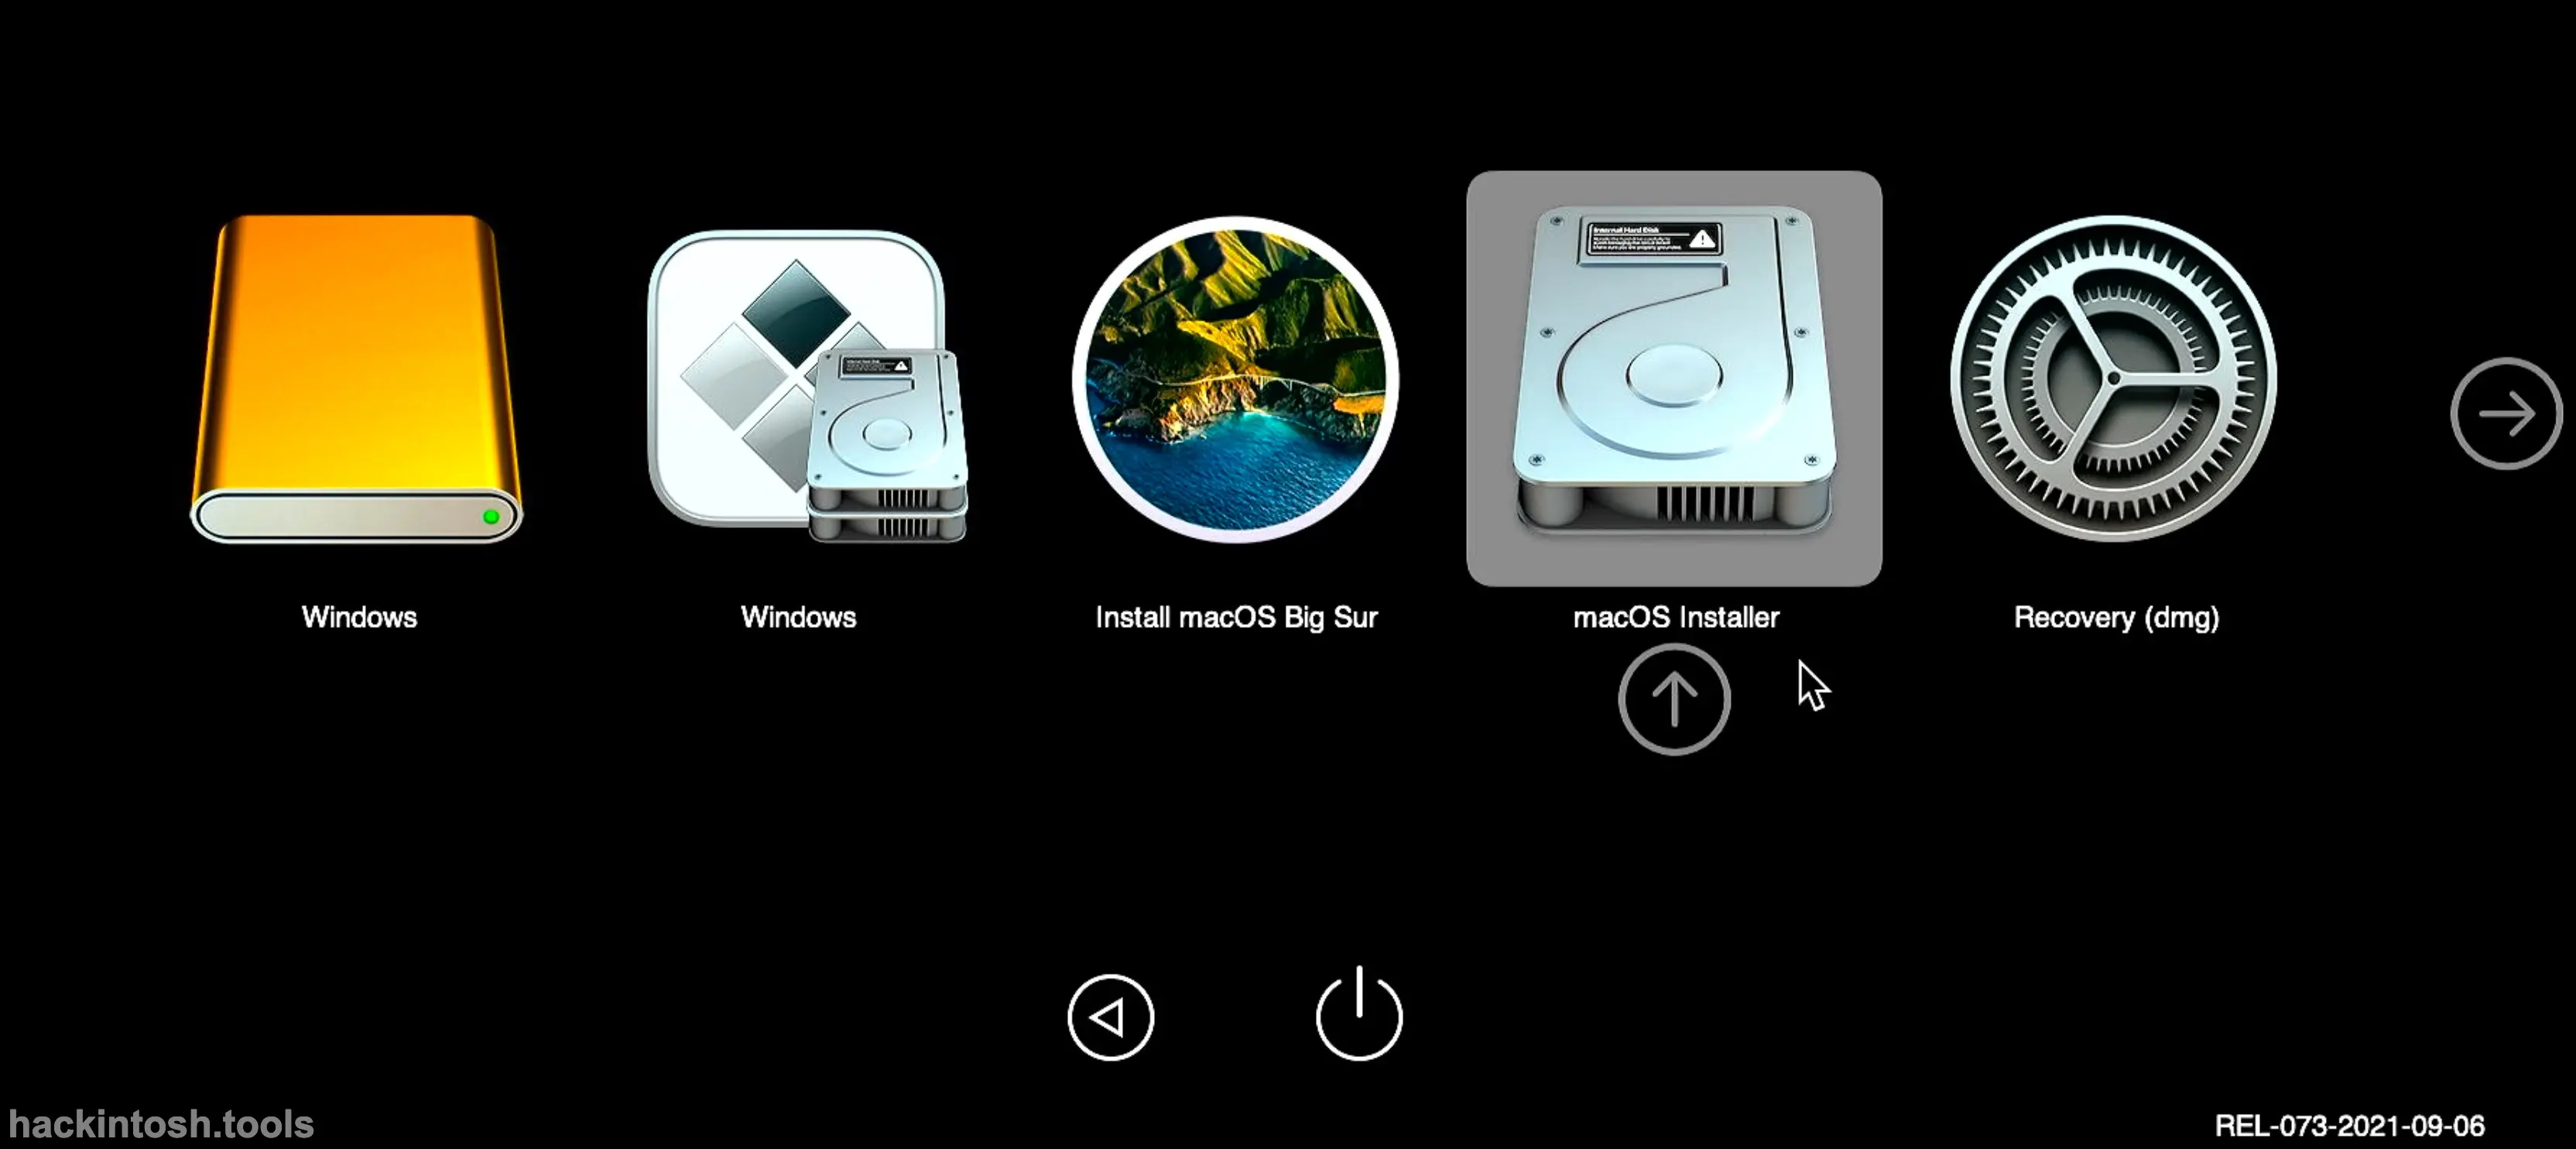
At this time, we select the newly emerged "macOS Install", and then the progress bar will be run again:

Different from before, the remaining installation time will be displayed behind this progress bar. We just wait patiently.
The Third Progress Bar
The above progress bar will also automatically restart during its progress. Continue to select the OC partition of the USB flash drive as the first boot option:

At this time, it returns to this interface:

We still select "macOS Install", and then the progress bar will be run again. However, this time there is no countdown on the progress bar. It is just a simple Apple Logo:
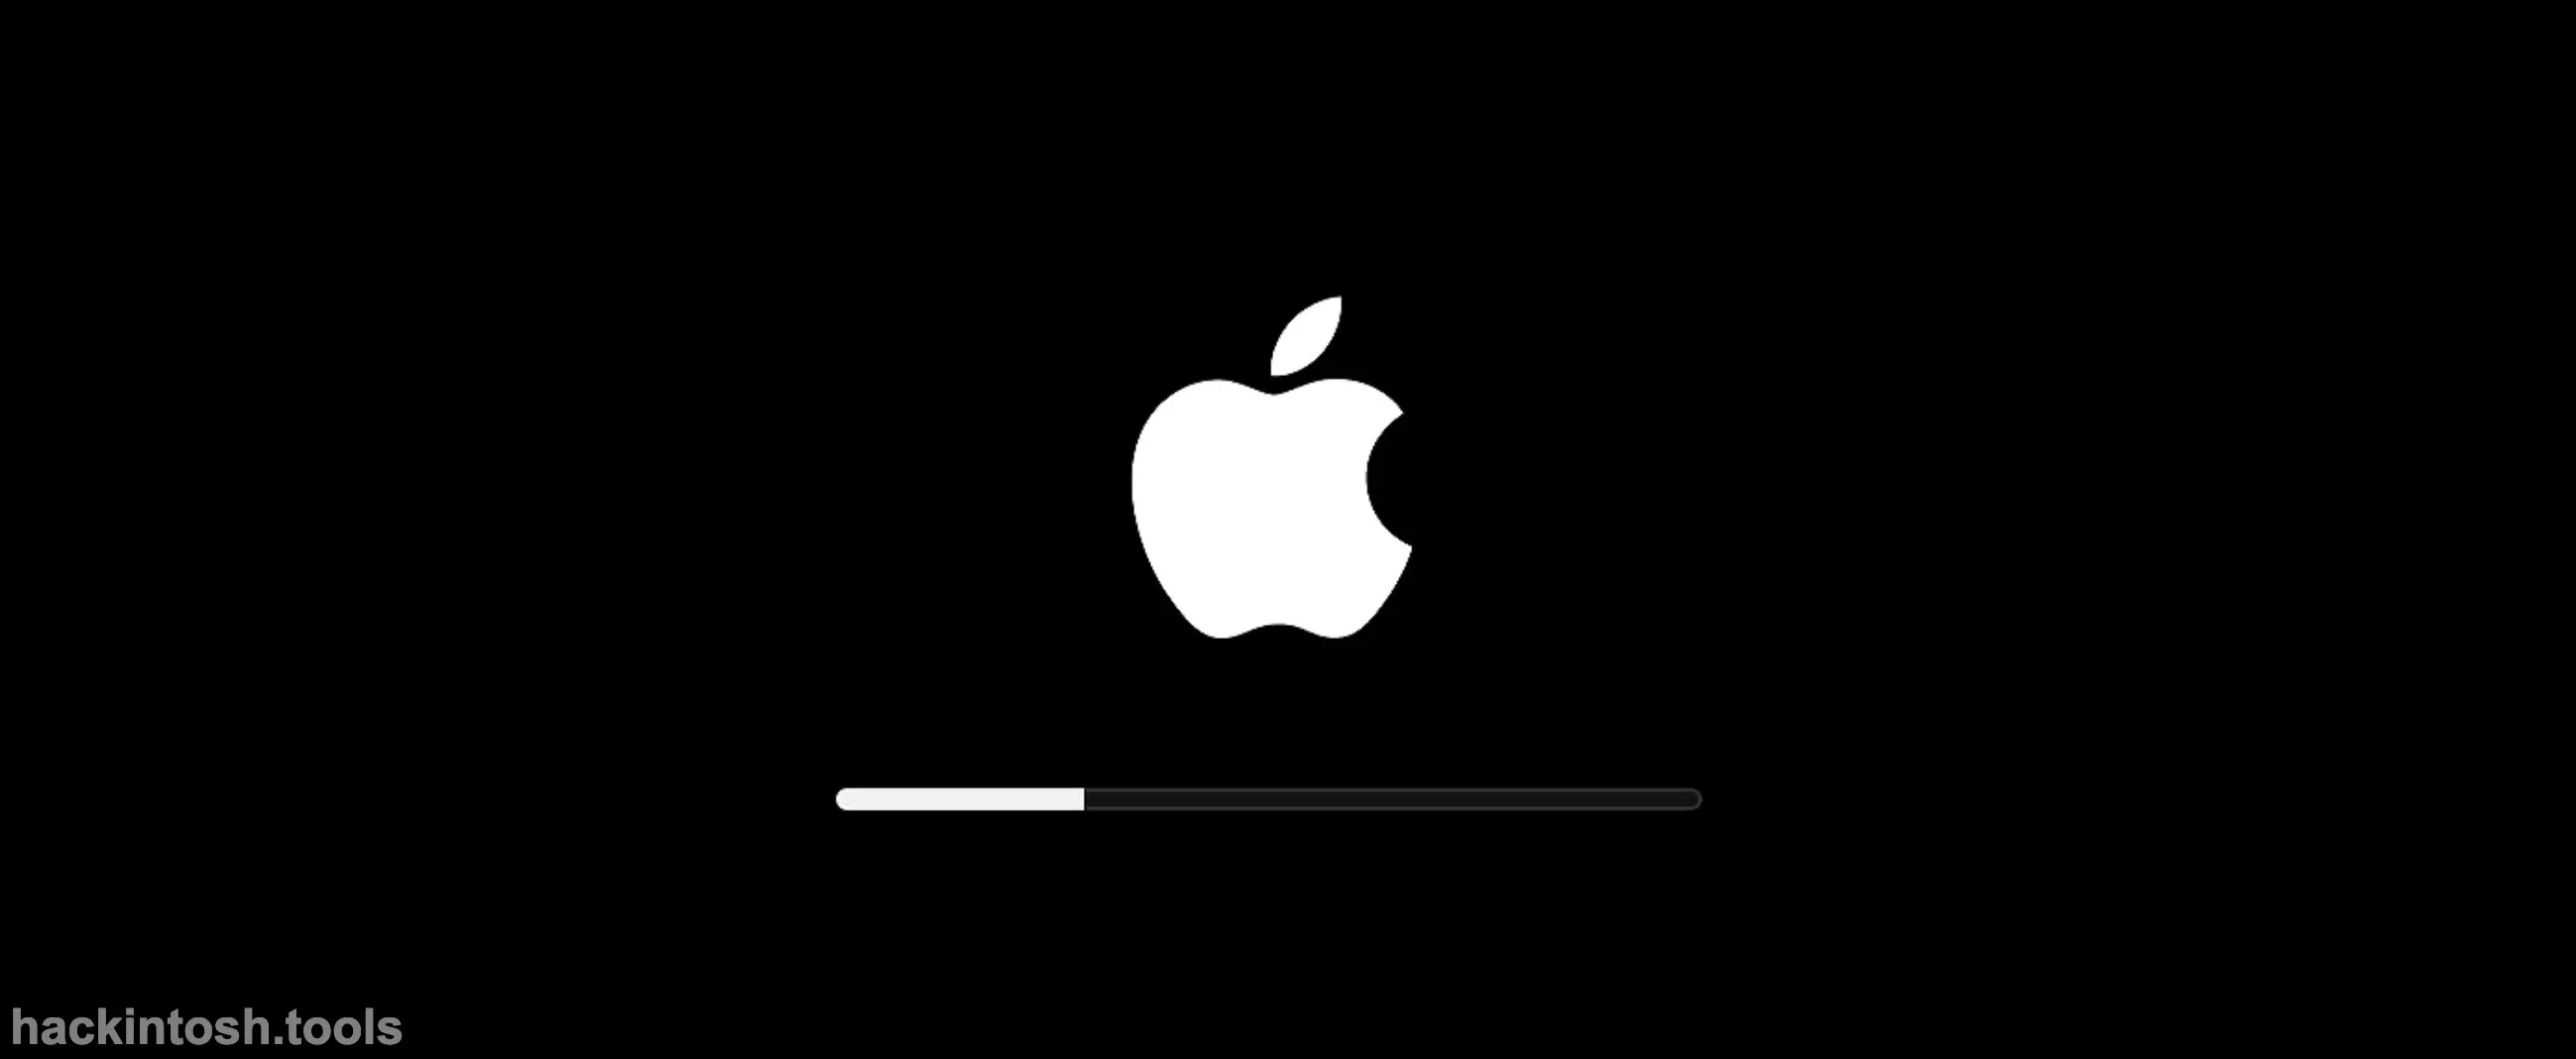
Similarly, the computer will automatically restart after the Logo is completed.
The Fourth Progress Bar
After the automatic restart, continue to select the OC partition of the USB flash drive as the first boot option:

The OC interface at this time is as follows. You can see that the Mac - formatted hard disk with the custom - named we set before, "Macintosh", appears:
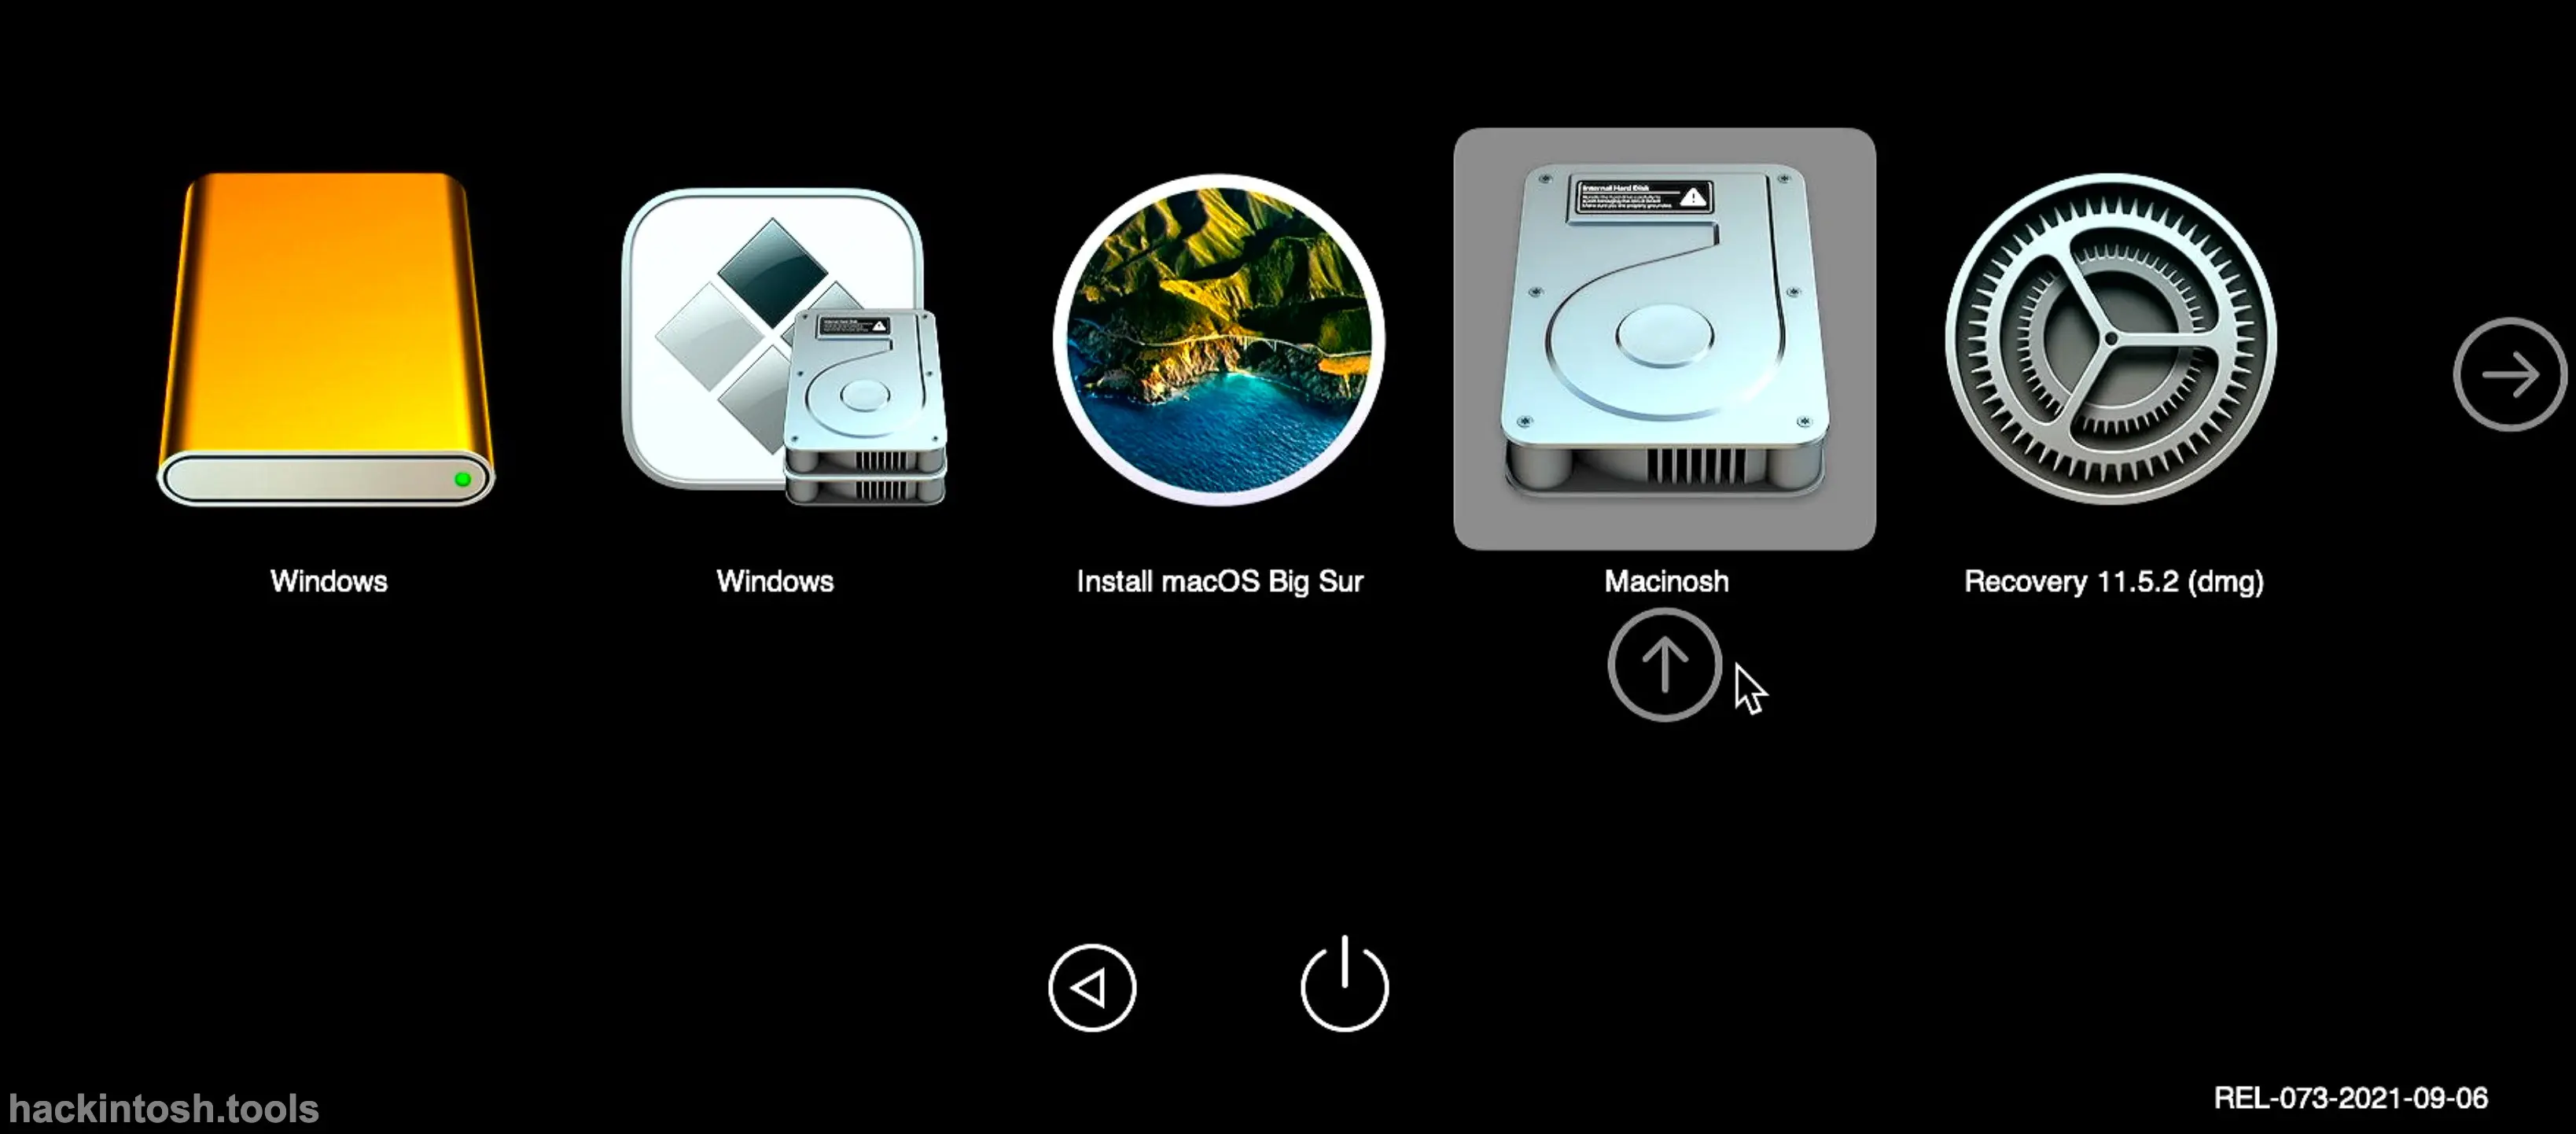
Select "Macintosh" and then press Enter. At this time, the progress bar will be run again:

Then the computer will automatically restart once after the progress bar is completed.
The Fifth Progress Bar
After the automatic restart, continue to select the OC partition of the USB flash drive as the first boot option:

The OC interface at this time is as follows. You can see that the Mac - formatted hard disk with the custom - named we set before, "Macintosh", appears:

Select "Macintosh" and then press Enter. At this time, the progress bar will be run again. This time, the progress bar will not restart. If everything goes well, you will enter the Apple initialization interface.
Initialization Settings
If the above steps are successful, you will come to the Apple initialization settings interface:
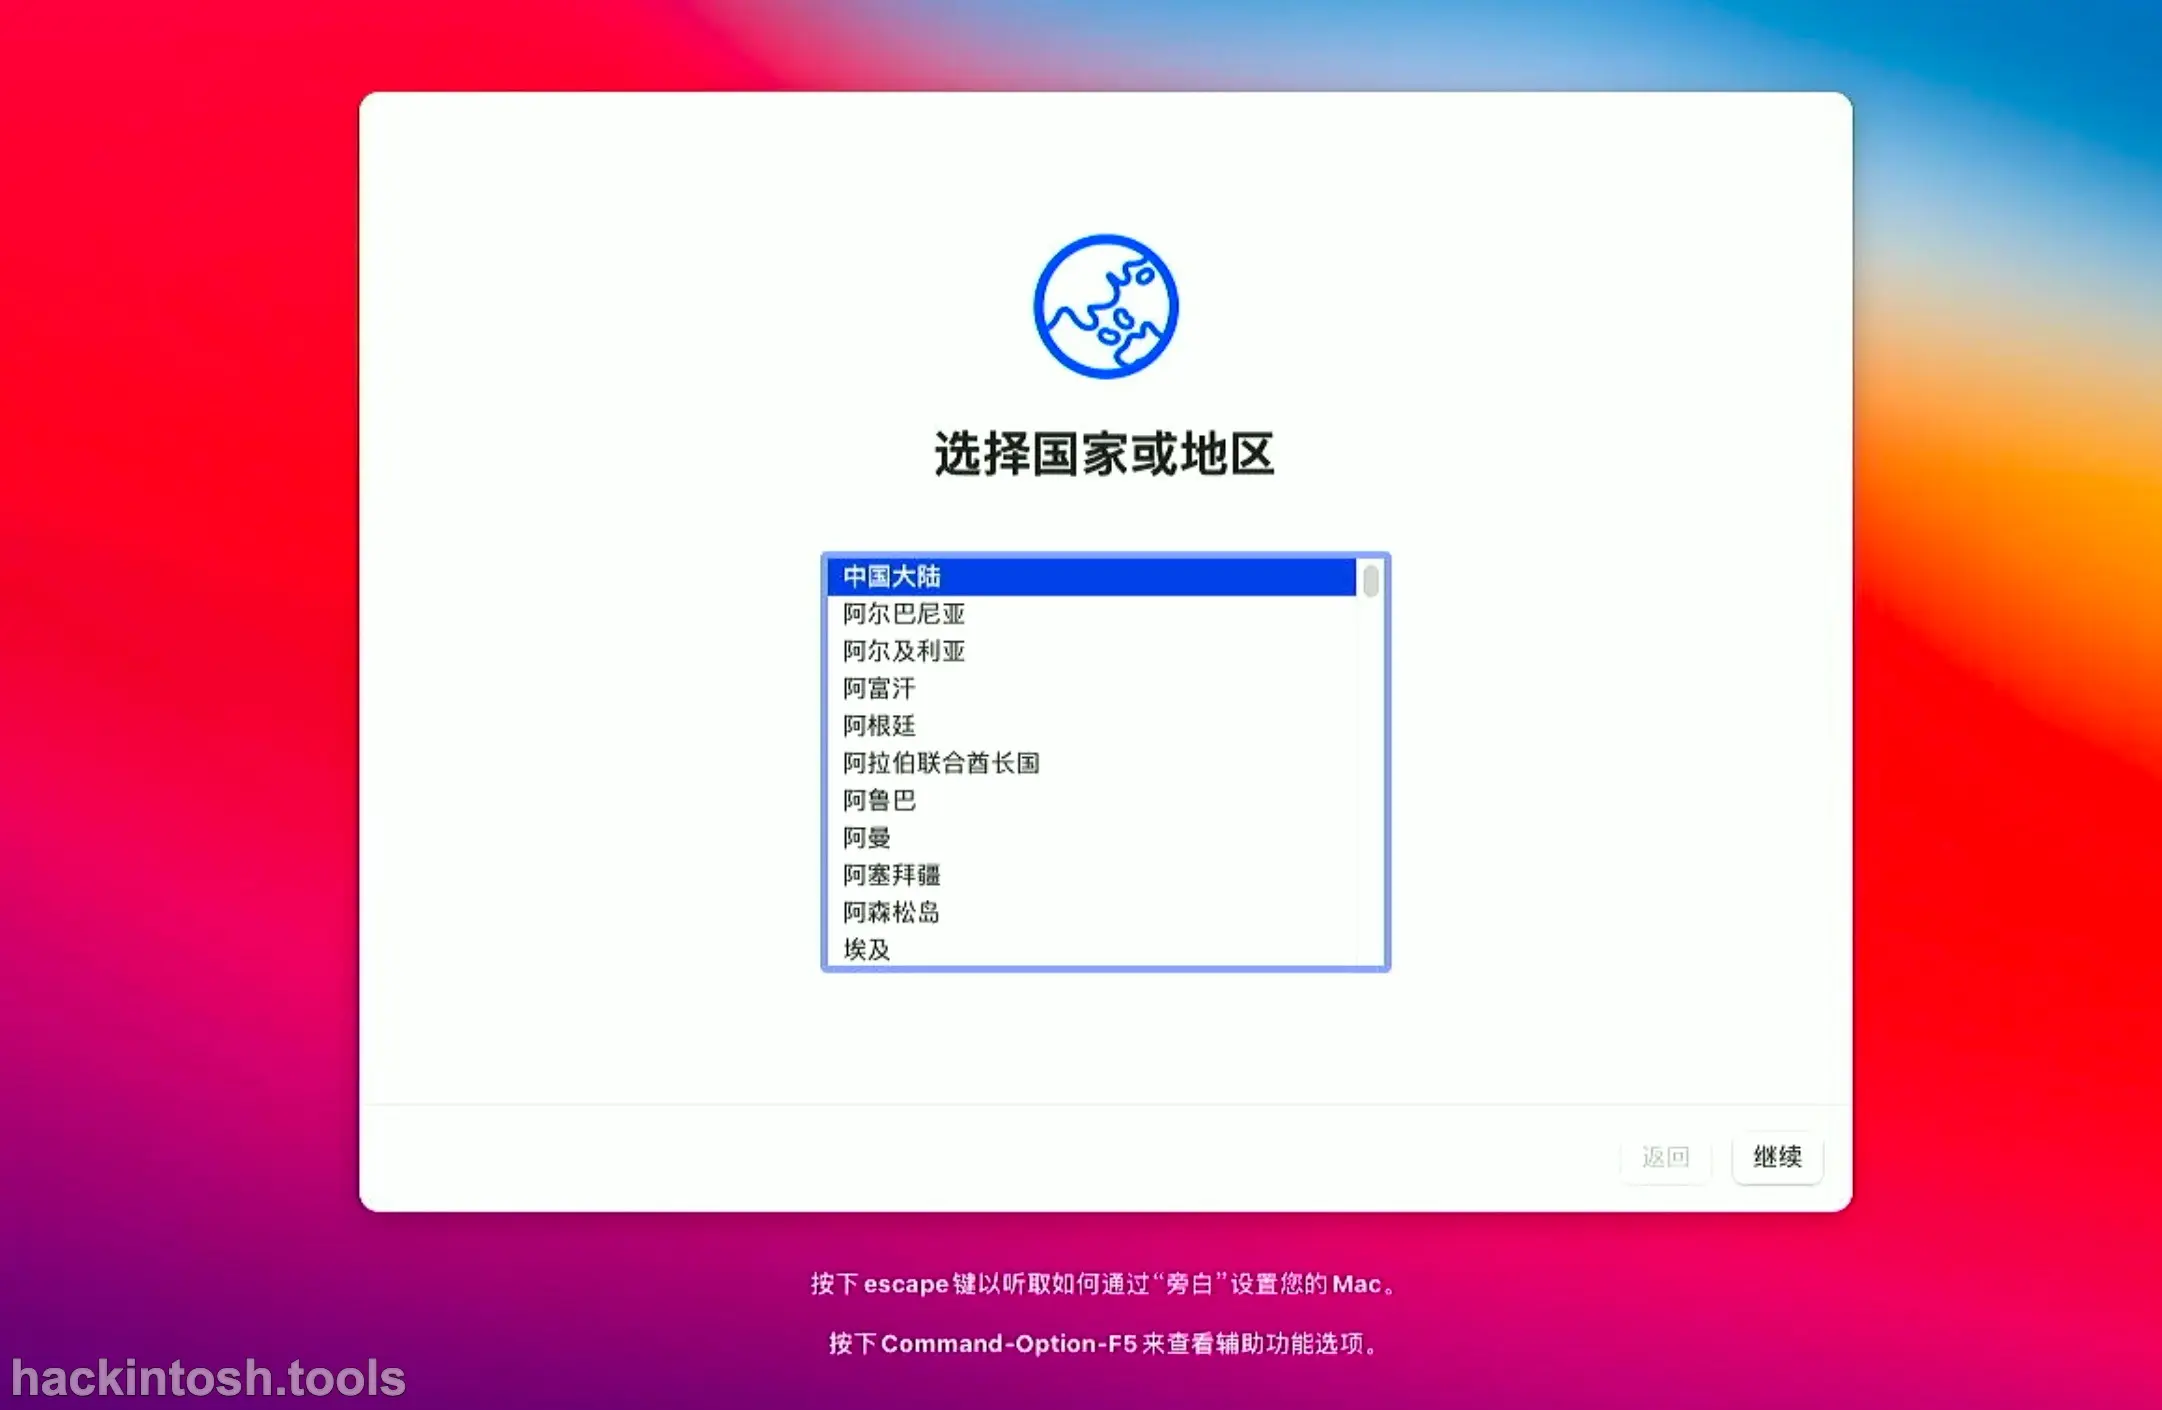
Select your country/region, and then click "Continue". Then you will come to the "Language & Input Method" interface:
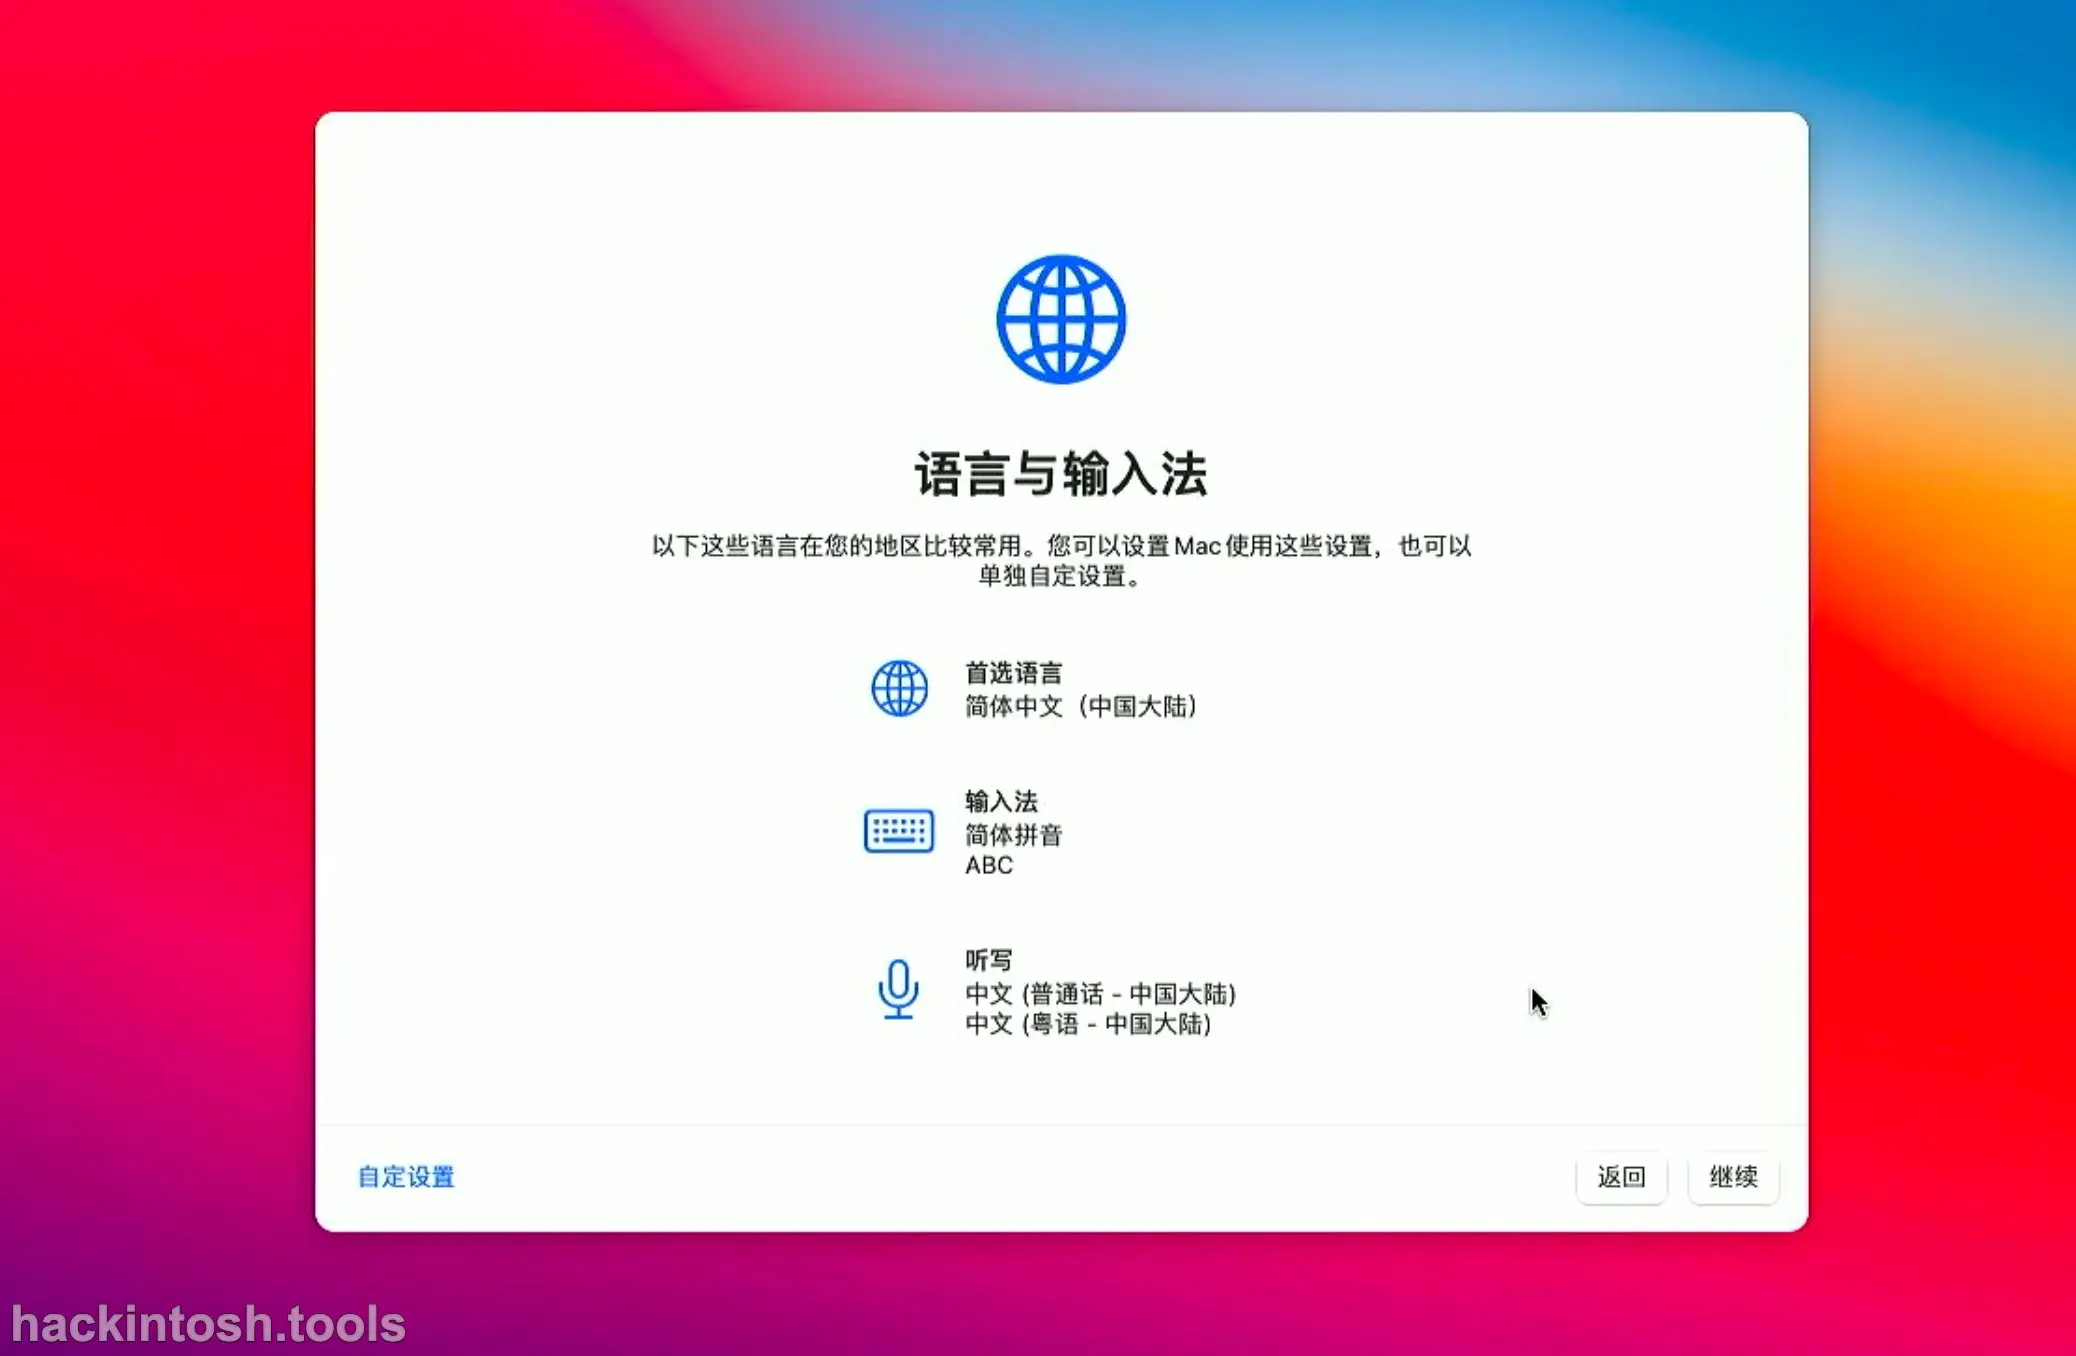
These are all in line with my requirements, so continue to click "Continue". Then you will come to the "Accessibility" interface. We can skip this step for now by clicking "Later":
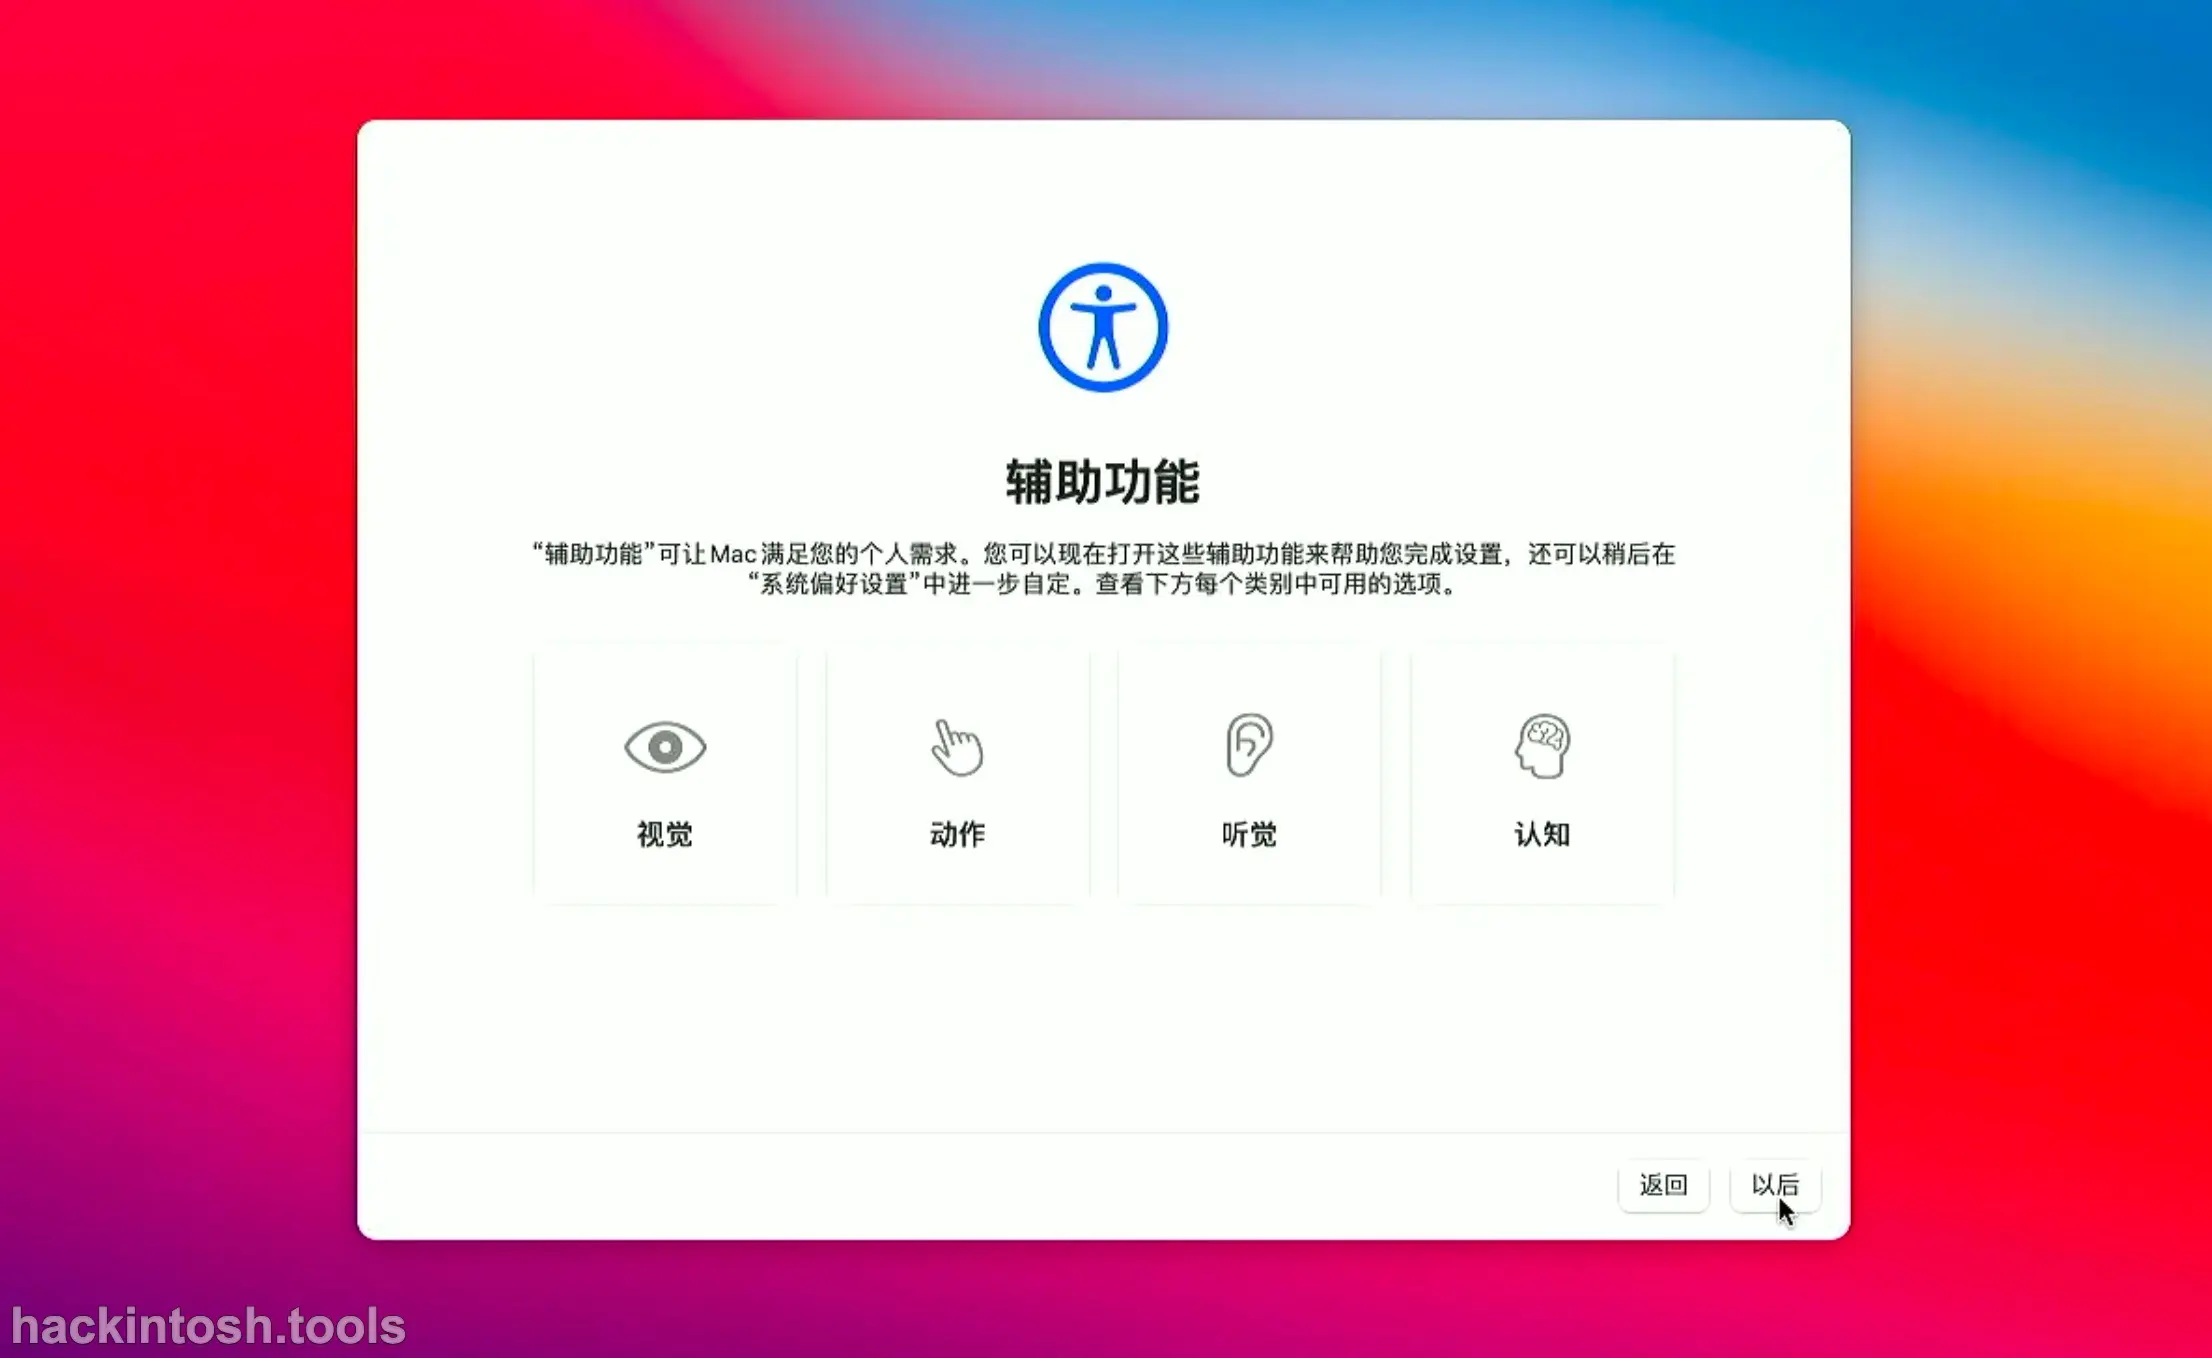
Then comes the network step. We can choose not to connect to the network first and select "Other Network Options":
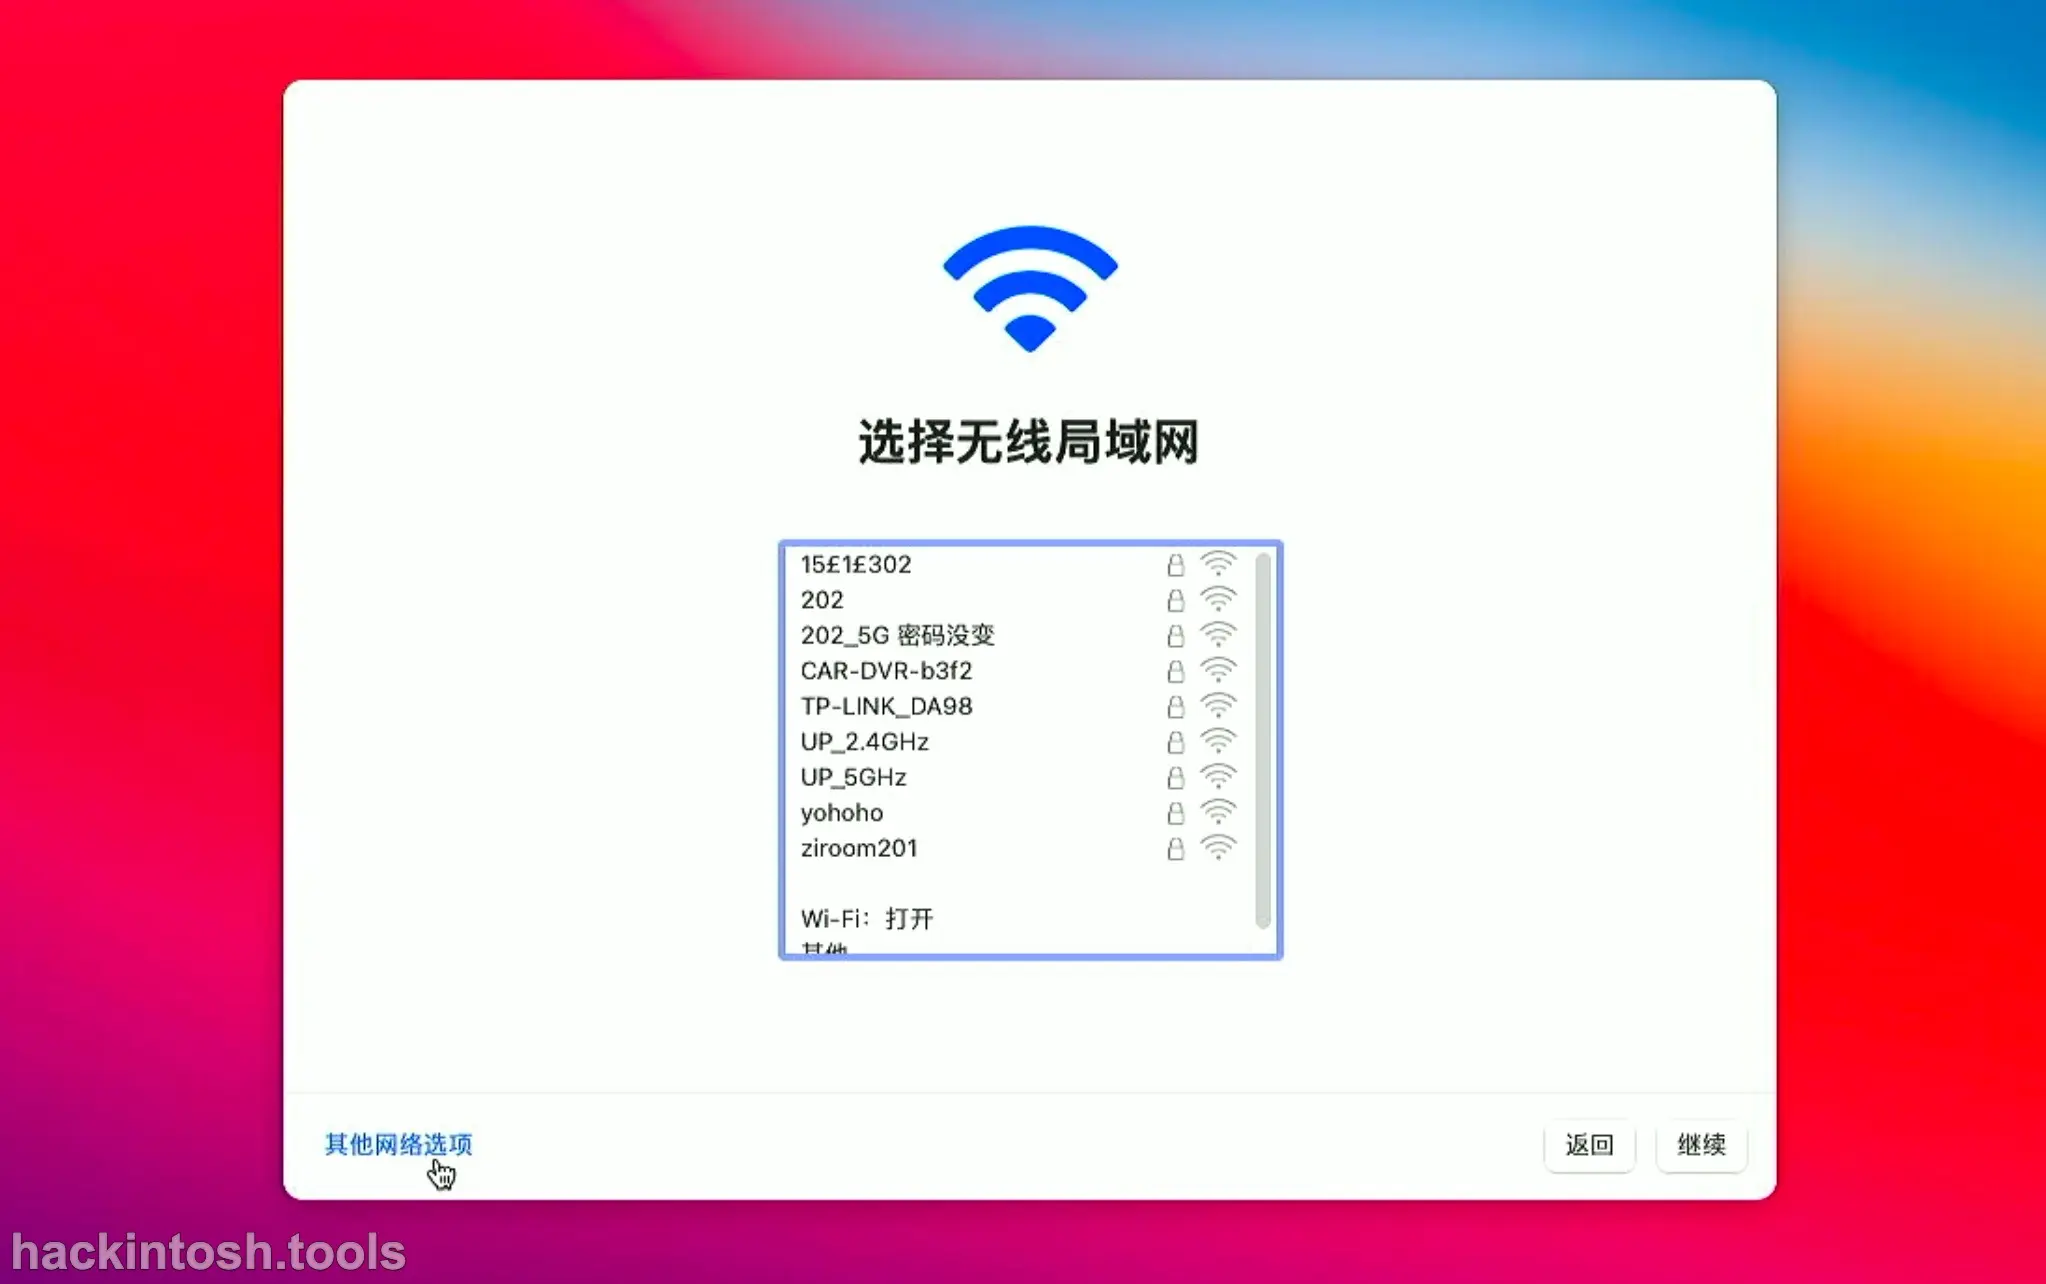
Because for a normal computer, the network connection step needs to be adjusted later. I can see the WiFi option here because I'm using a driver - free network card. Then select "My computer is not connected to the Internet":
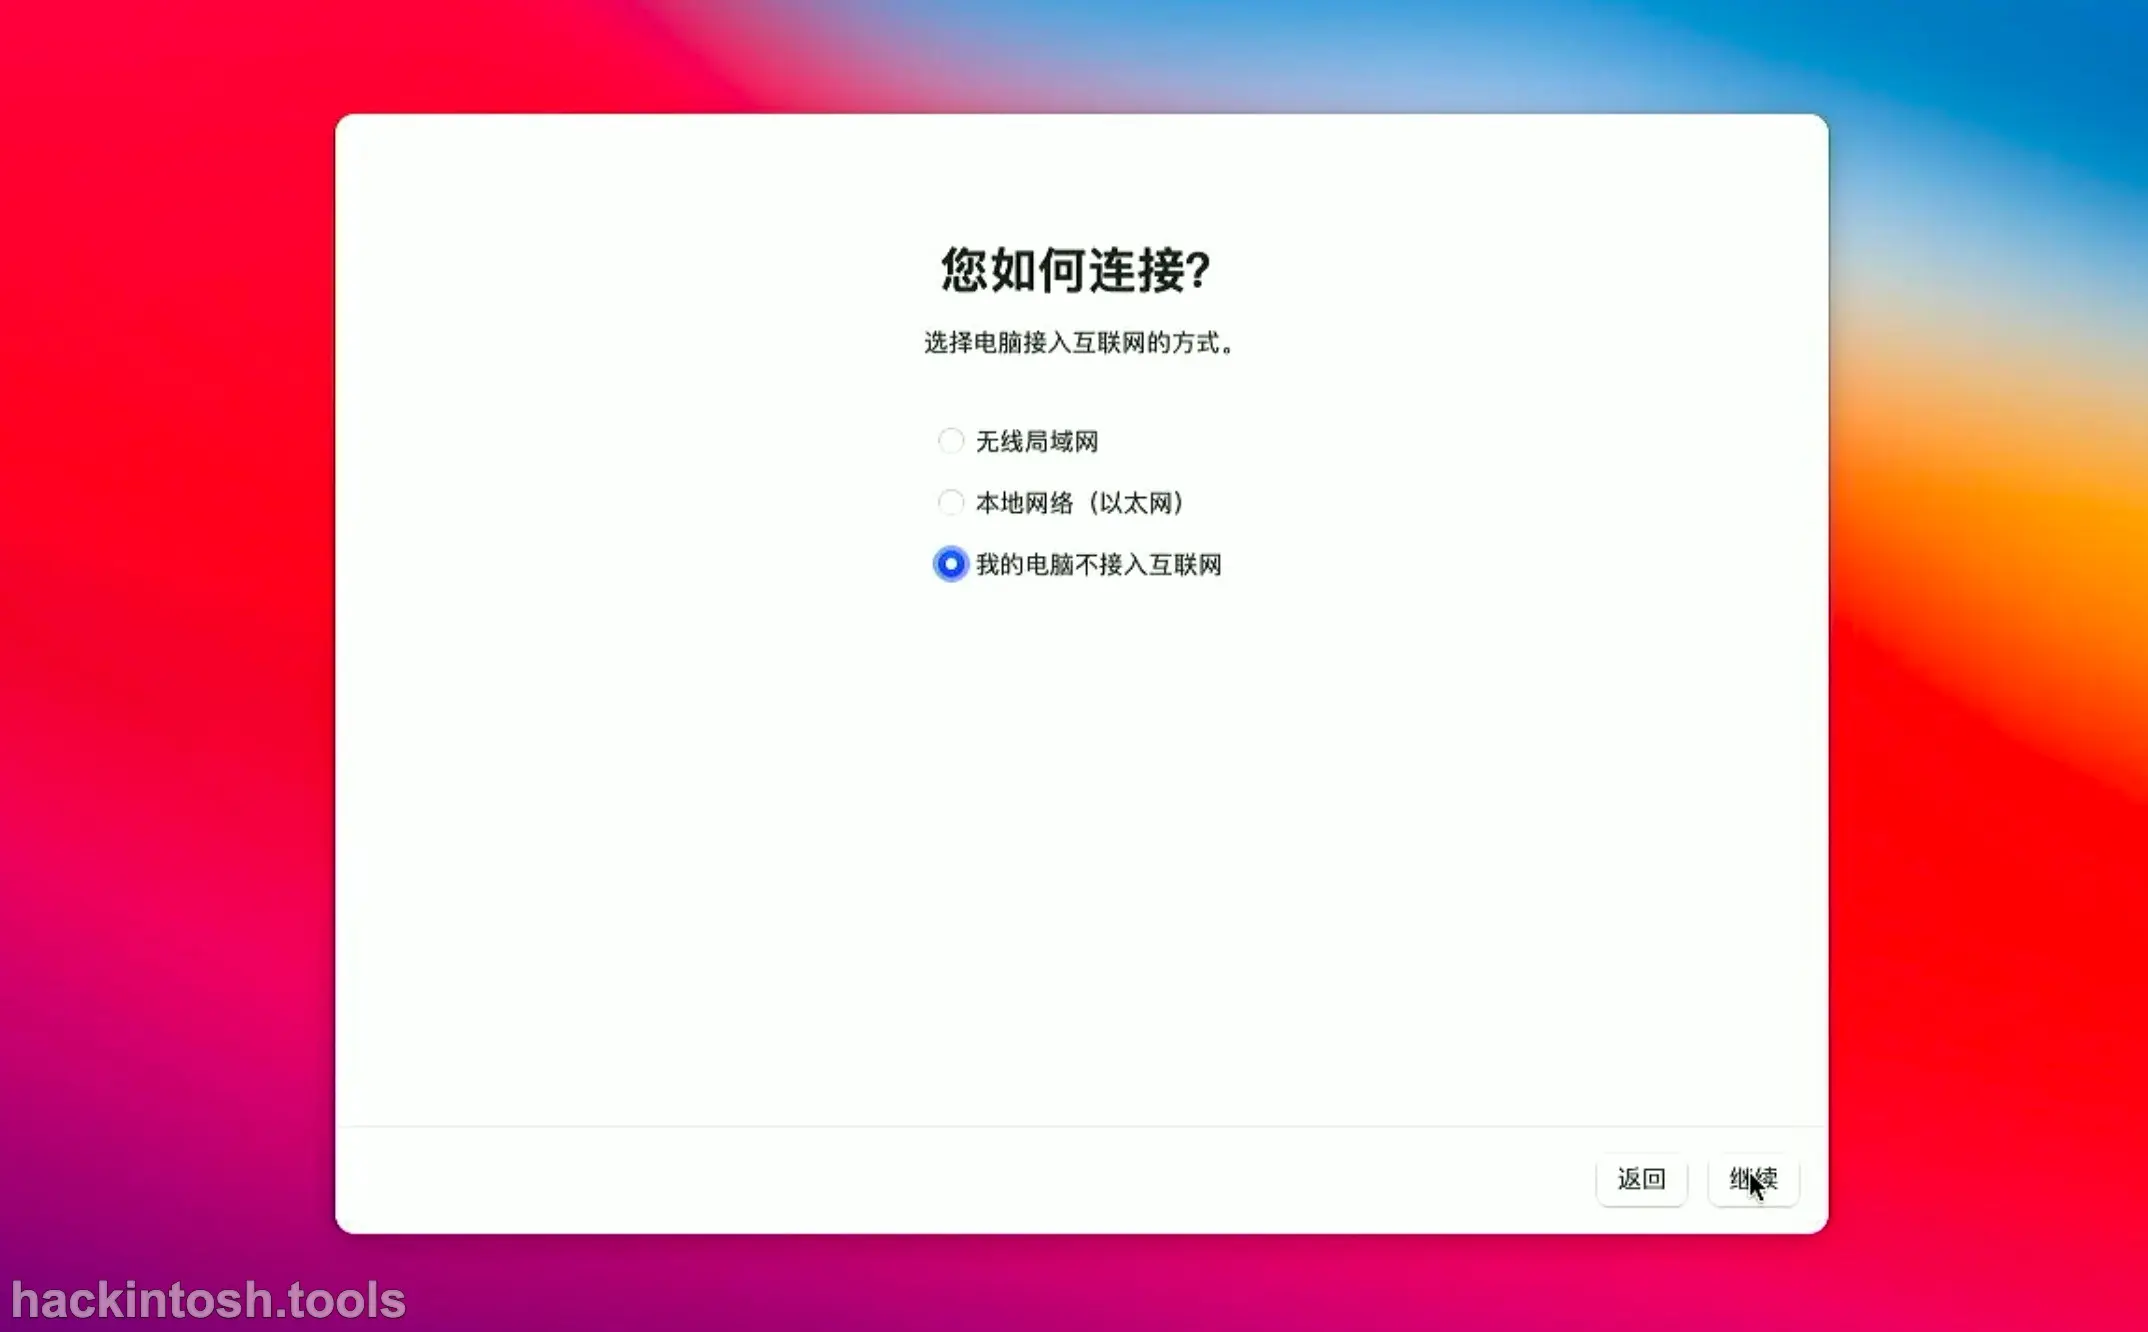
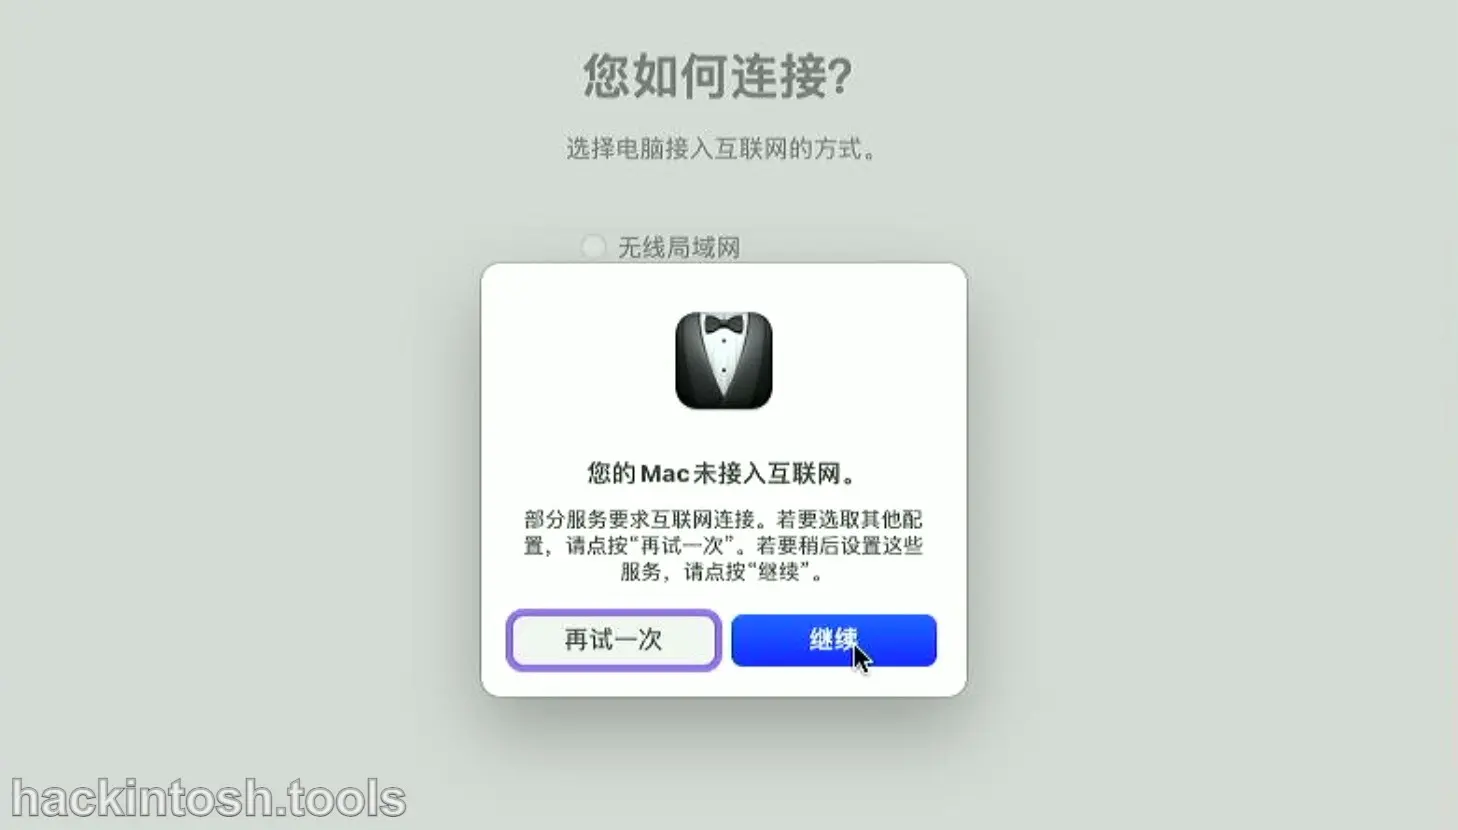
Not connecting to the network reduces unnecessary operations. We can set up the network connection operations after entering the system. At this time, a warning box should pop up. We ignore the warning and select "Continue":
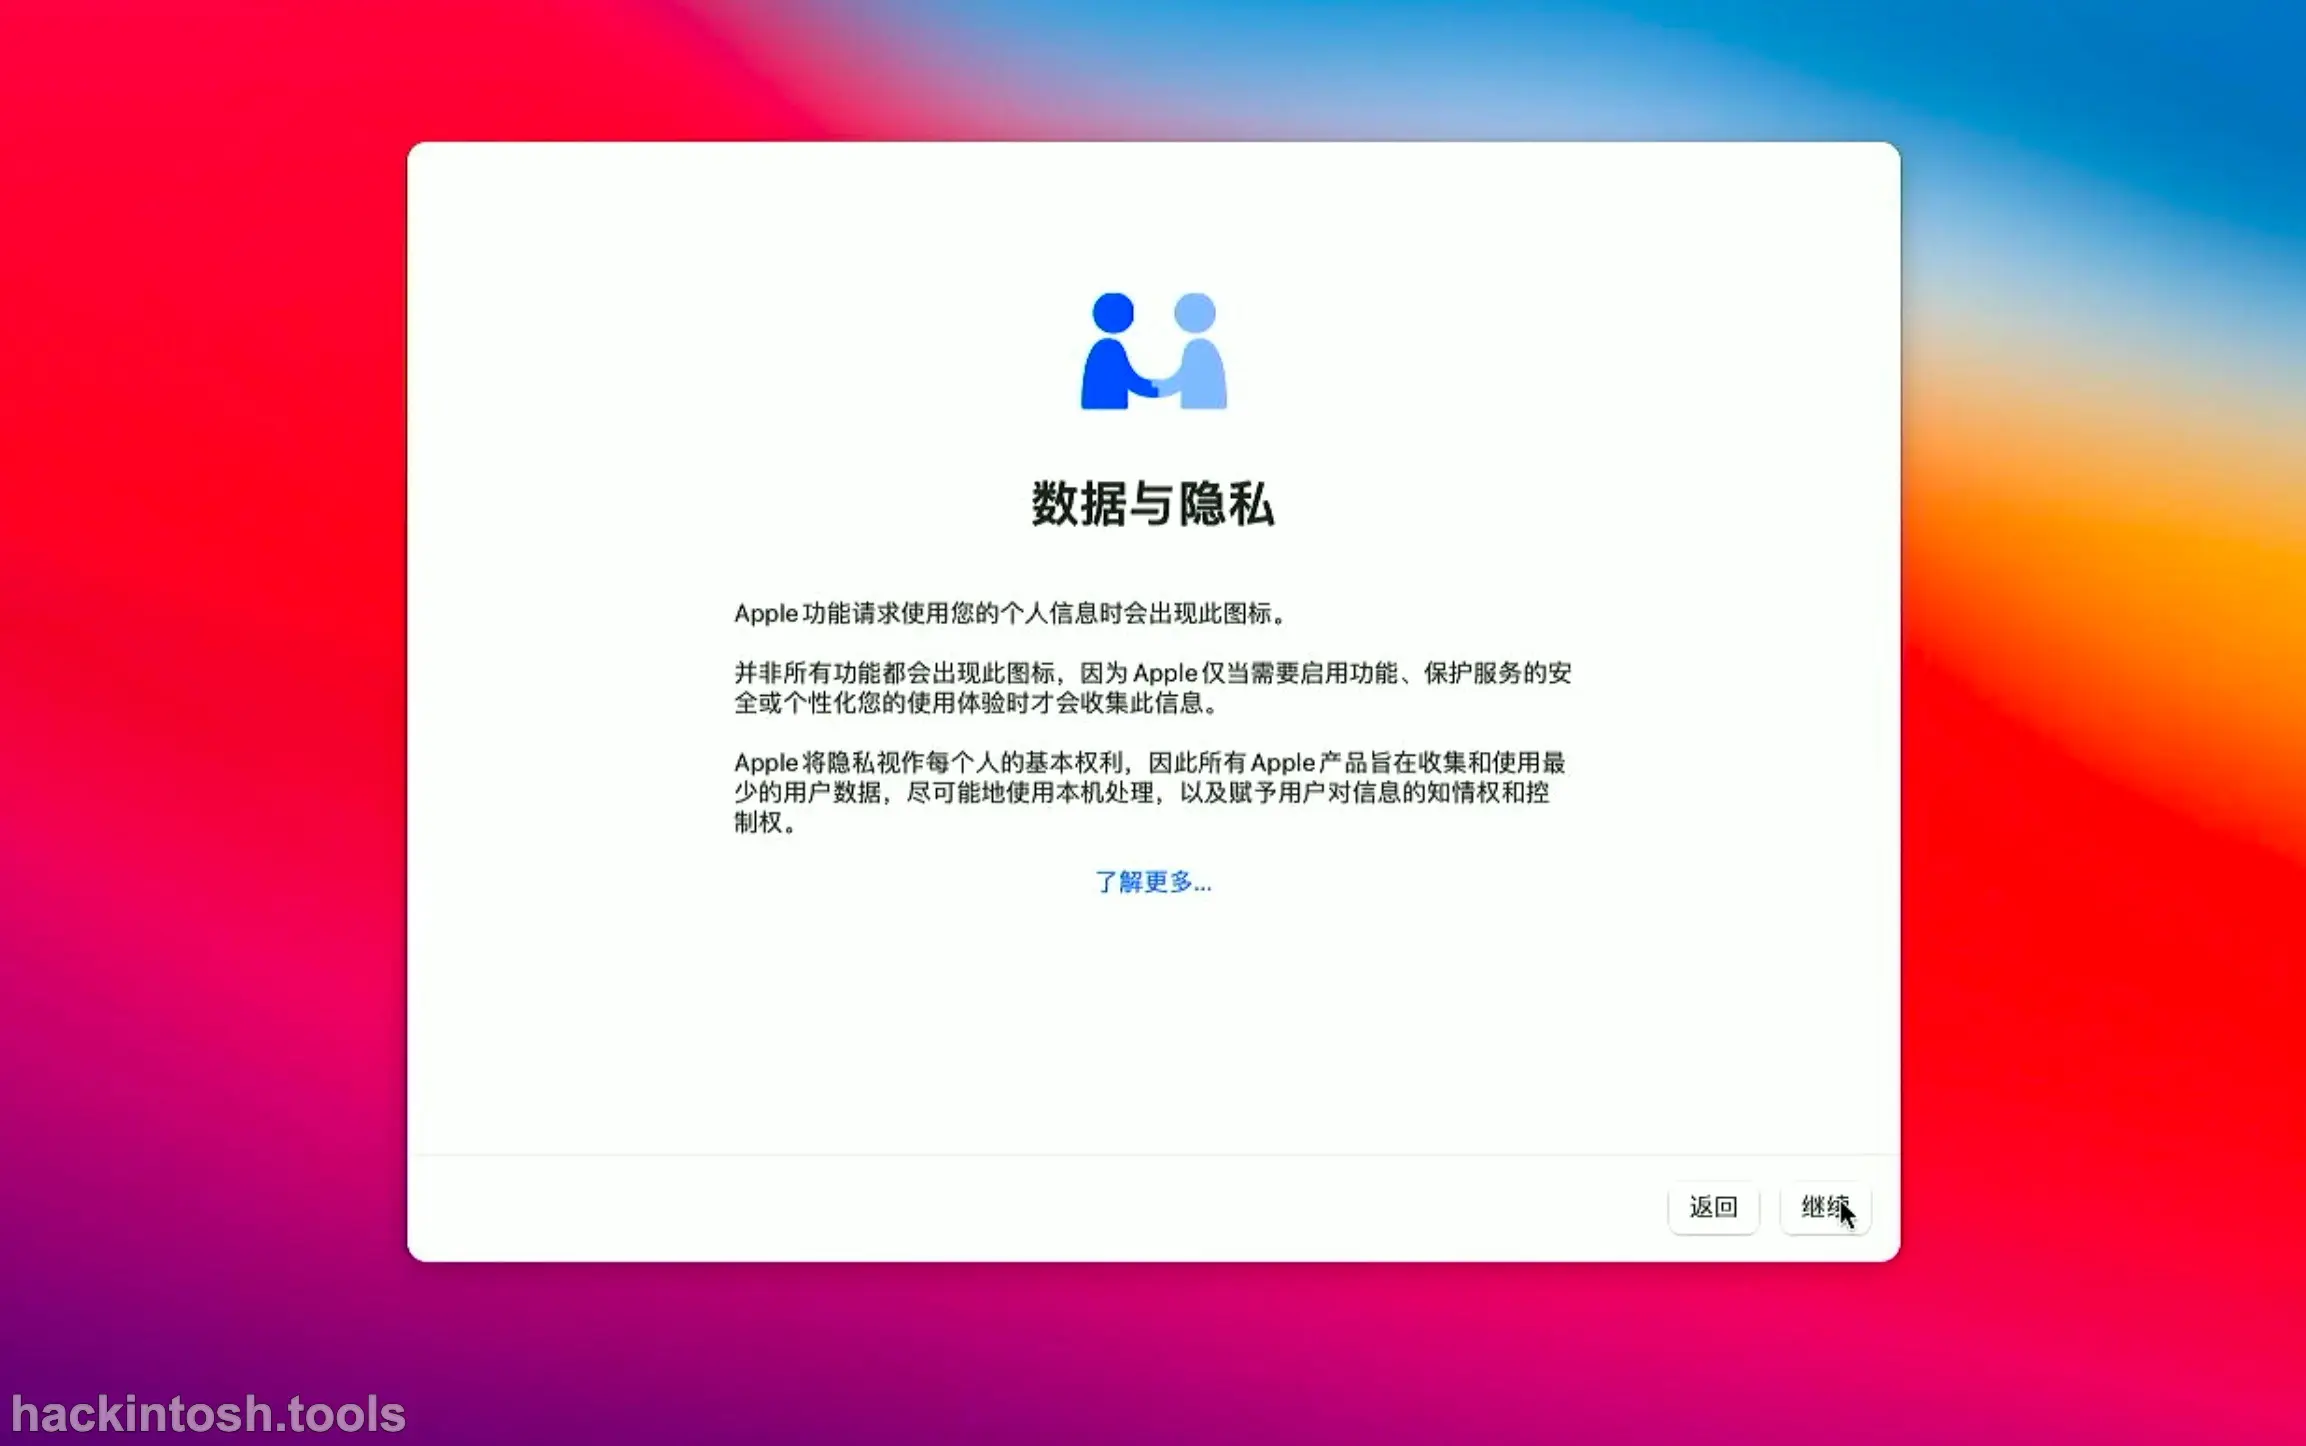
Then comes the "Data & Privacy" part. Select "Continue":
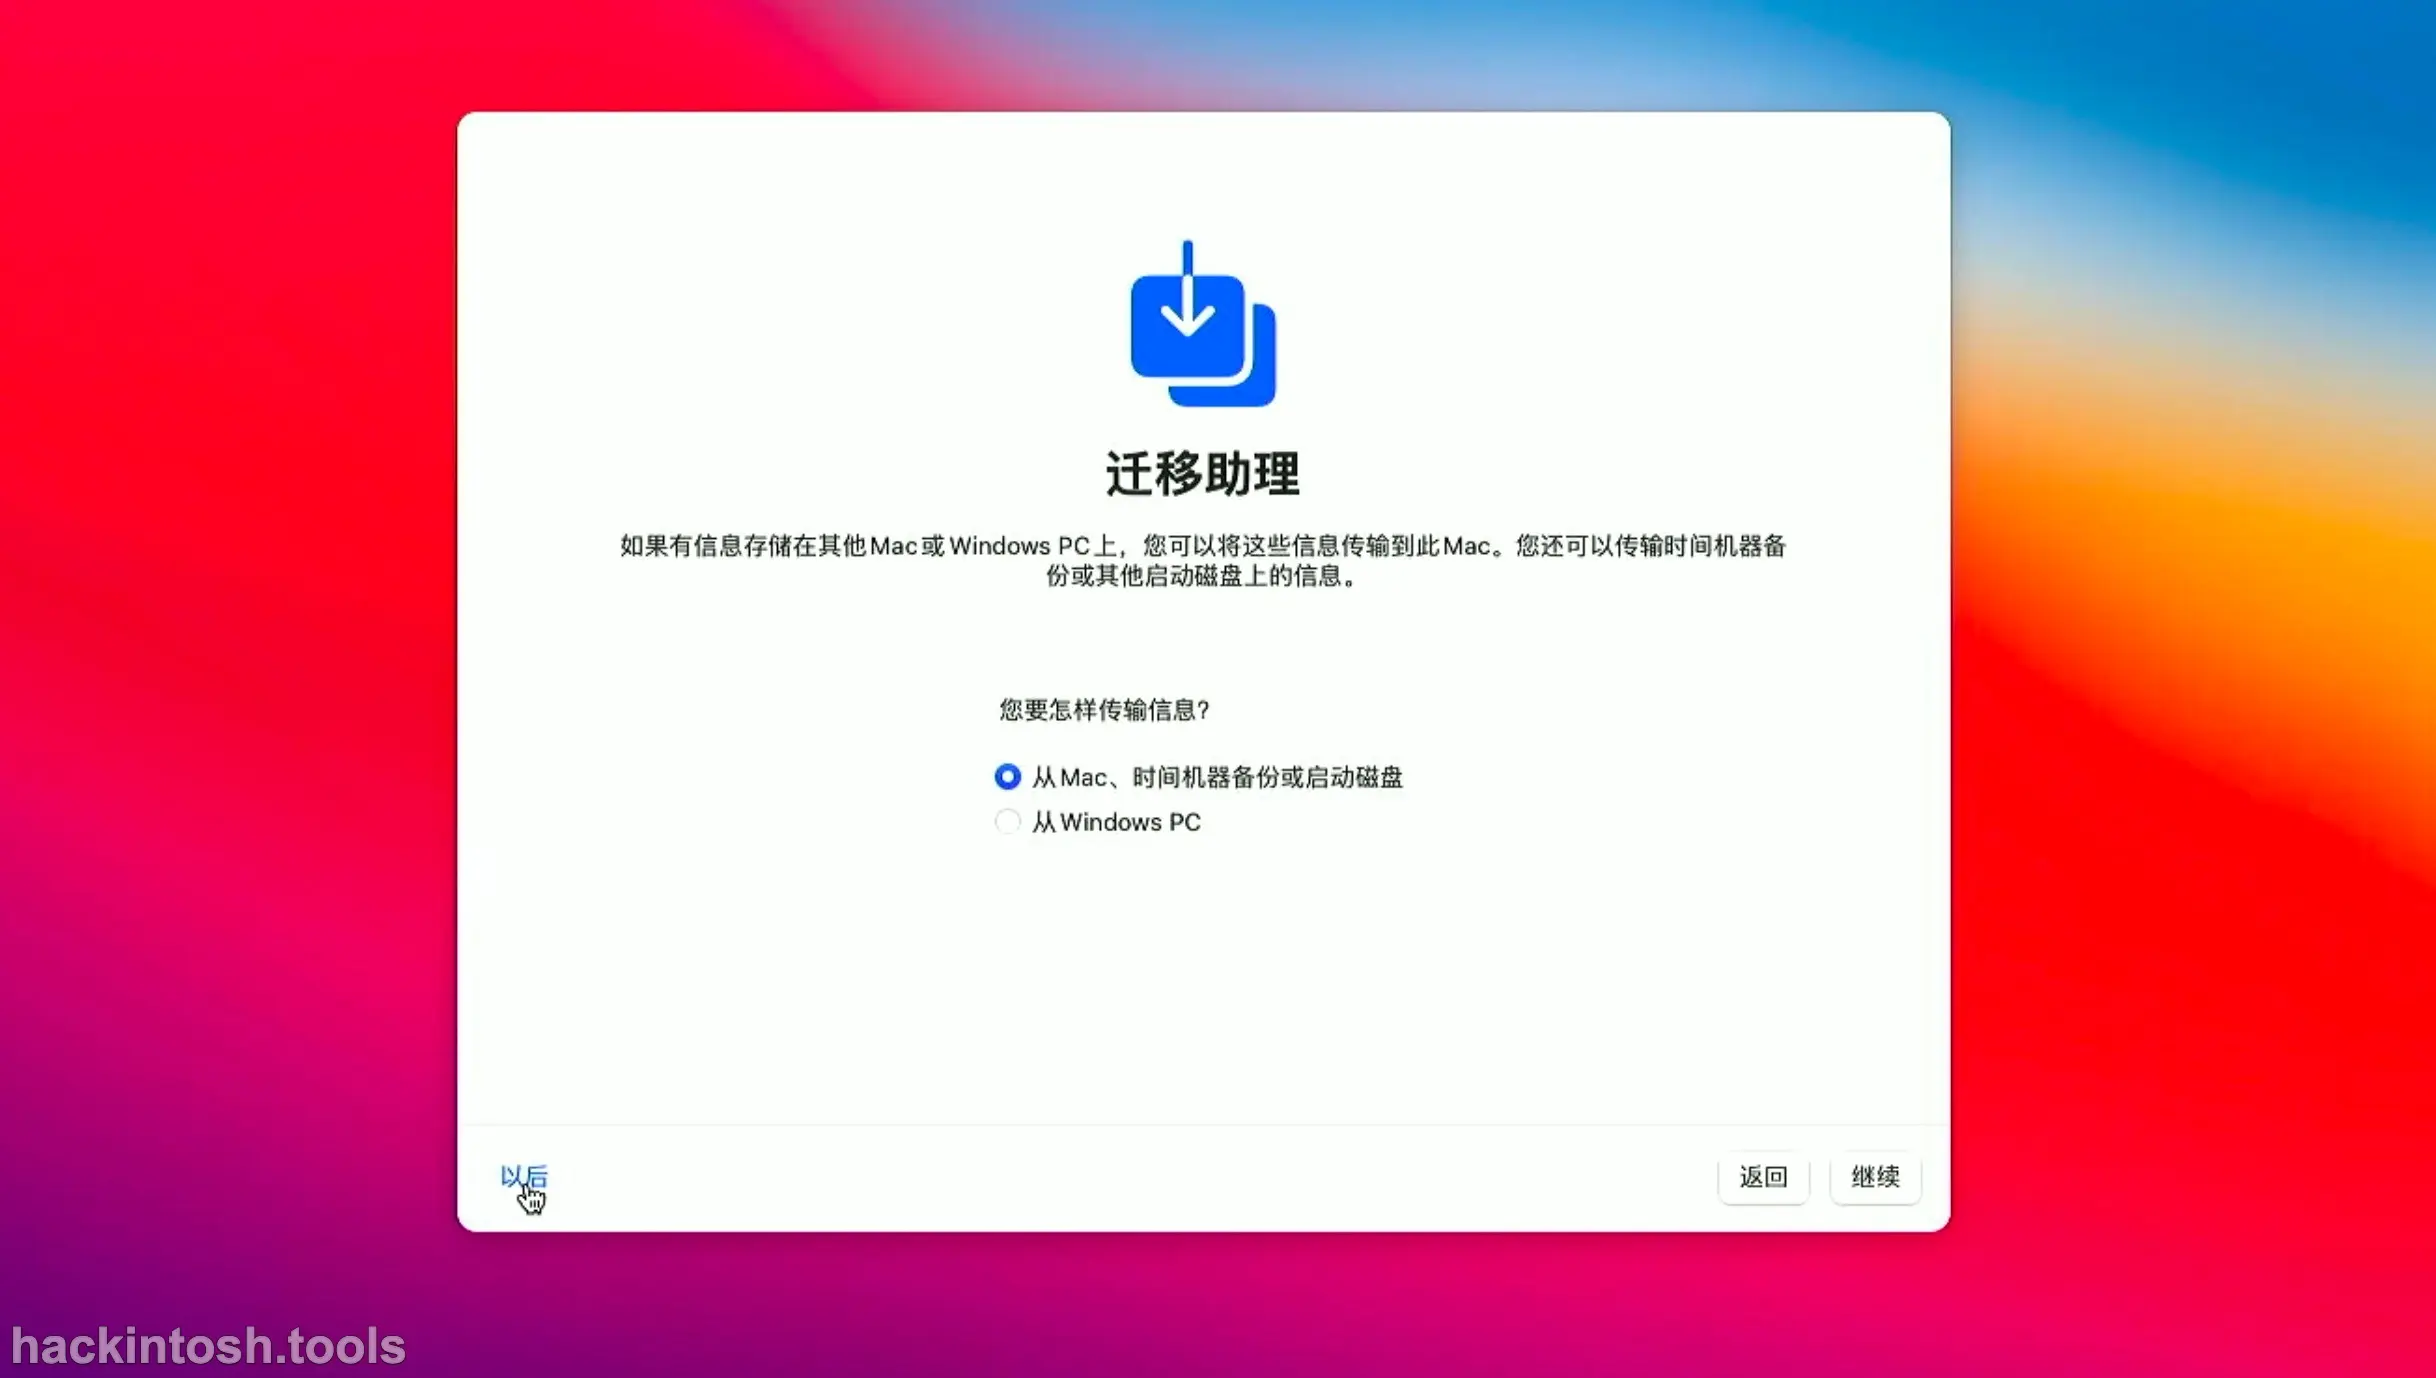
Then comes the "Migration Assistant" interface. Select according to your own situation. Generally, for a clean installation, select "Later" in the lower left corner:
Damn, there are so many interfaces. I'm so tired of writing. Then comes the "Apple ID" login interface. Since we are not connected to the network, select "Set Up Later" in the lower left corner:
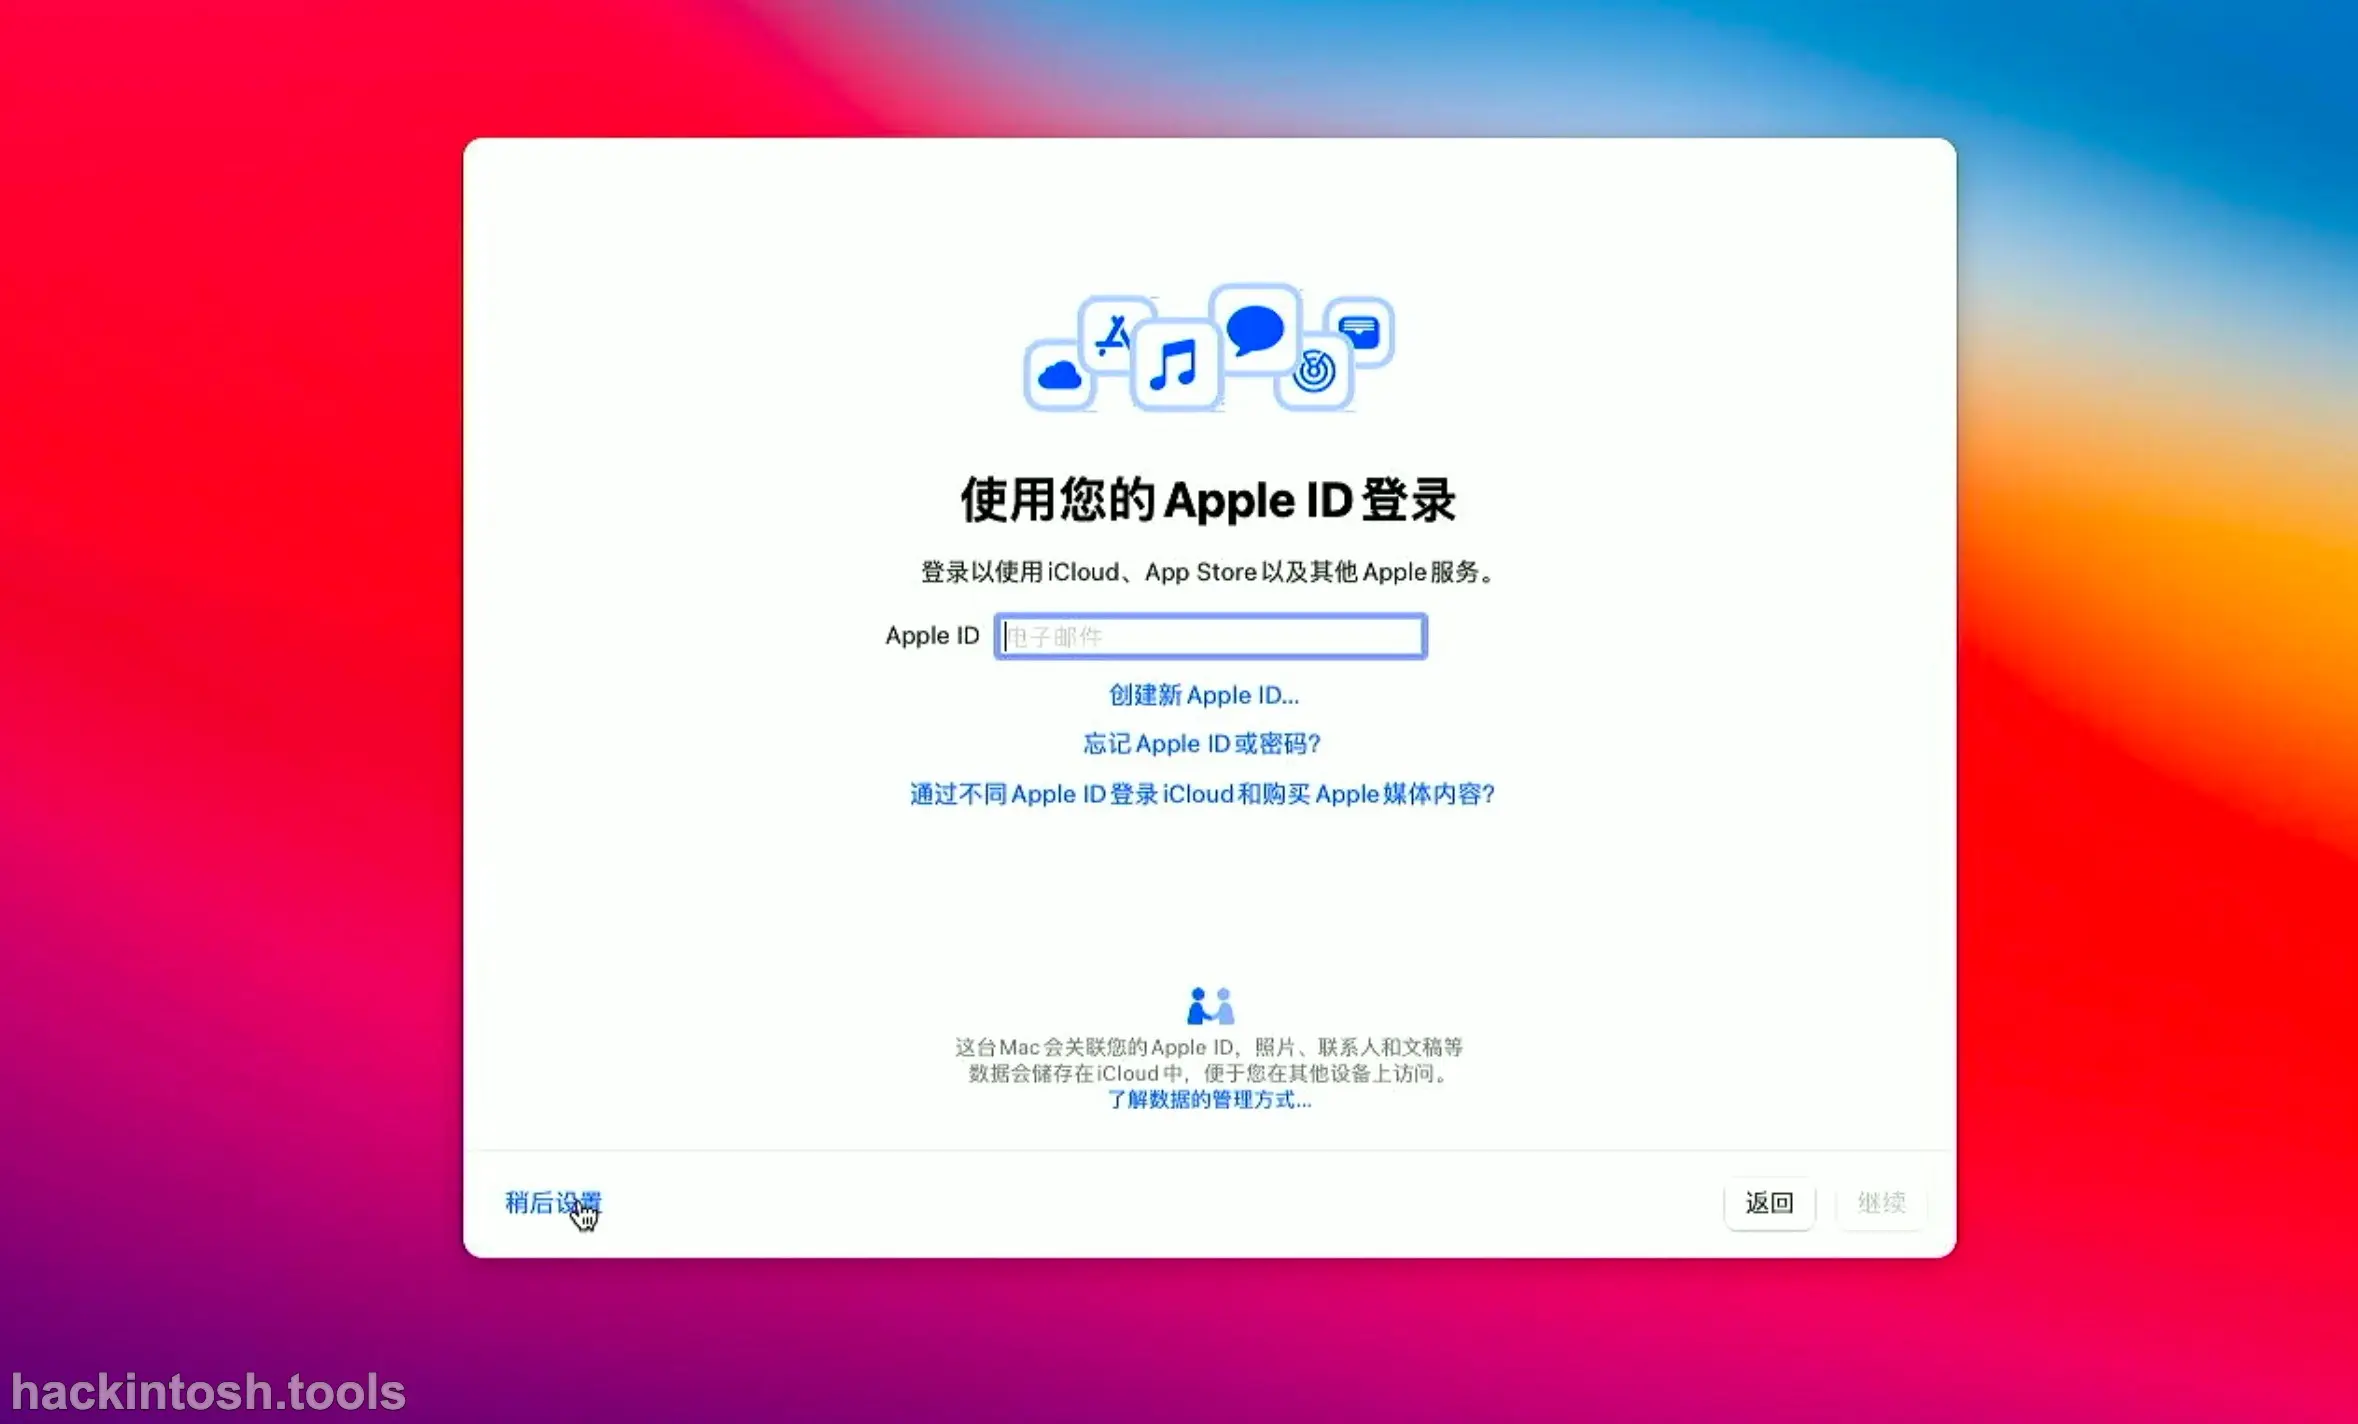
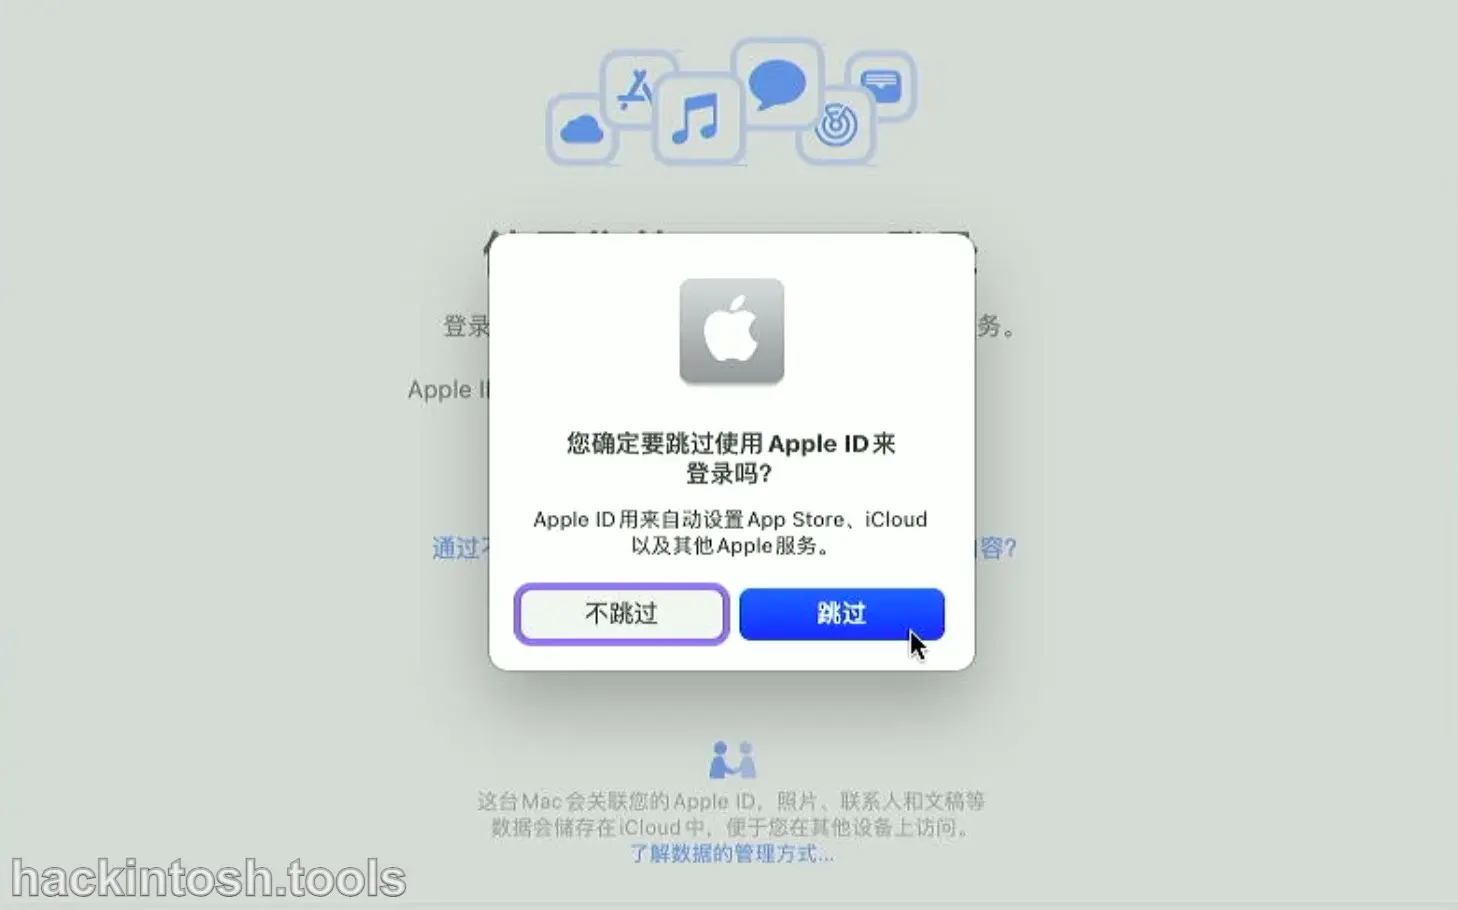
Then a warning pops up. We ignore it and select "Skip":
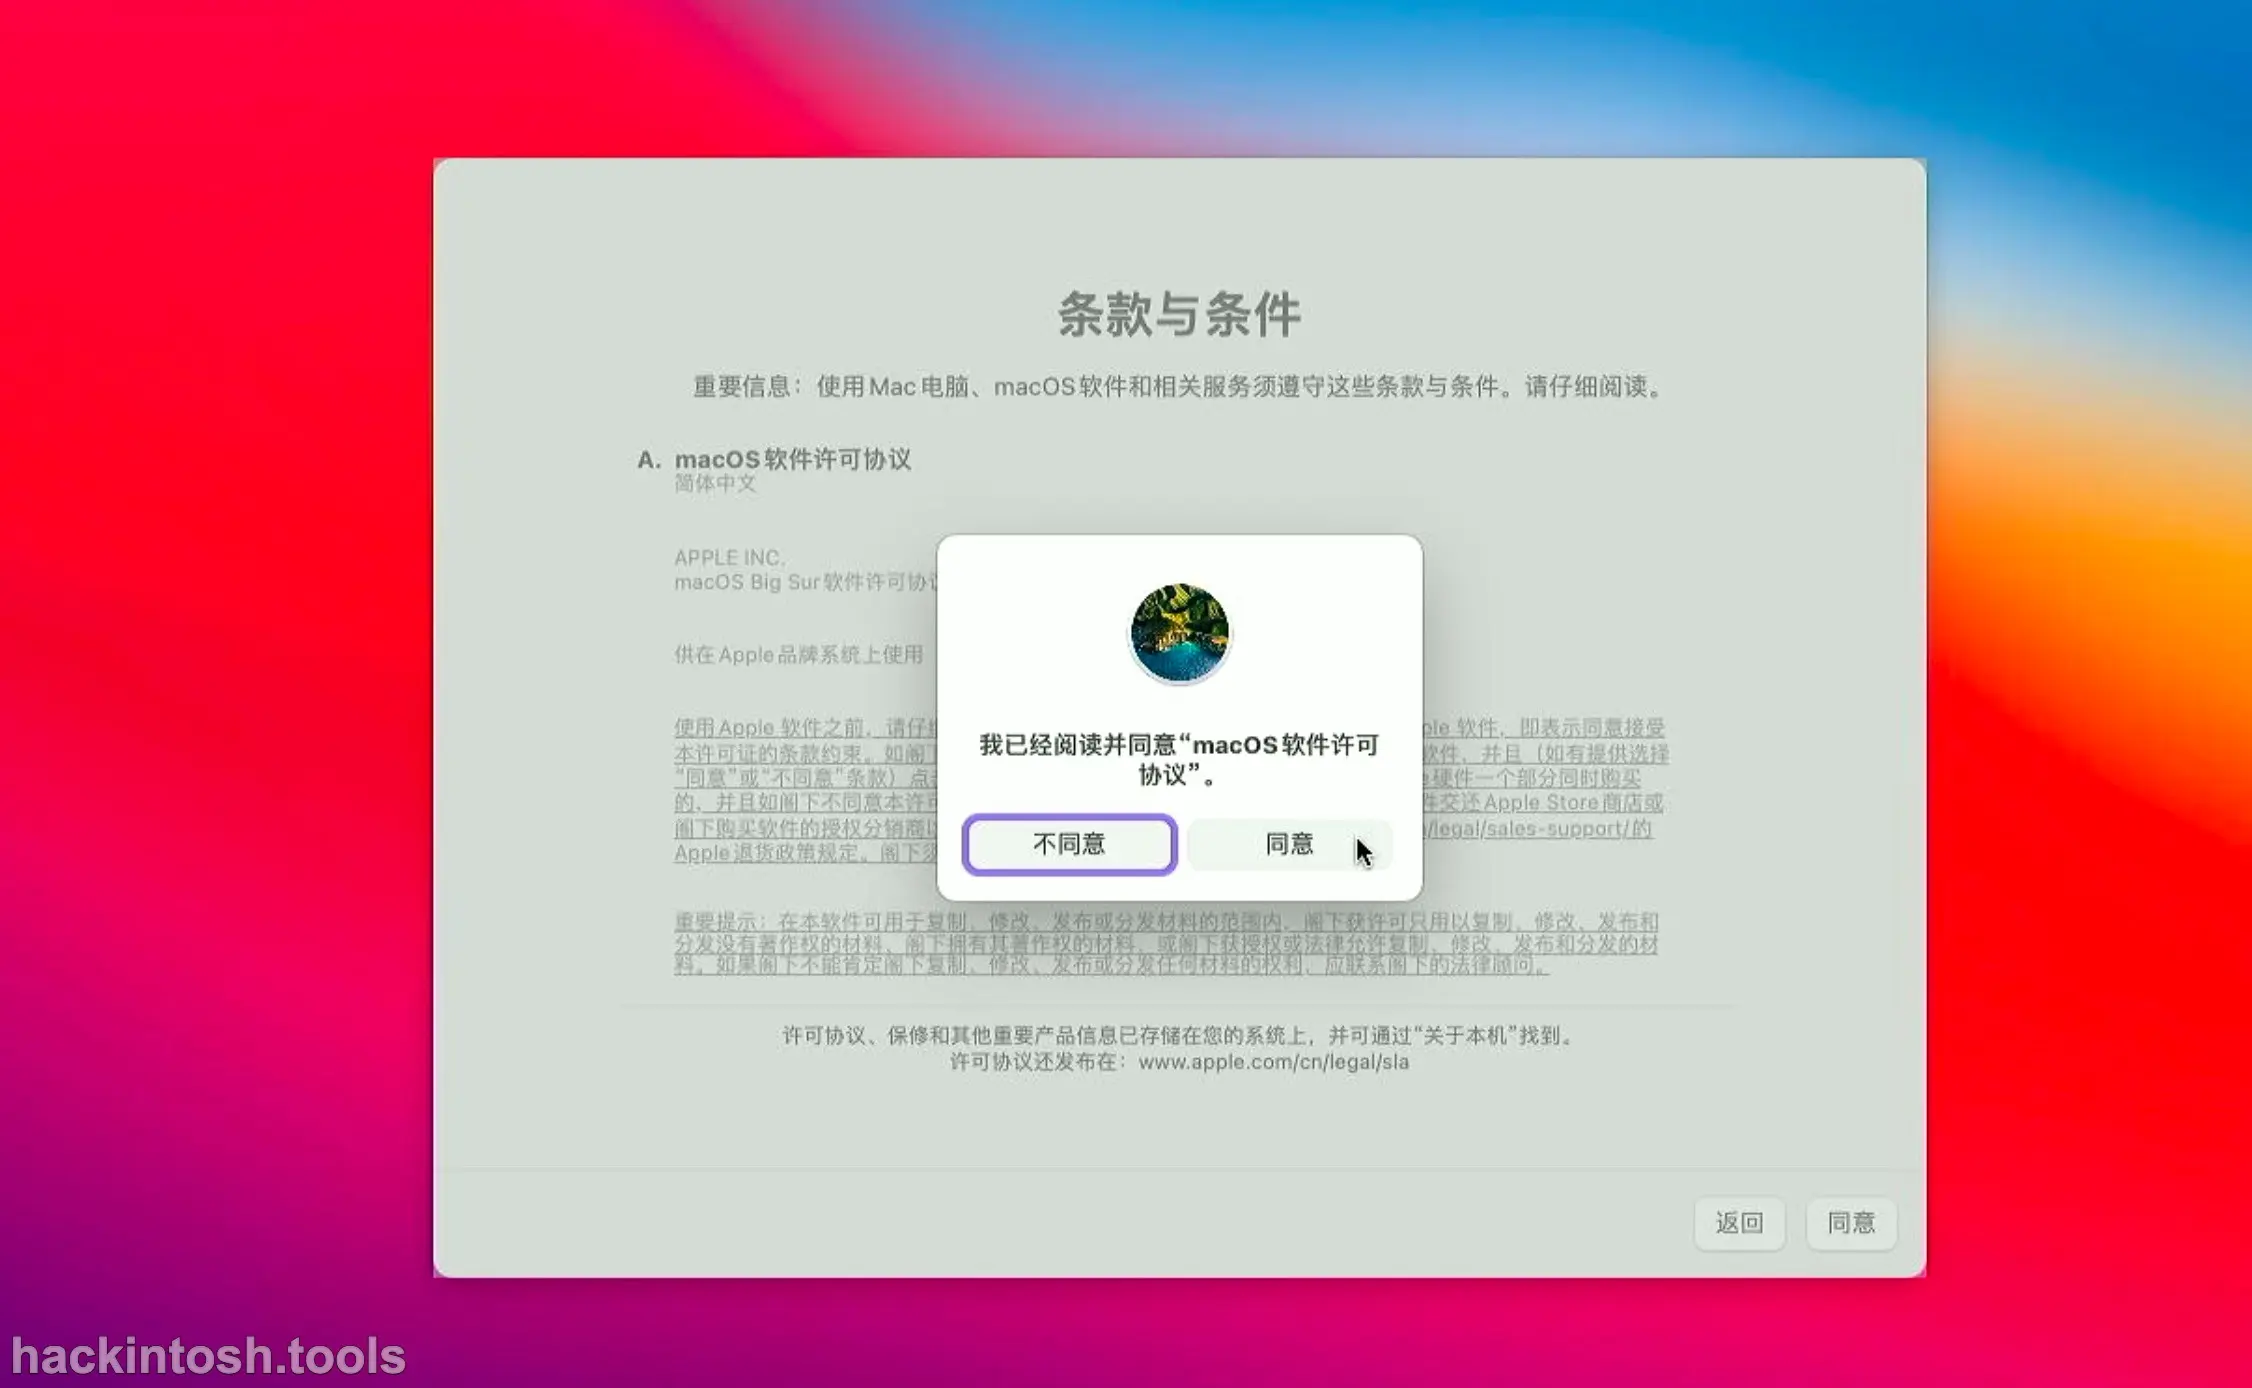
Finally, agree to Apple's terms:
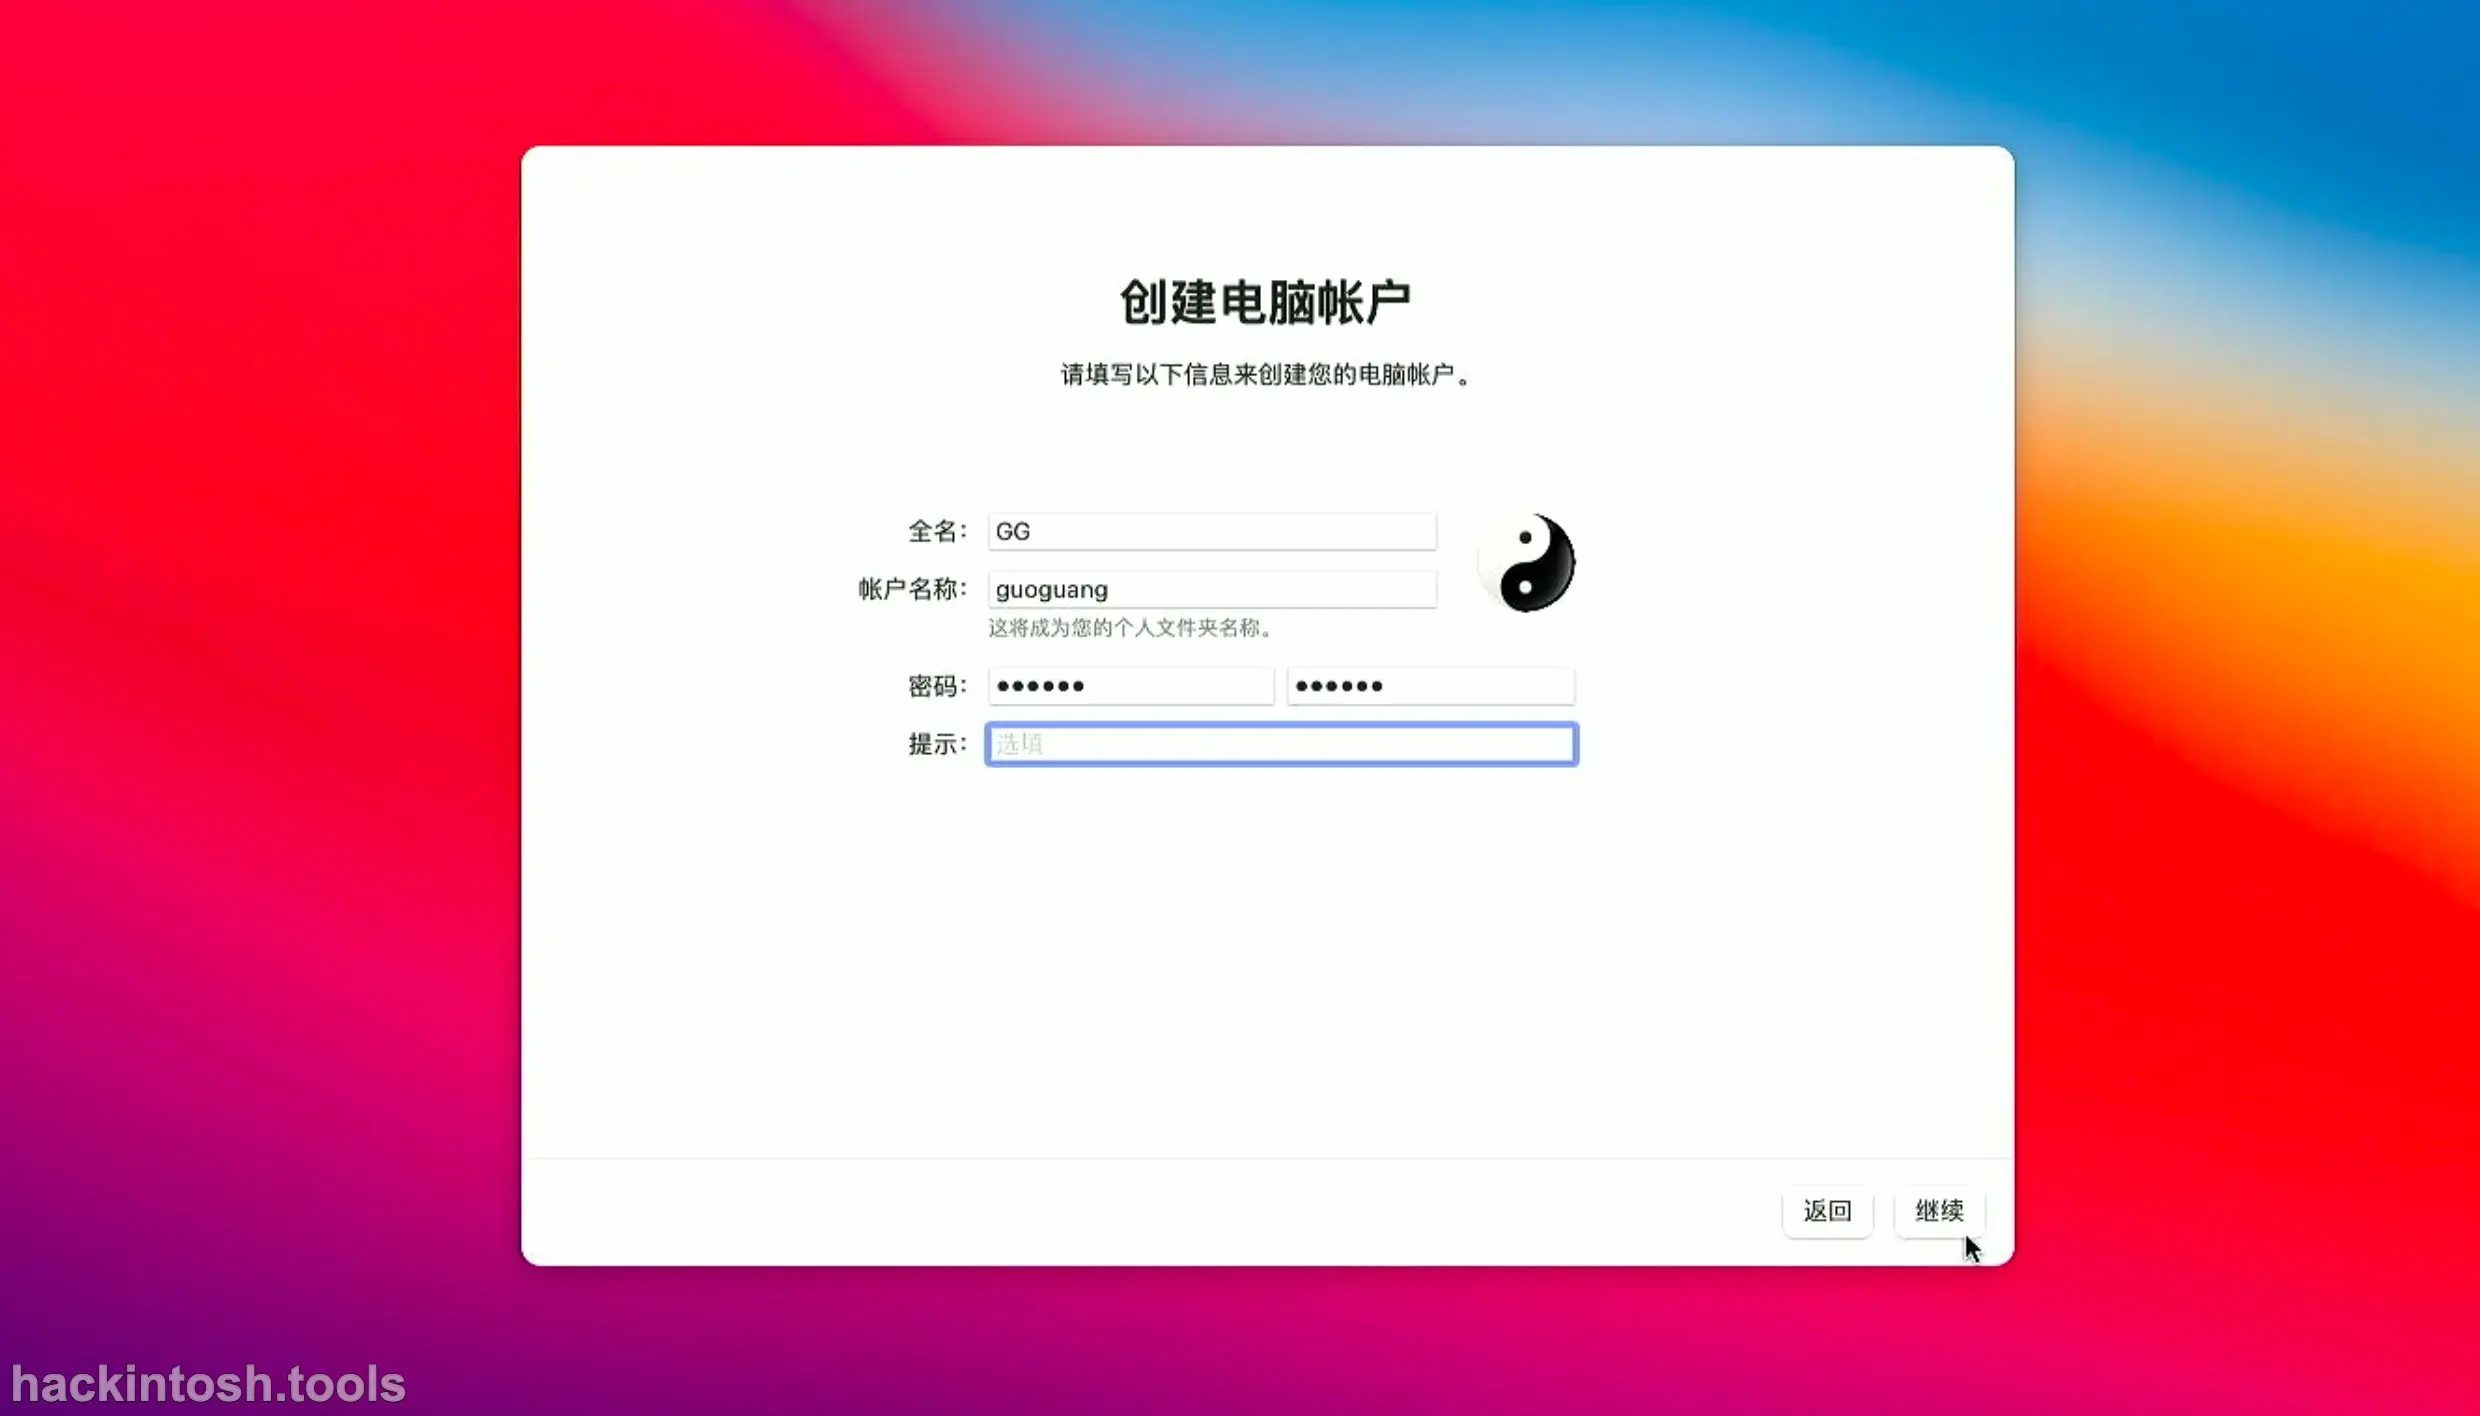
Set up some of your own accounts and login passwords, select an avatar, and then click "Continue":
Damn, I'm so tired that I won't take screenshots anymore. There are so many interfaces. Anyway, just keep clicking according to your own feeling. Normal people will be fine. Finally, you will successfully enter the system:
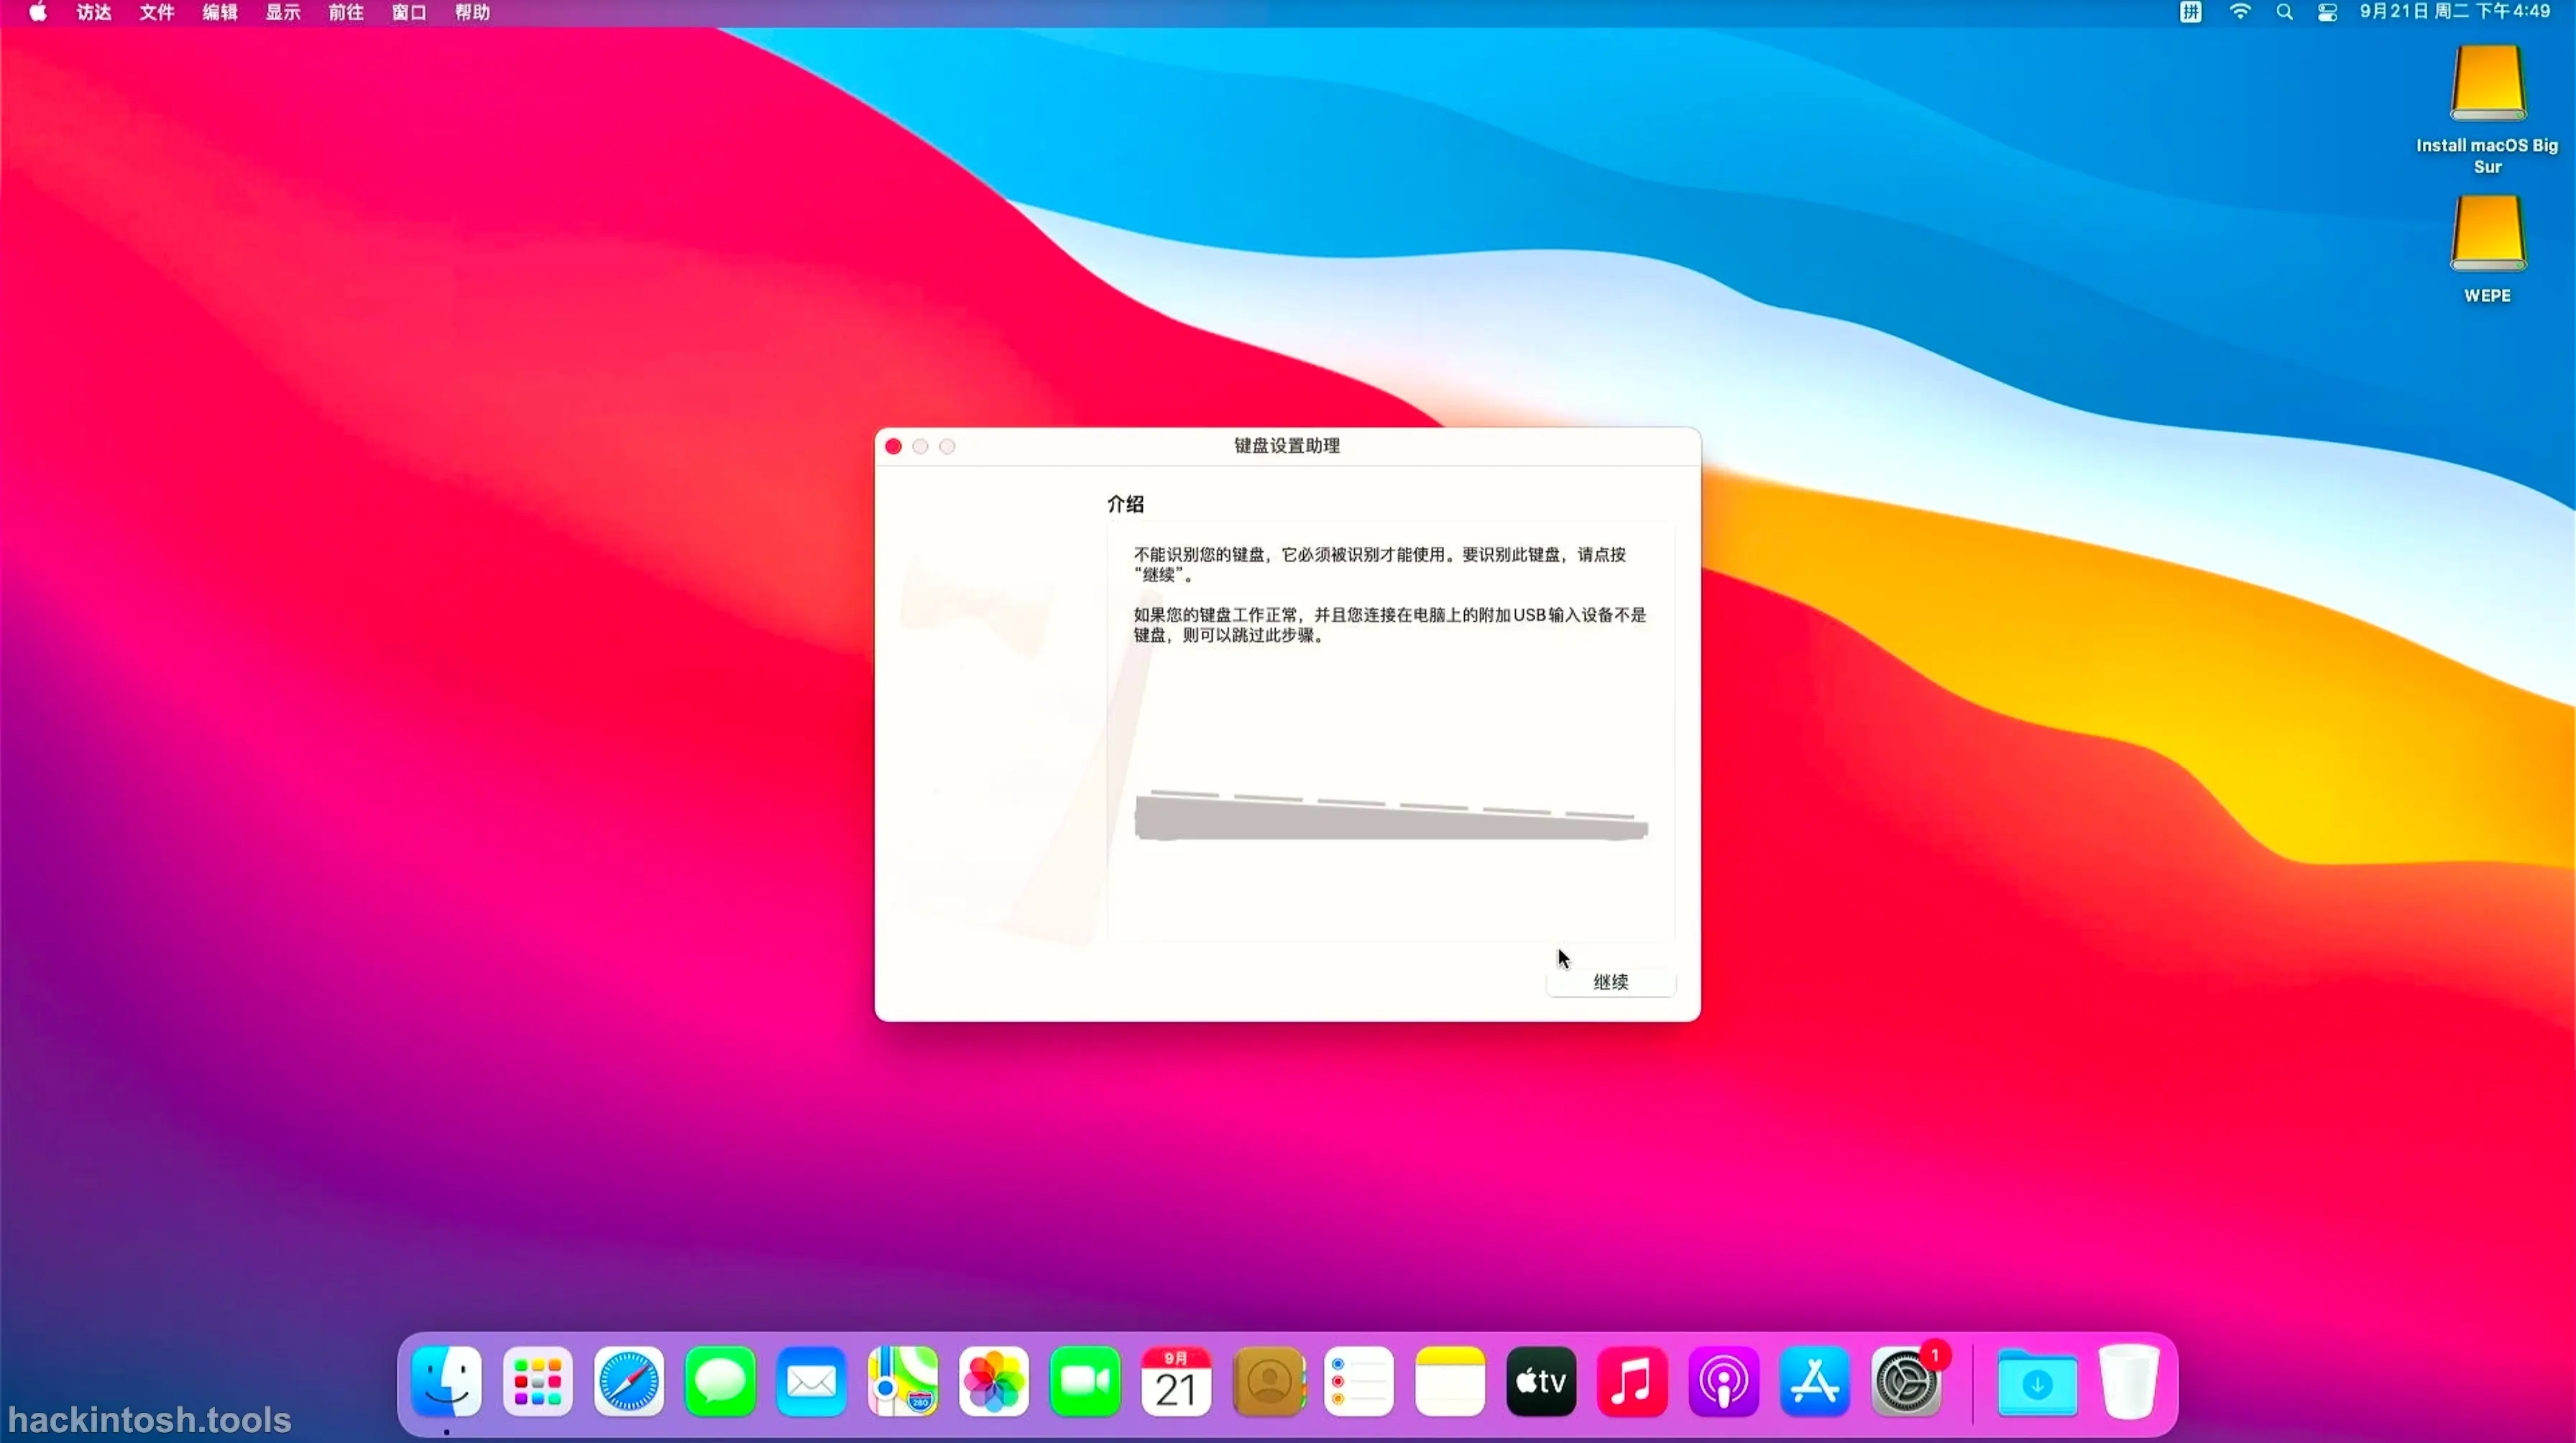
So far, the installation is completed!!!
You must be very happy at this moment. Throwing out the donation link at this time should have a good effect. 2333
In this noisy and impetuous era, how many people still insist on writing blogs and outputting original articles? Writing a blog always feels like generating electricity with love...
If you happen to be wealthy and feel that this article has helped you, you can consider making a donation to maintain the high - cost server operation (domain name cost, server cost, CDN cost, etc.)