FEVM FN60G Hackintosh and Sequoia Installation Tutorial

FEVM FN60G Hackintosh and Sequoia Installation Tutorial
Unconsciously, it has been ten years since I got in touch with Hackintosh. Thanks to all Hackintosh fans for accompanying me all the way. 2023 might be a year of alternation between 'black' and 'white'. Hackintosh has gradually entered its twilight years. Apple has gradually stopped fully supporting the Intel architecture. In the future, macOS might only support the arm platform for a period of time. After Sequoia, I don't know if there will be a macOS that supports the Intel architecture anymore. Everyone should cherish it while using it.
Pre - installation Preparation
It's already the fall of 2024. On the same day as the Mid - Autumn Festival in China, Apple released the brand - new macOS Sequoia. Both the hardware and the macOS system itself have undergone earth - shaking changes.
Hardware Preparation:
Before using macOS, you need to first understand the hardware limitations, that is, which hardware is supported and which is not.
Currently, all the hardware of FEVM FN60G is compatible with macOS.
Computer Configuration
| Component | Model | Supported or Not |
|---|---|---|
| CPU | INTEL i9 - 14900T / i9 - 13900T / i7 - 13700T |
|
/ i5 - 13600T / i5 - 13400F / i5 - 12400F |
Supported | |
| Memory | Samsung / Crucial / Micron DDR5 5600MHz | Supported |
| Integrated Graphics | Intel® Iris® Xe Graphics eligible | Not supported by macOS |
| Dedicated Graphics Card | AMD Radeon™ RX 6600M | Supported, HDMI x1 4K@144Hz |
DP x2 4K@144Hz |
||
Type - C x1 4K@144Hz |
||
| Network Card | BCM94360NG/Z3/Z4/INTEL AX2xx | Supported, Intel AX2xx does not support AirDrop |
| Bluetooth | BCM94360NG/Z3/Z4/INTEL AX2xx | Supported |
| Hard Disk 1 | PCI - E 4.0 up to 4TB | |
| Crucial / YMTC particles + Maxio controller | Supported | |
| Hard Disk 2 | PCI - E 4.0 up to 4TB | |
| Crucial / YMTC particles + Maxio controller | Supported | |
| USB | 10Gbps | Supported |
| Audio / 3.5mm Headphone Jack | ALC897 id:98 |
Supported |
| Audio / HDMI Output | Supported | |
| AirDrop | Supported | |
| Handoff | Supported | |
| Sidecar | Not supported | |
| Universal Control | Supported |
Solid - state Disk
In most cases, all SATA - based drives are supported, and most NVMe drives are also supported. There are only a few exceptions:
- Samsung PM981(a) / PM991 and Micron 2200S NVMe SSD
- These solid - state disks are not compatible (resulting in kernel crashes), so NVMeFix.kext is required to fix these kernel crashes. Please note that even with
NVMeFix.kext, these drives may still cause boot problems. - Related to this, the Samsung 970 EVO Plus NVMe SSD also has the same problem, but it has been fixed in the firmware update. The firmware update can be obtained here (via Samsung Magician or bootable ISO of Windows).
- Also note that macOS does not support laptops that use Intel Optane Memory or Micron 3D XPoint for HDD acceleration. Some users have reported success in Catalina, even with read - write support, but we strongly recommend that you remove the drive to prevent any potential boot problems.
- These solid - state disks are not compatible (resulting in kernel crashes), so NVMeFix.kext is required to fix these kernel crashes. Please note that even with
Wireless Network Card
Supported m.2 NGFF wireless network cards:
- Broadcom:
> Since Apple removed the driver for Broadcom network cards starting from Sonoma, Broadcom network cards are no longer driver - free. They need to be driven by patching with
OpenCore Legacy Patcher[OCLP]. For the OCLP driving tutorial, please go here. Due to space limitations, the available models include:BCM94360Z3/BCM94360Z4/BCM94352Z. Due to the space of the network card, it also does not support original Apple disassembled cards, etc.; - INTEL: Thanks to the OpenIntelWireless developed by the @zxystd team.
Software Preparation
Operating System:
An operating system that can create an installation USB disk, including but not limited to macOS / Windows / Linux, etc.
For example:
- Apple computers running macOS;
- Computers running Windows or PE;
- Linux systems running in Live CD mode, etc.;
Software or Tools Used:
md5 Checker:
- Windows:
- macOS or Linux built - in:
md5for macOSmd5sumfor linux
Disk Partitioning Tool
- Windows:
- macOS or Linux:
- omitted
USB Disk Creation Tool
Create a USB Installation Disk
Download the Installation Image
- Download from this site: please click to go
Verify the md5 Value
- In the Windows environment: Use the WinMD5 downloaded just now to check whether the md5 value is correct. If the md5 values are different, you must redownload the installation image. Don't take chances.
- In the macOS environment:
1 | # md5 macOS\ Sequoia\ 15.0 |
Write the Installation Image to the USB (Create the Installation Image)
- Image creation:
- Download balenaEtcher, select the installation image, select the USB disk to be created, and click
Flash. Windows 10 needs to be run with administrator privileges
- Download balenaEtcher, select the installation image, select the USB disk to be created, and click
Find the EFI Suitable for You
- This site: Hackintosh Hackintosh Long - term Maintenance Model Checklist
- Others:
- PCbeta: http://bbs.pcbeta.com
- tonymacx86: https://www.tonymacx86.com
- insanelymac: insanelymac.com
- Google: https://www.google.com
Replace the EFI in the USB Installation Disk
If the EFI that comes with the USB installation disk cannot complete the installation or the installation is not perfect, then you need to perform the operation of replacing the EFI.
- Operation process: (omitted)
Install Sequoia
BIOS Settings
Since the default factory BIOS of FN60G has been optimized for macOS, there is no need to set the BIOS options. This part is omitted.
Install macOS Sequoia
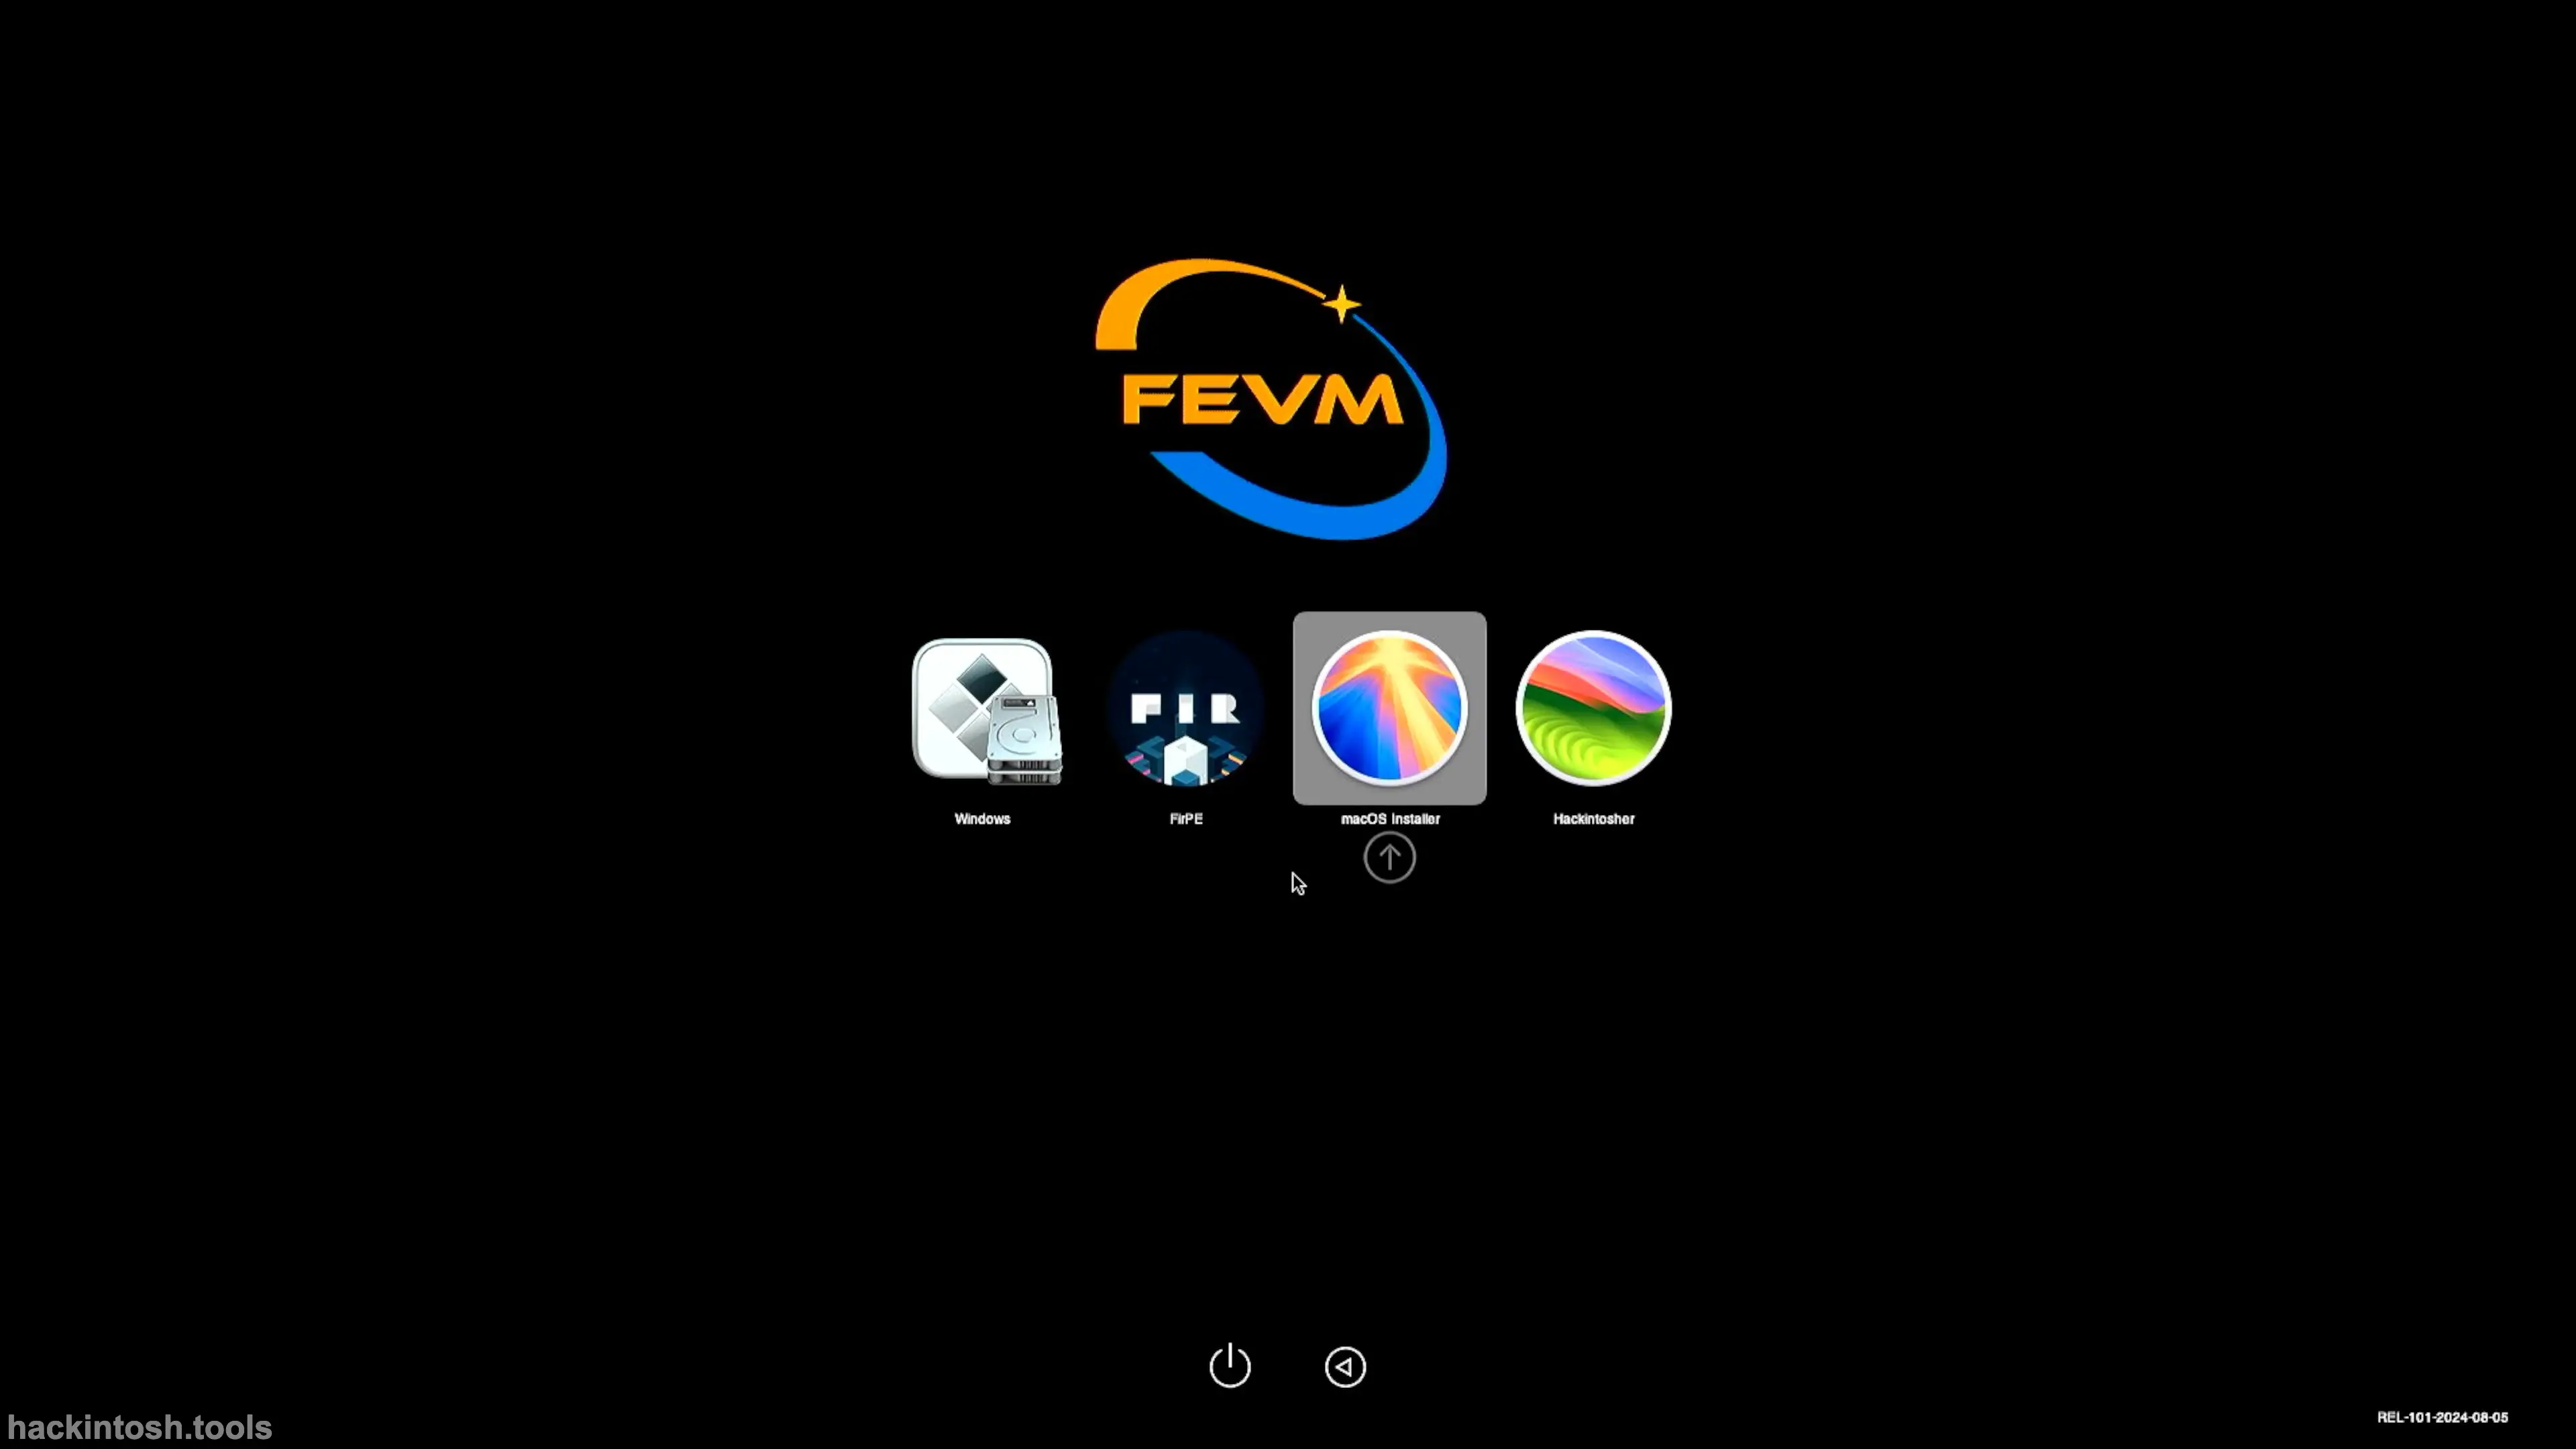
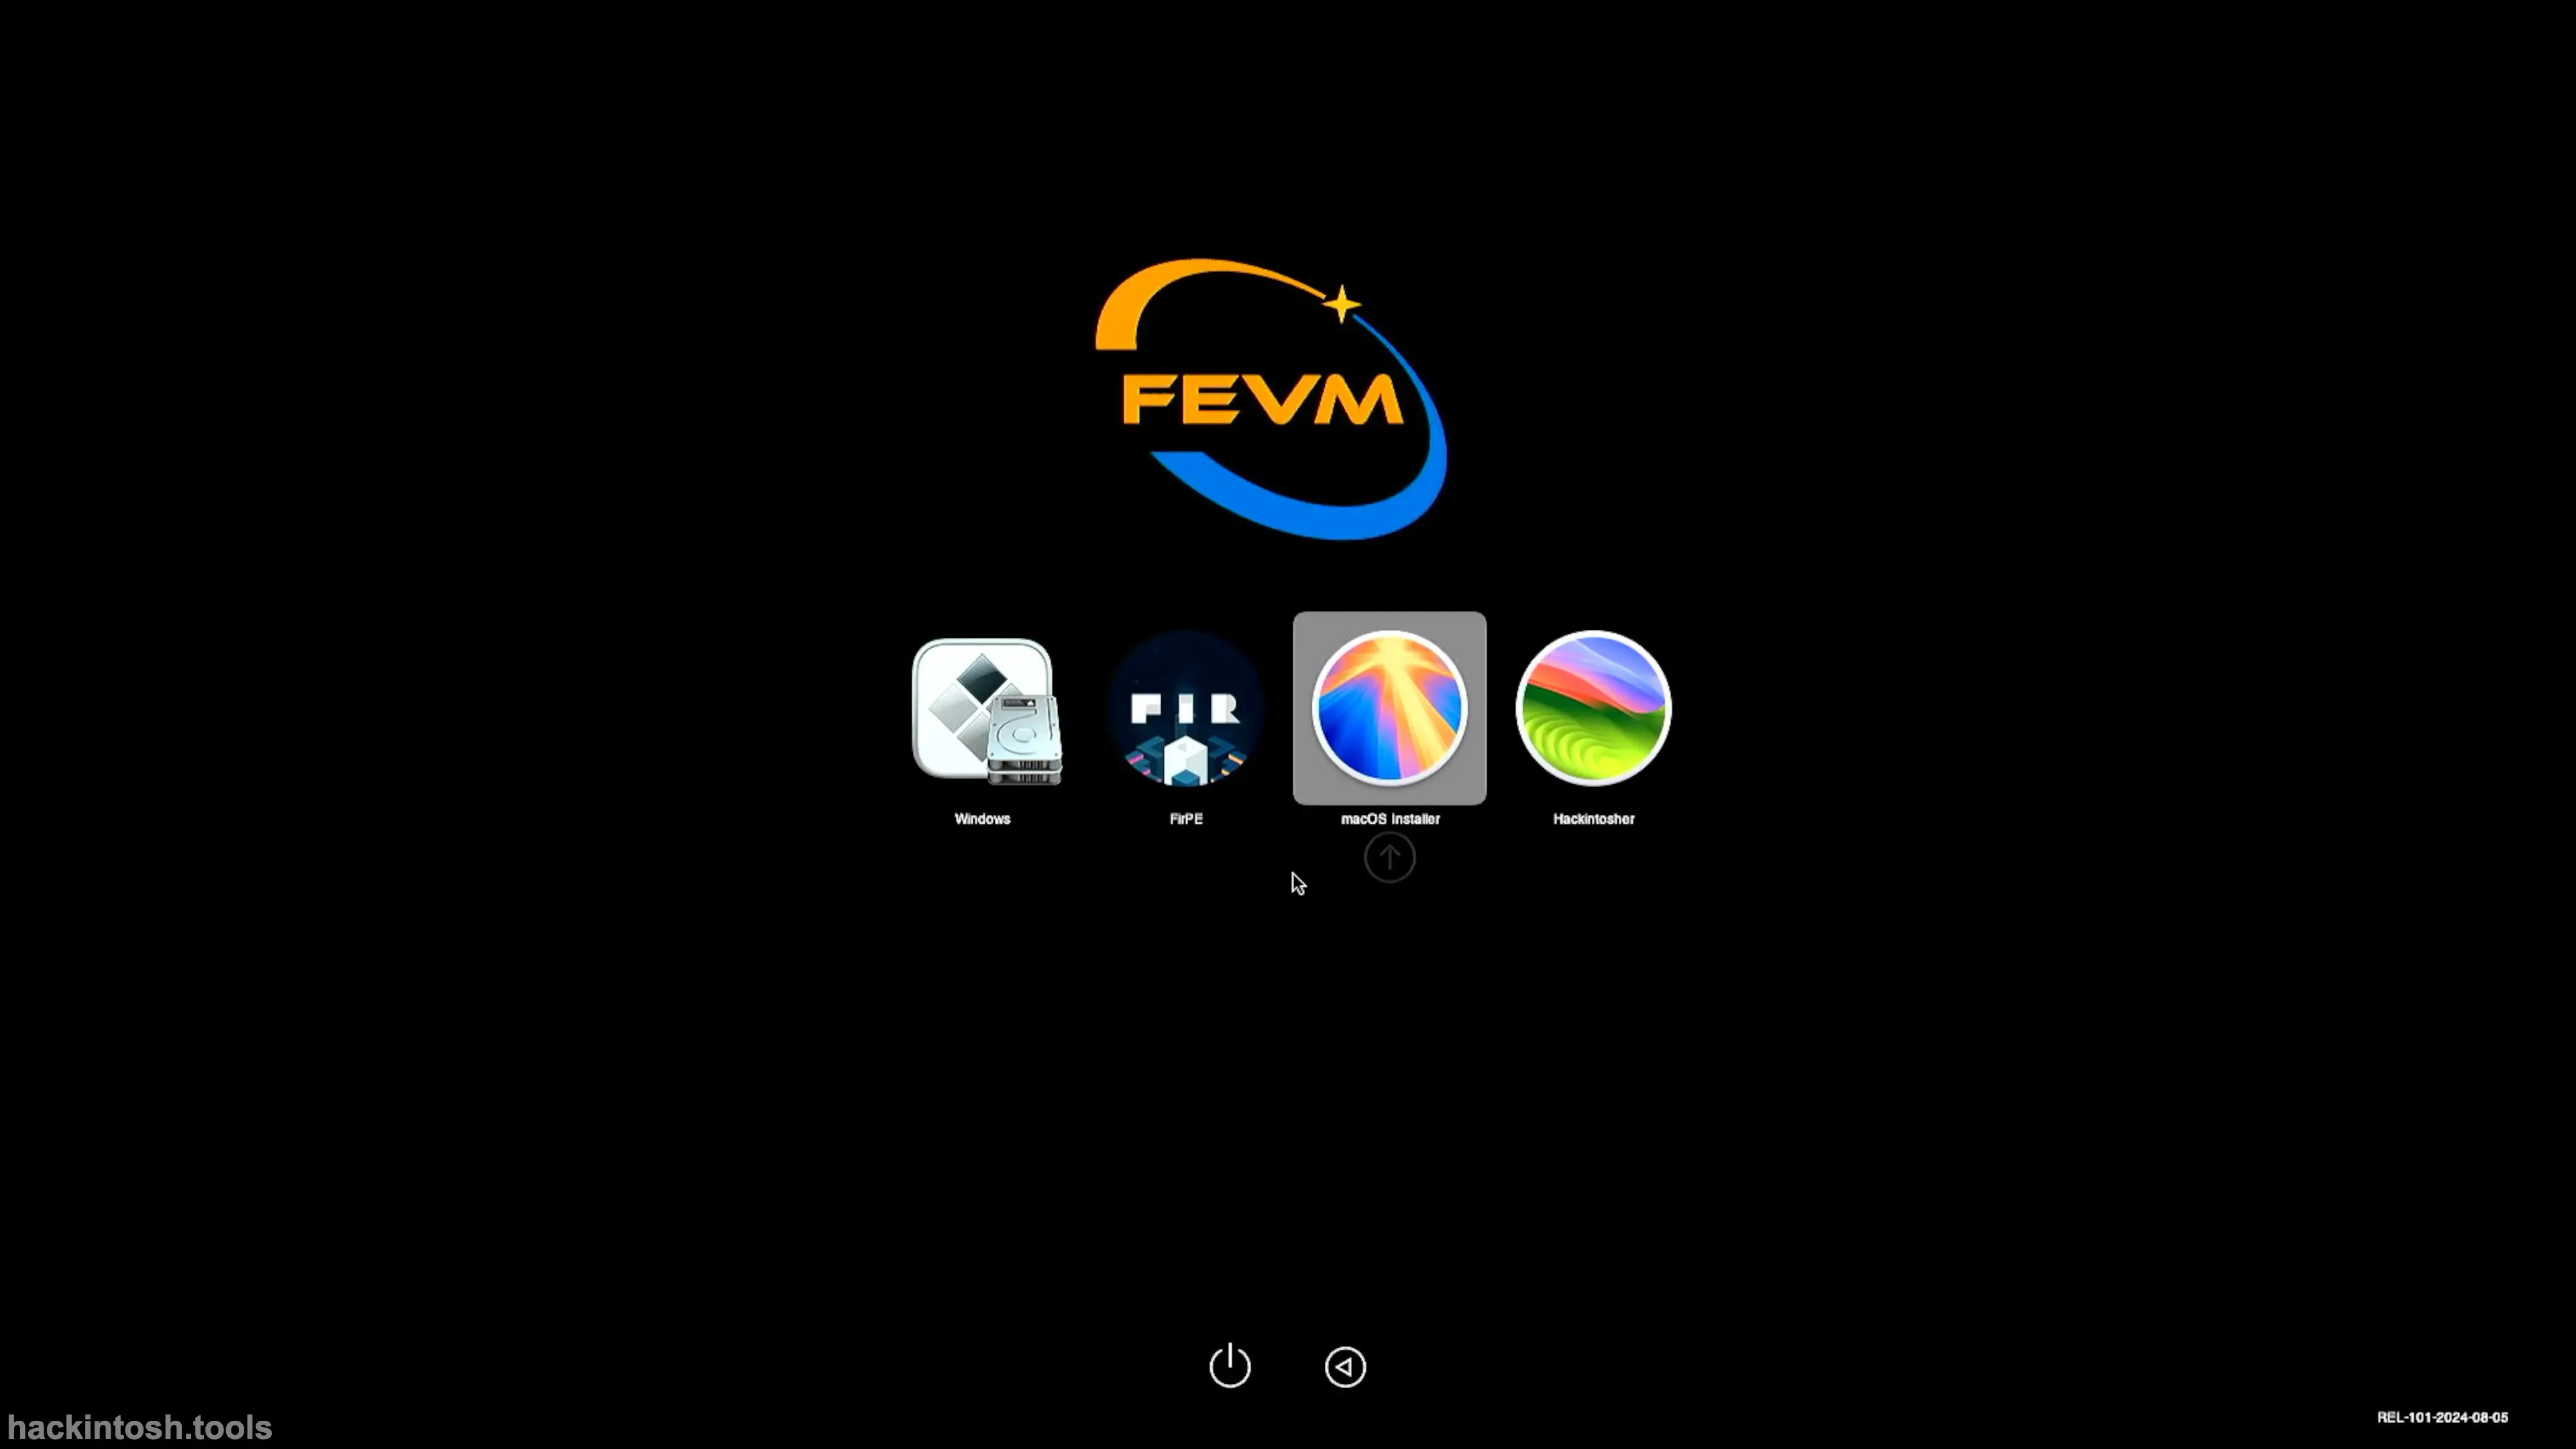
Turn on the computer, press F7 to select USB disk boot, move the cursor to EFI USB Device and select the OpenCore partition to start:
Enter the main boot interface of OpenCore, select Install macOS Sequoia, and directly press Enter to enter the OpenCore boot. During this period, the boot log will be displayed, which is the common -v (verbose mode). If unfortunately it gets stuck, please take a picture and send it to the QQ group for help. You can also go to: Common Problems and Solutions in macOS BigSur 11.0 Installation; those who don't know how to operate OpenCore please study in advance: In - depth Explanation of OpenCore

Many users will encounter problems at this point. If there are problems, please enter the group to report and provide pictures of the problem and the machine configuration diagram. Asking questions without providing any information is irresponsible.
This process takes 1 - 2 minutes. Wait patiently and enter the installation program.
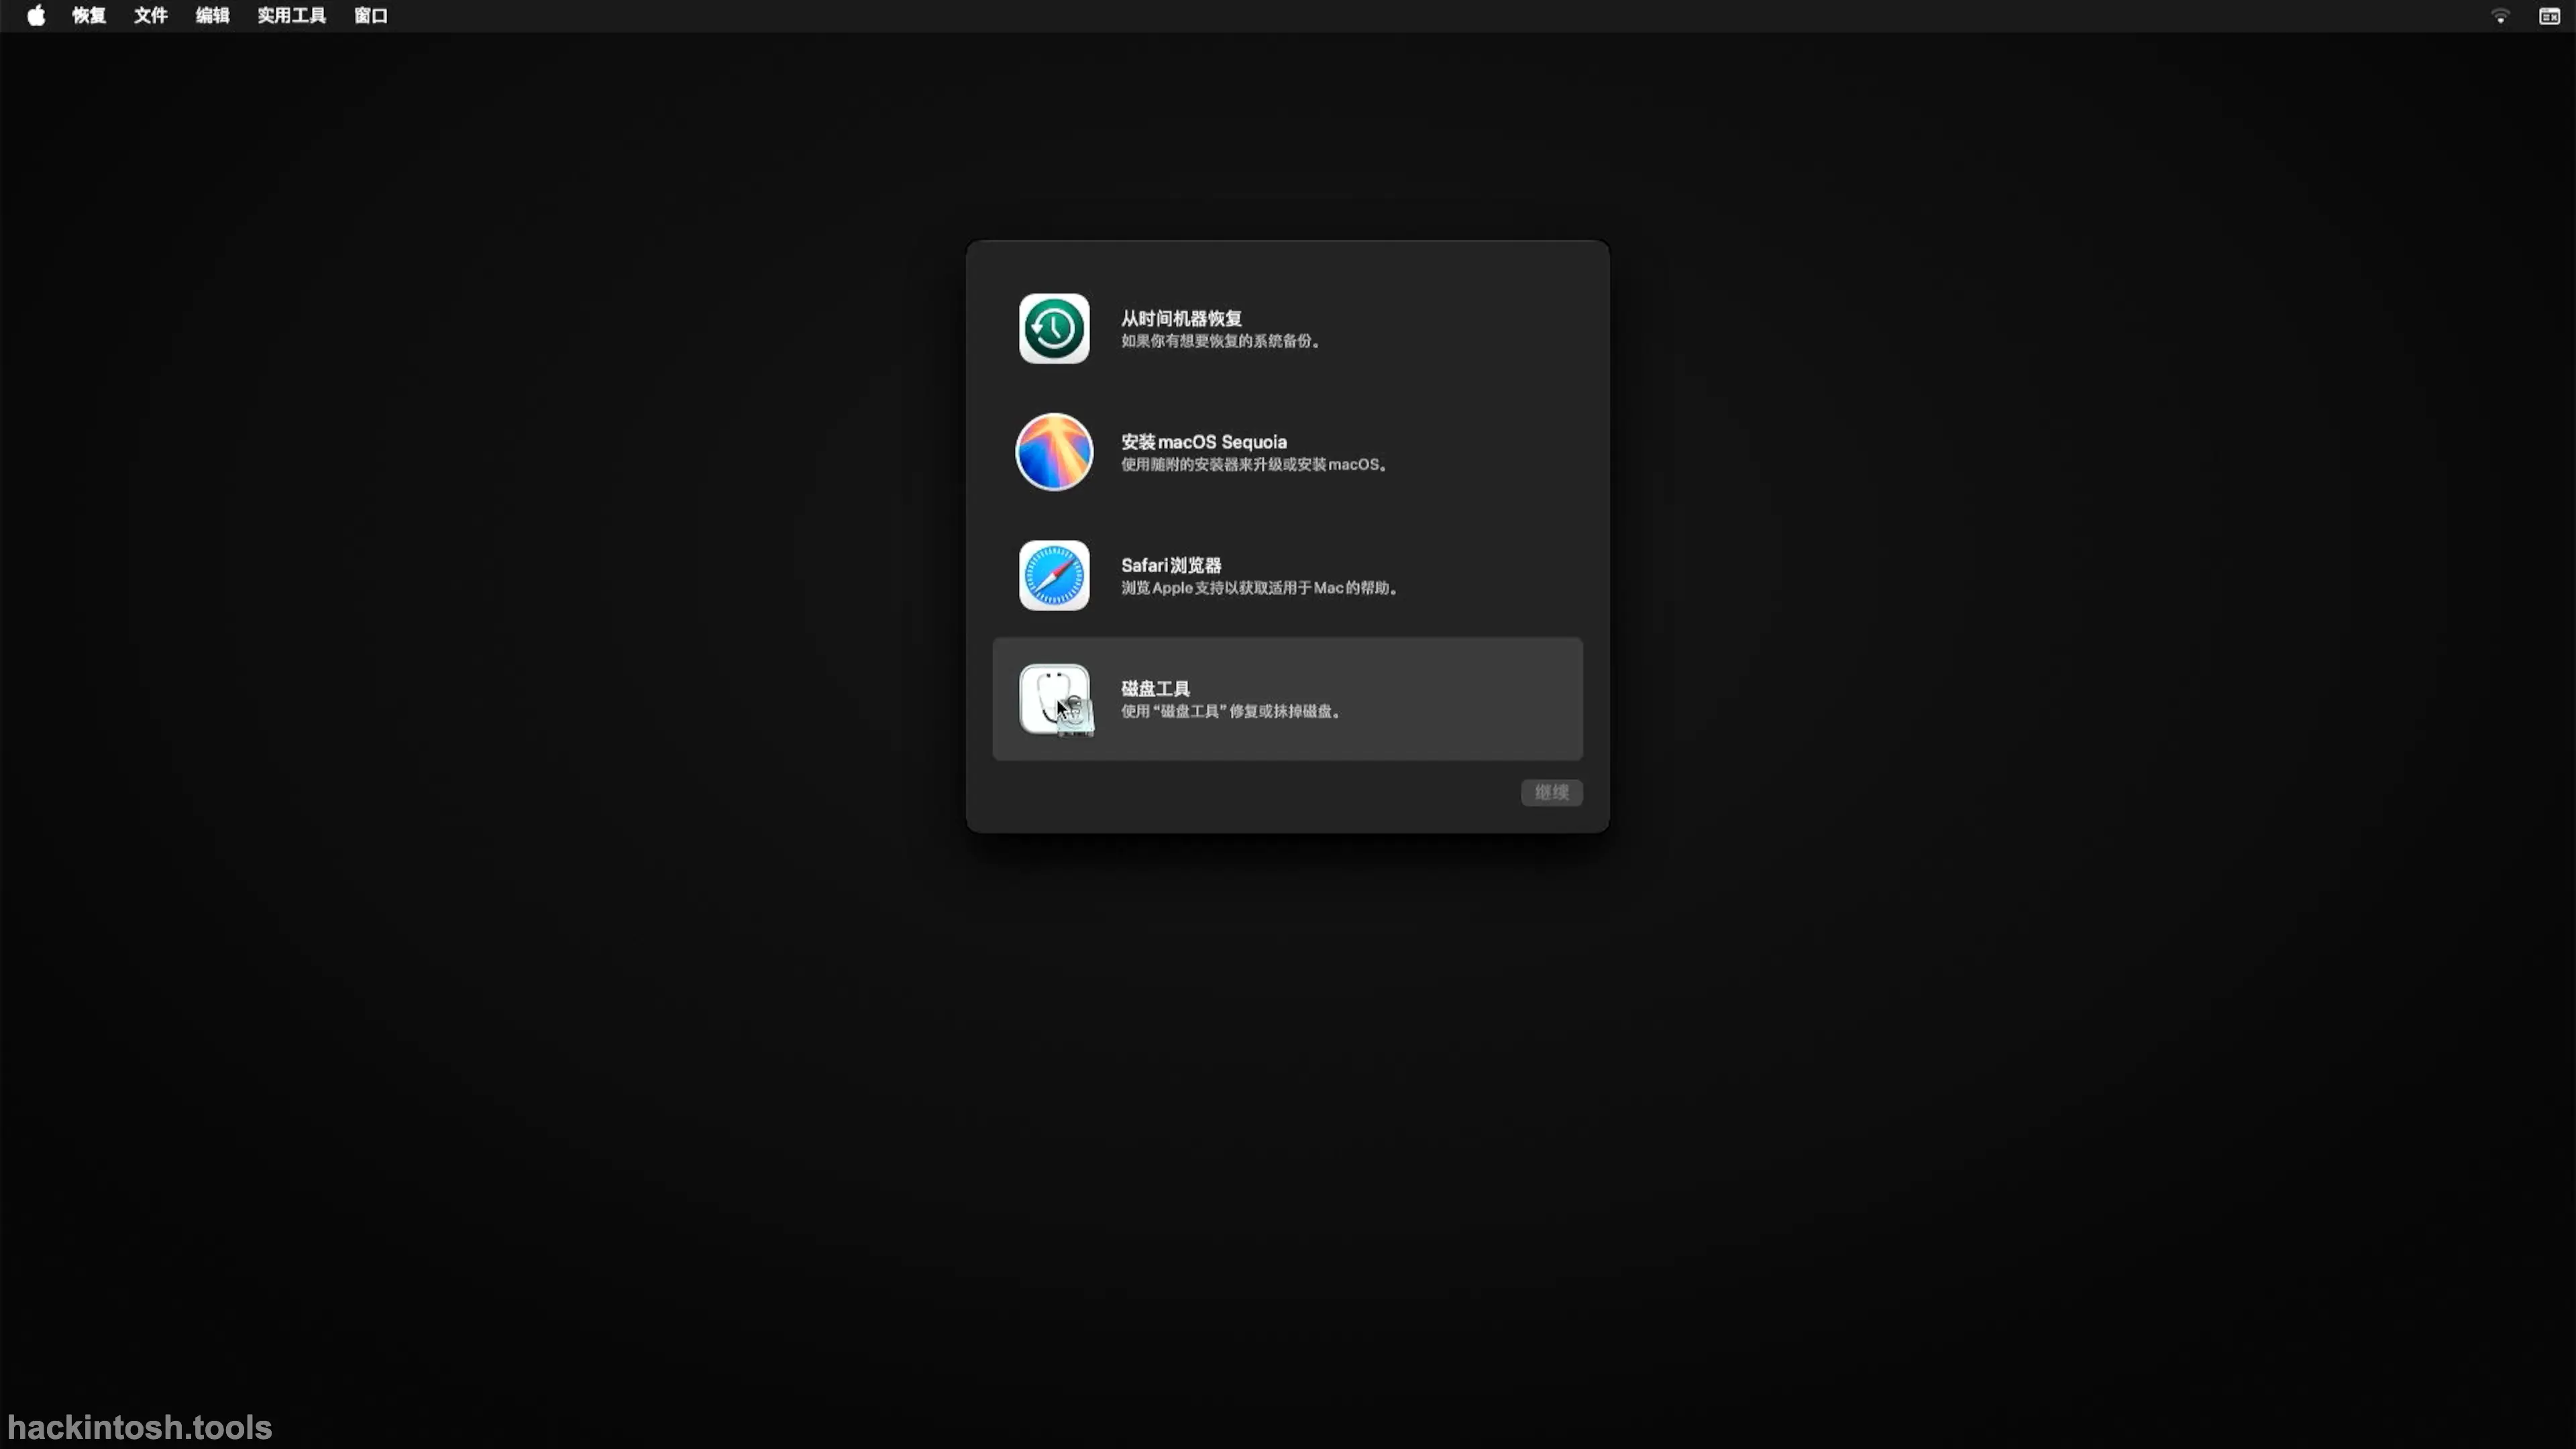
The installation interface appears. Select Disk Utility and click Continue.
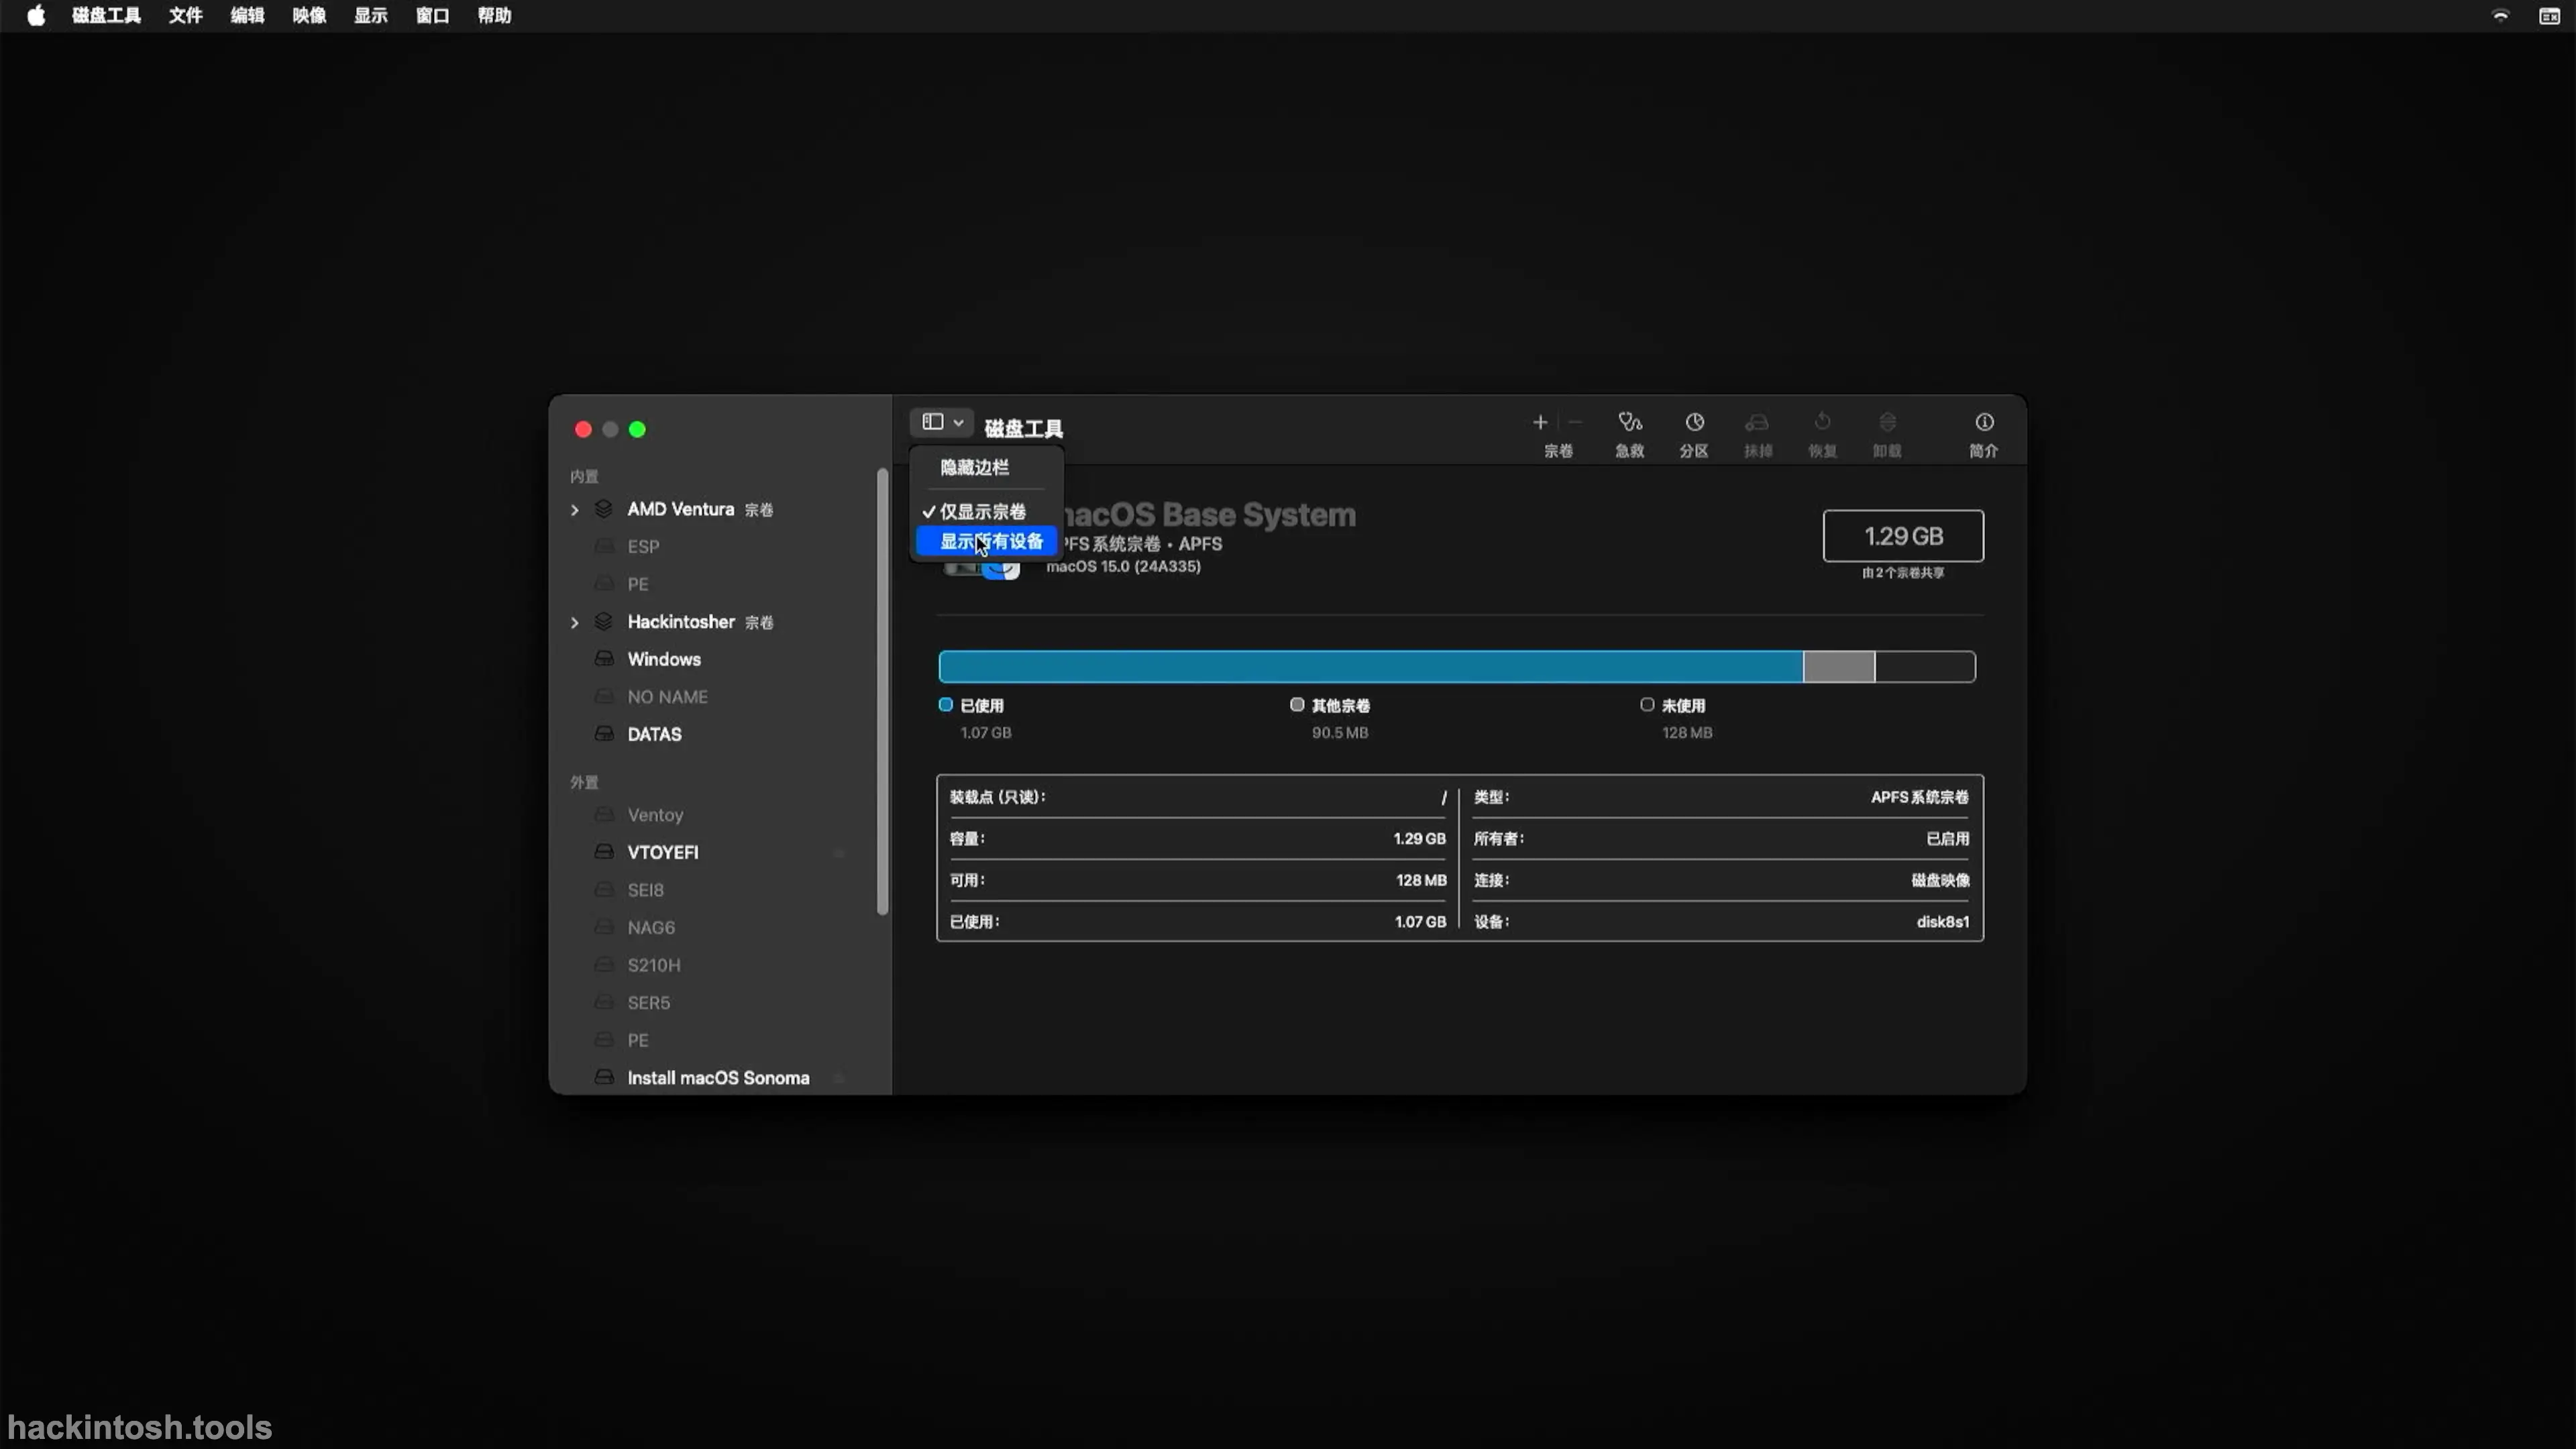
Enter Disk Utility, click as shown in the figure below, and select Show All Devices.
The operations performed in
Disk Utilityinvolve your data security. Please confirm carefully before operating. Otherwise, this site will not be responsible for all consequences caused thereby.
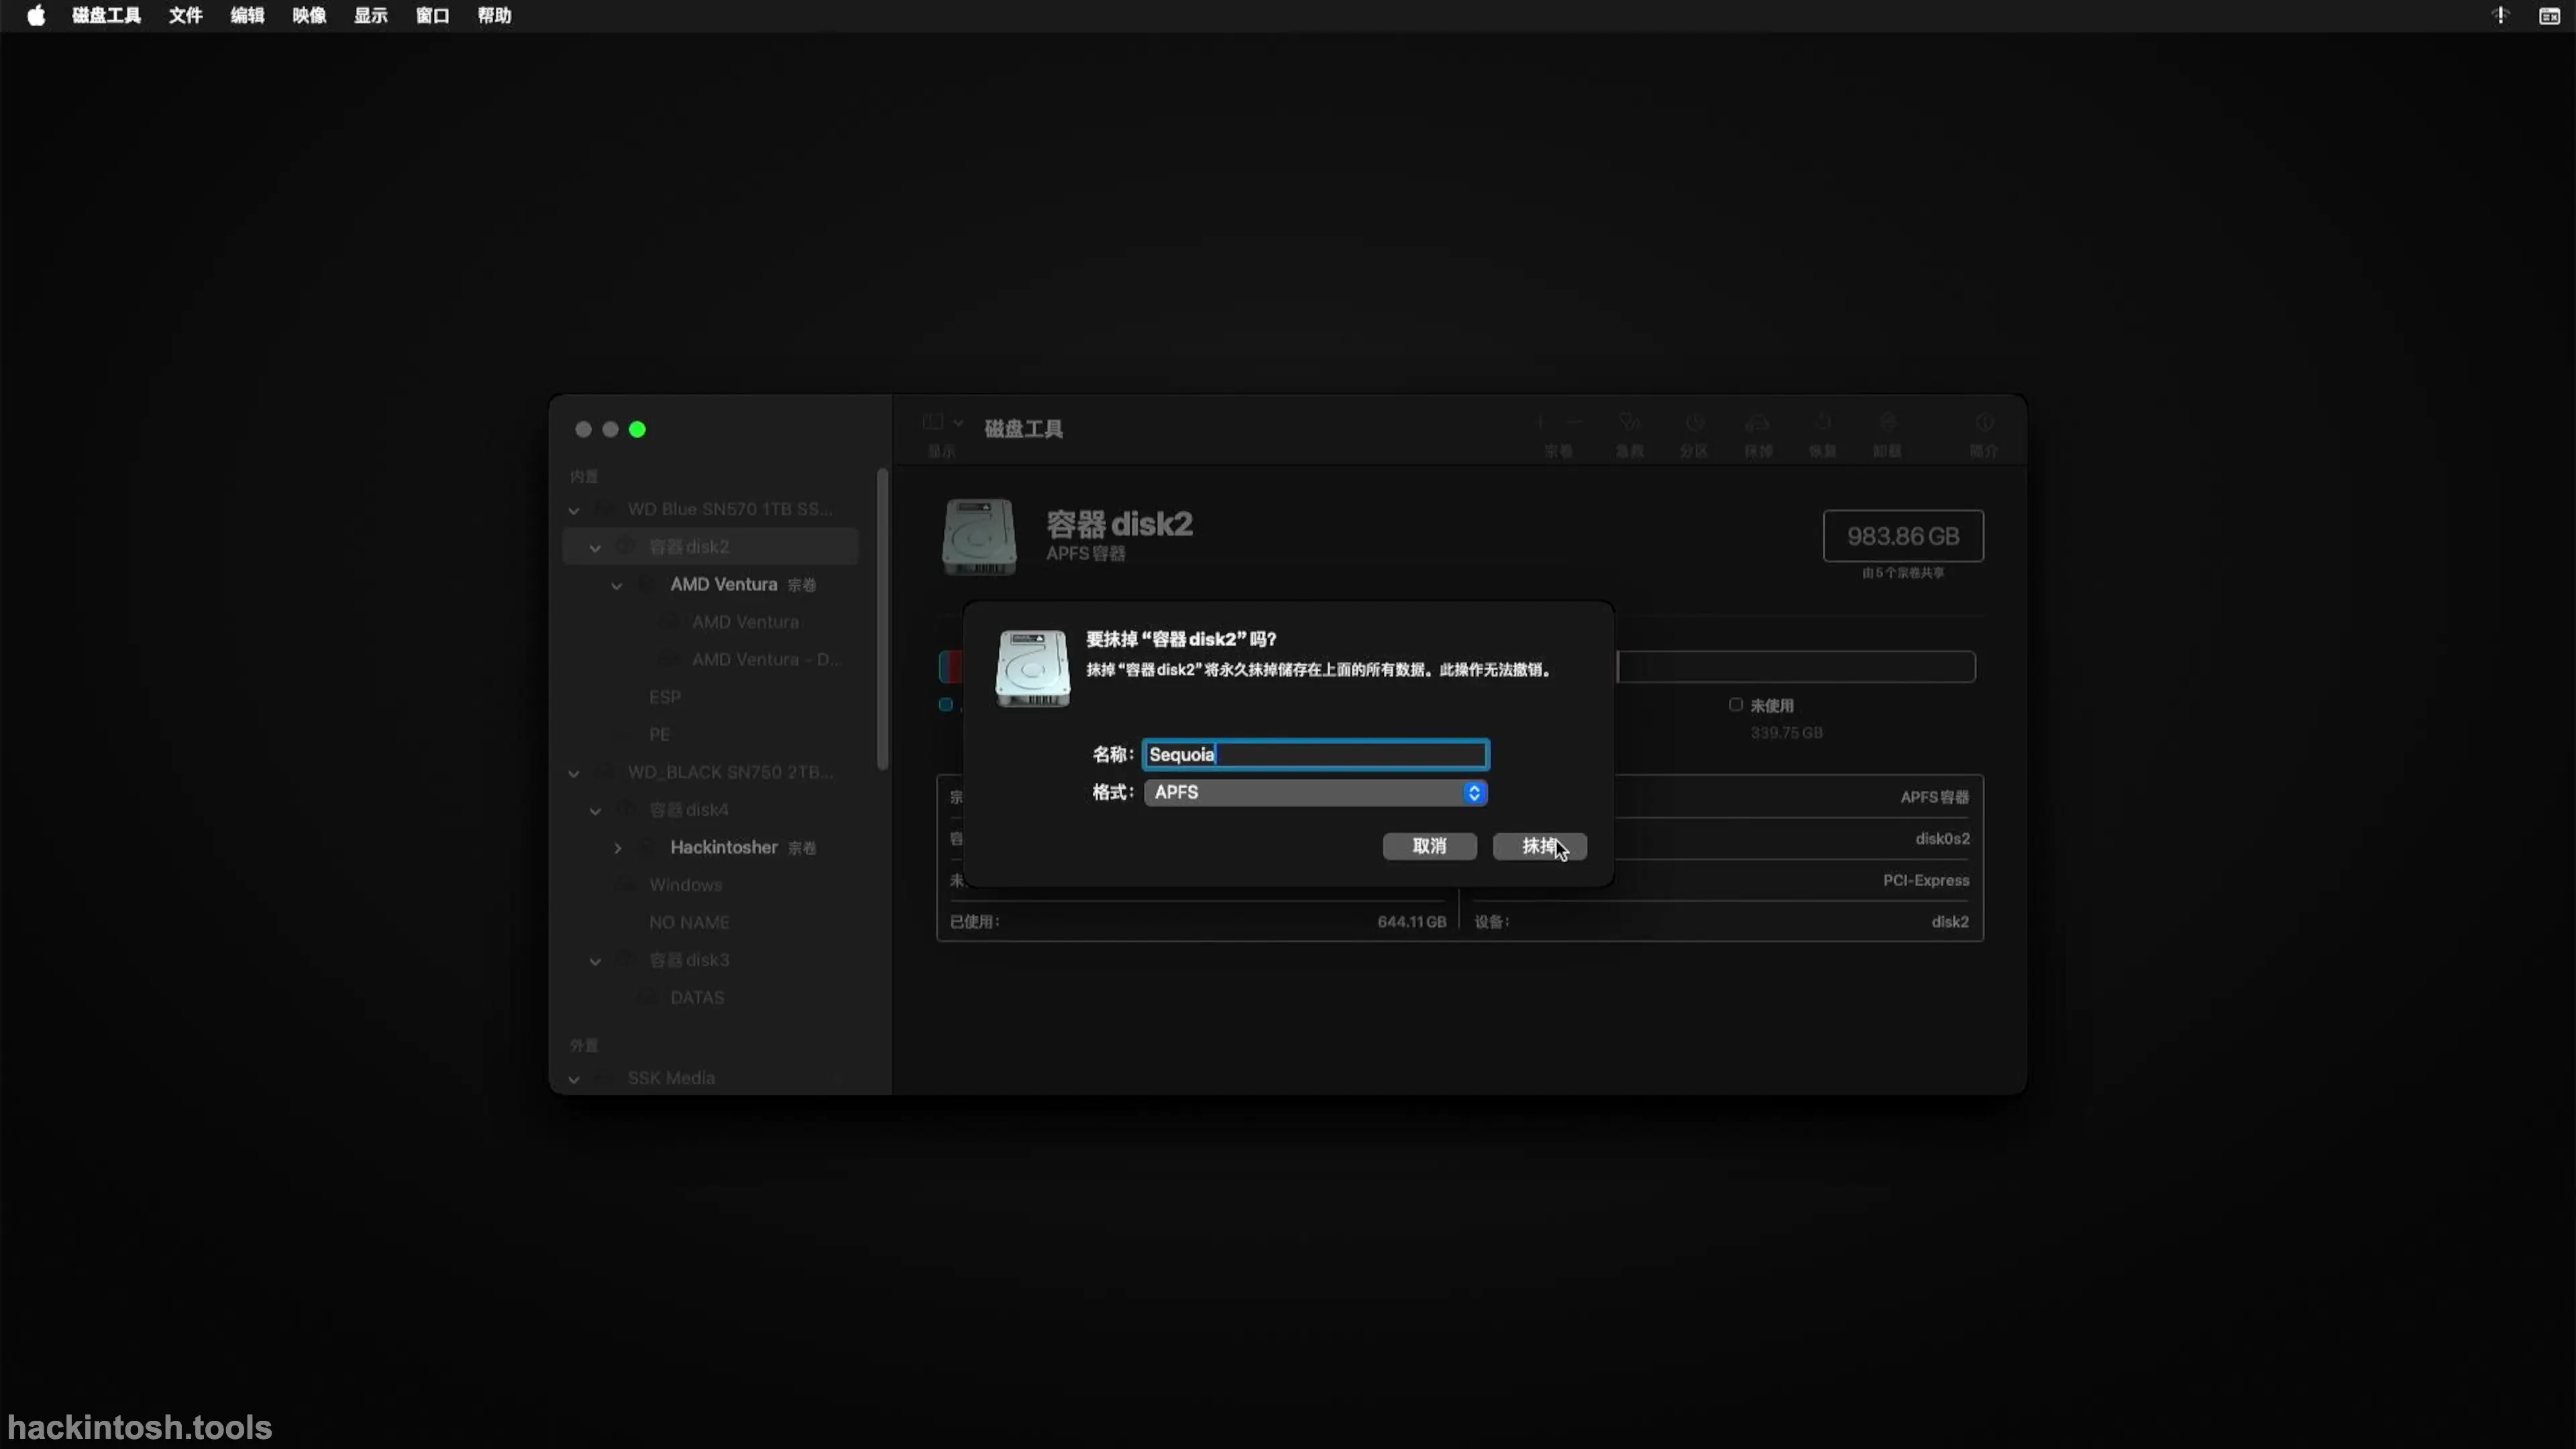
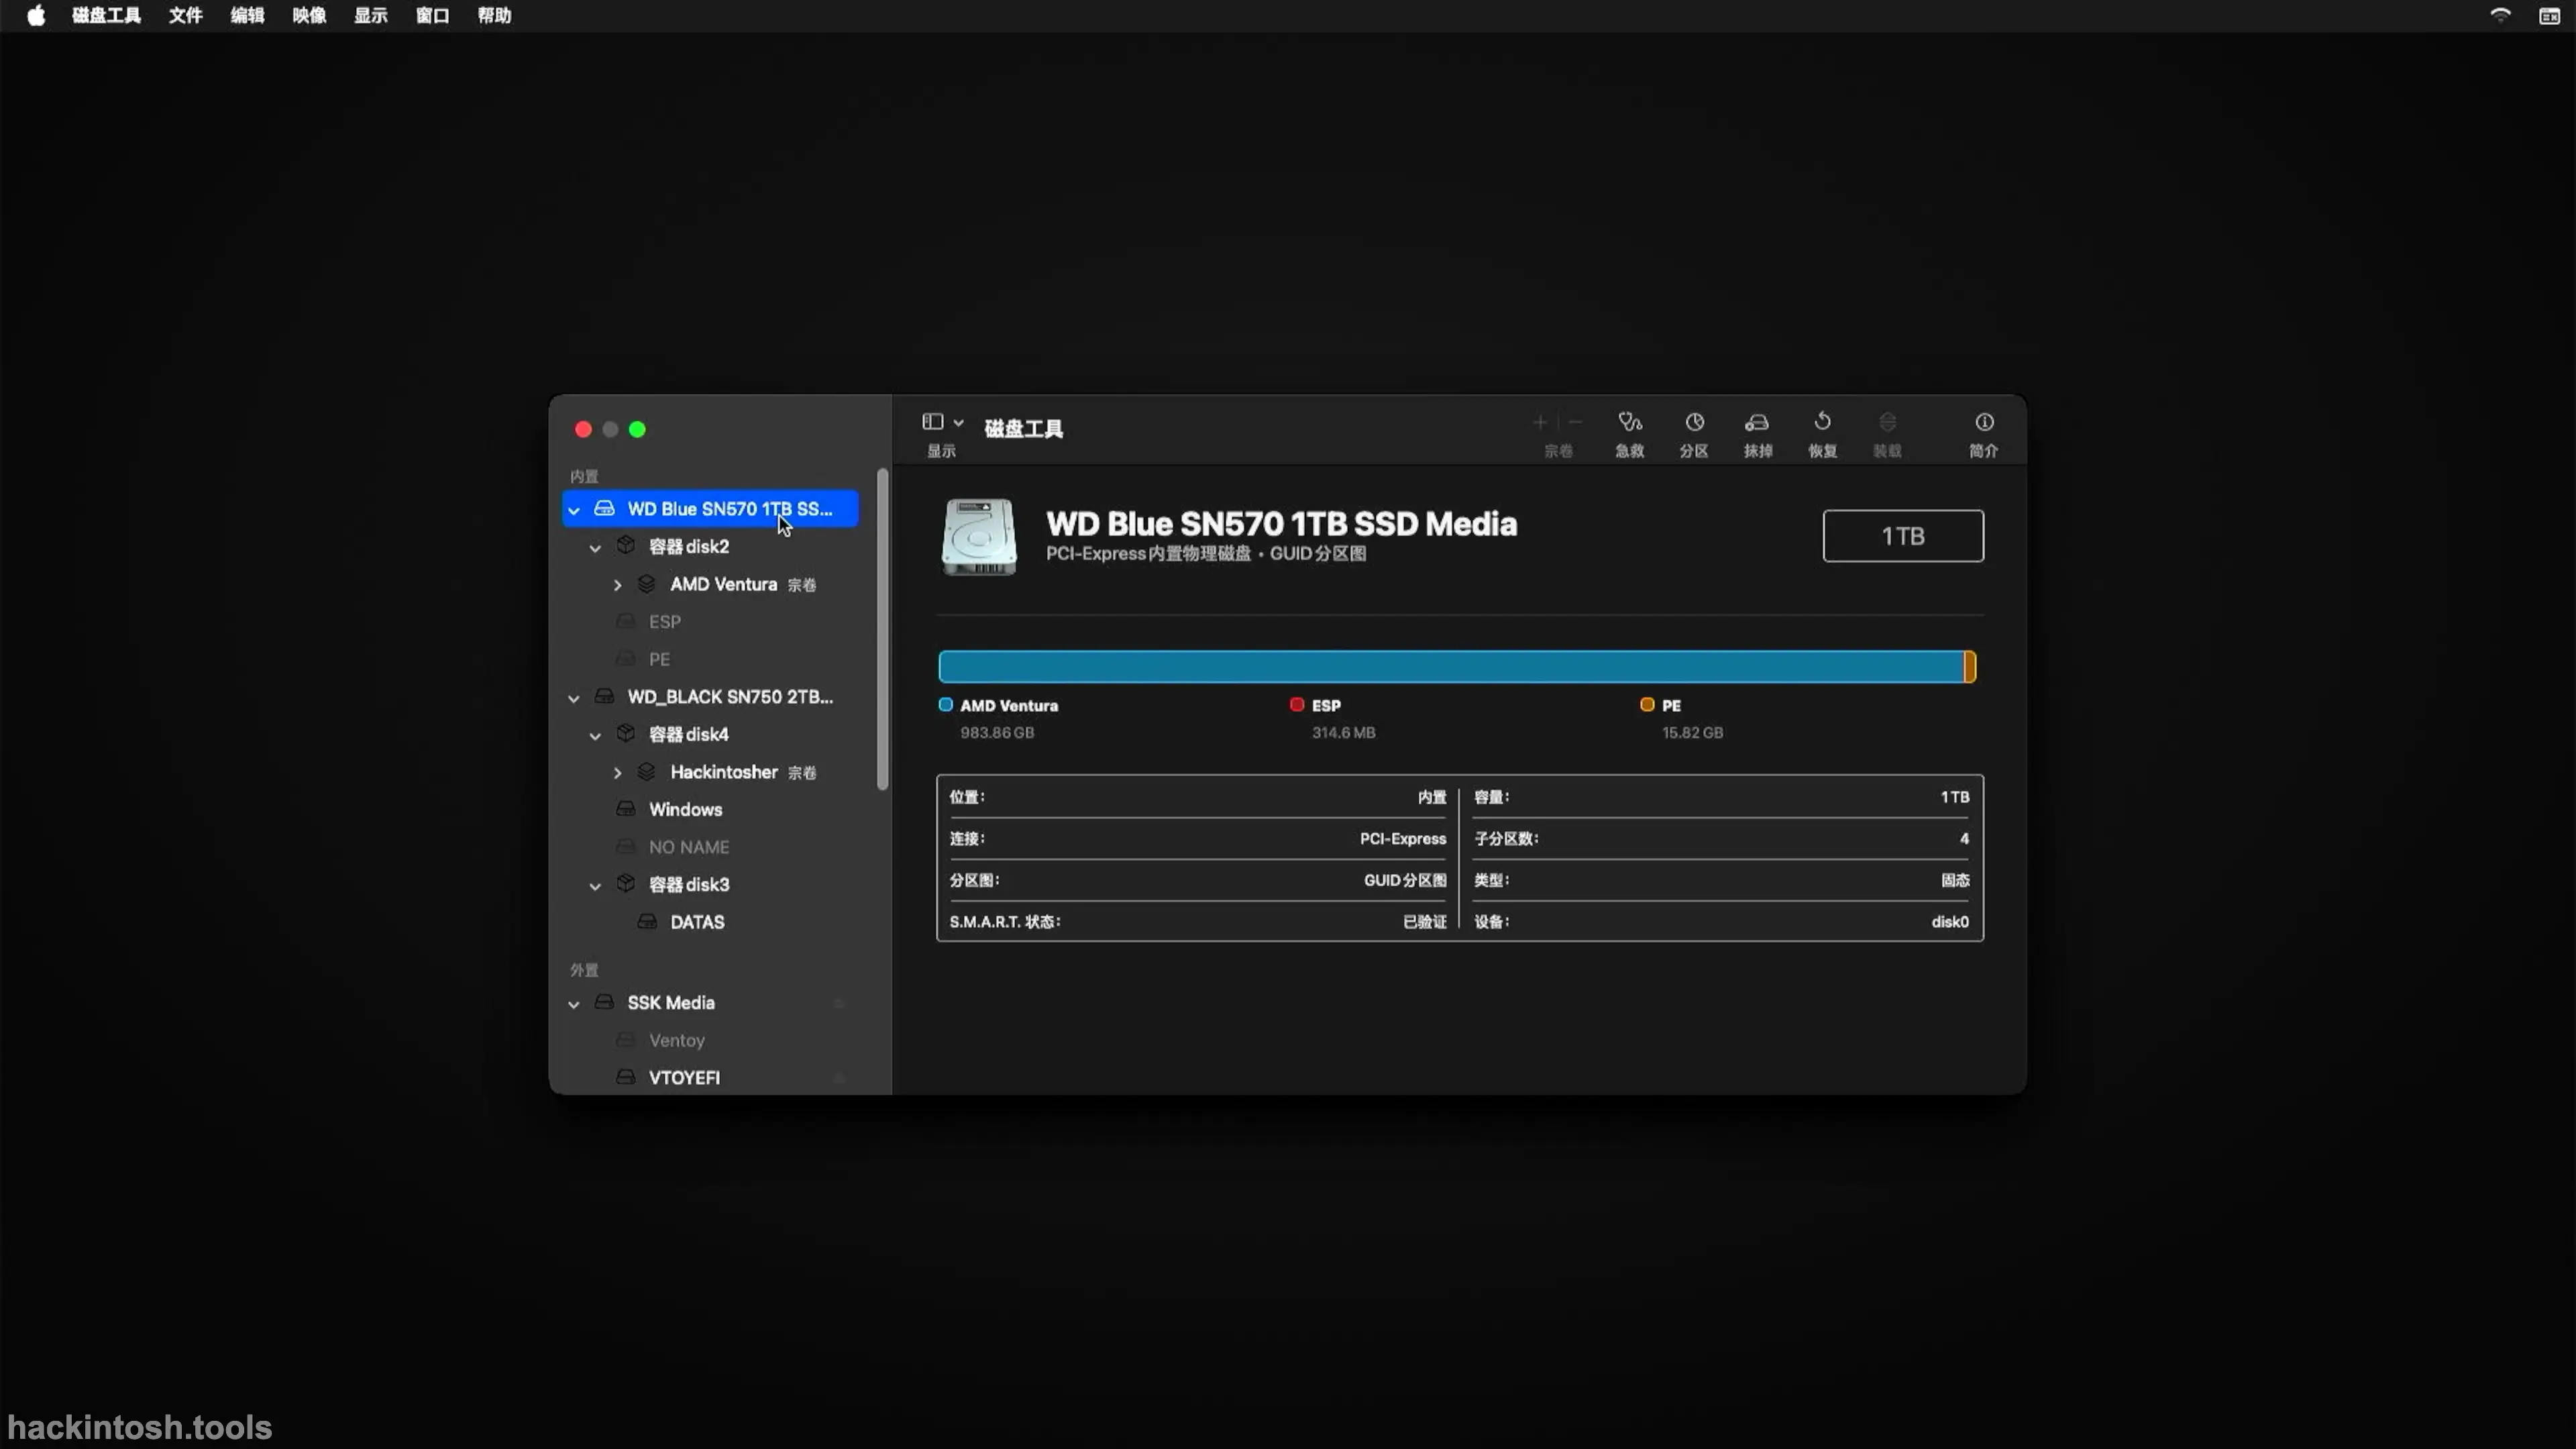
In the figure, directly erase the container instead of the entire disk. It can retain the EFI content previously copied into the EFI partition; In this example, container disk2 is the name of the container to be installed. You can also click the AMD Ventura volume in the row below container disk2, and then click Erase in the upper - right corner. Please select the corresponding disk according to your device
Click Erase, enter in the pop - up window: Name: Sequoia; Format: APFS;
Assume that your disk is empty or the data has been backed up. Don't blame me for not reminding you!!!
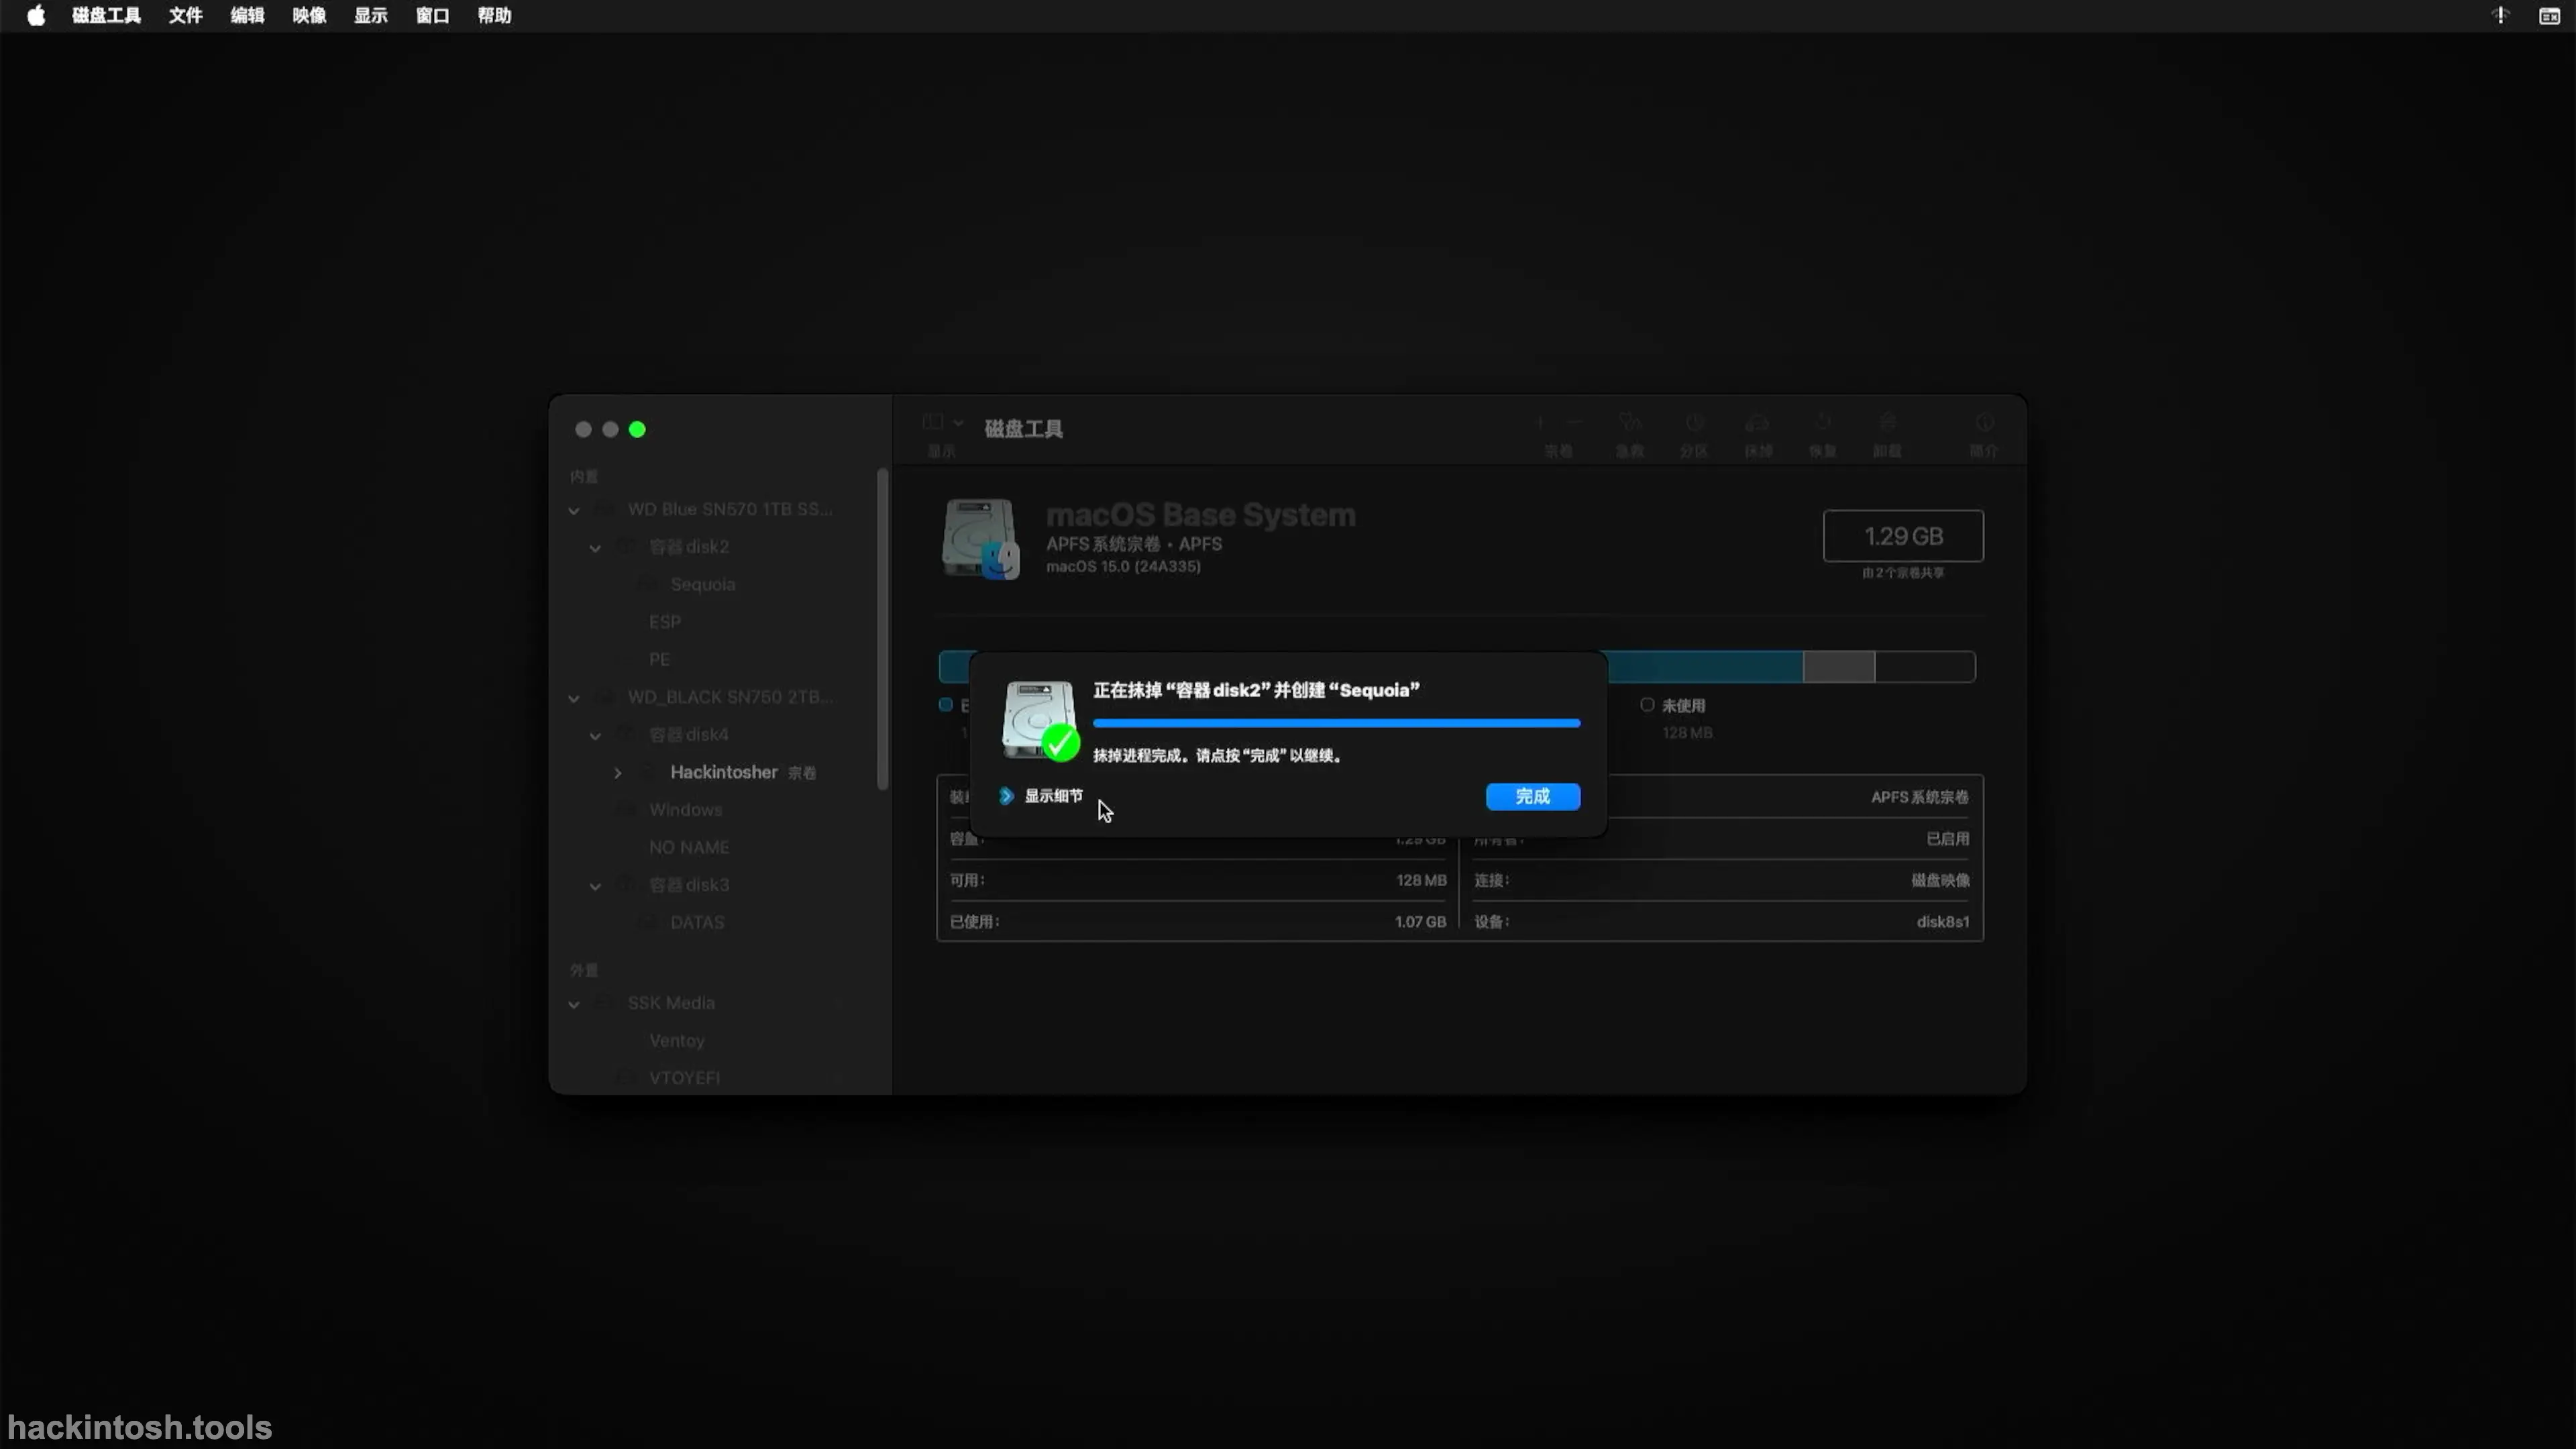
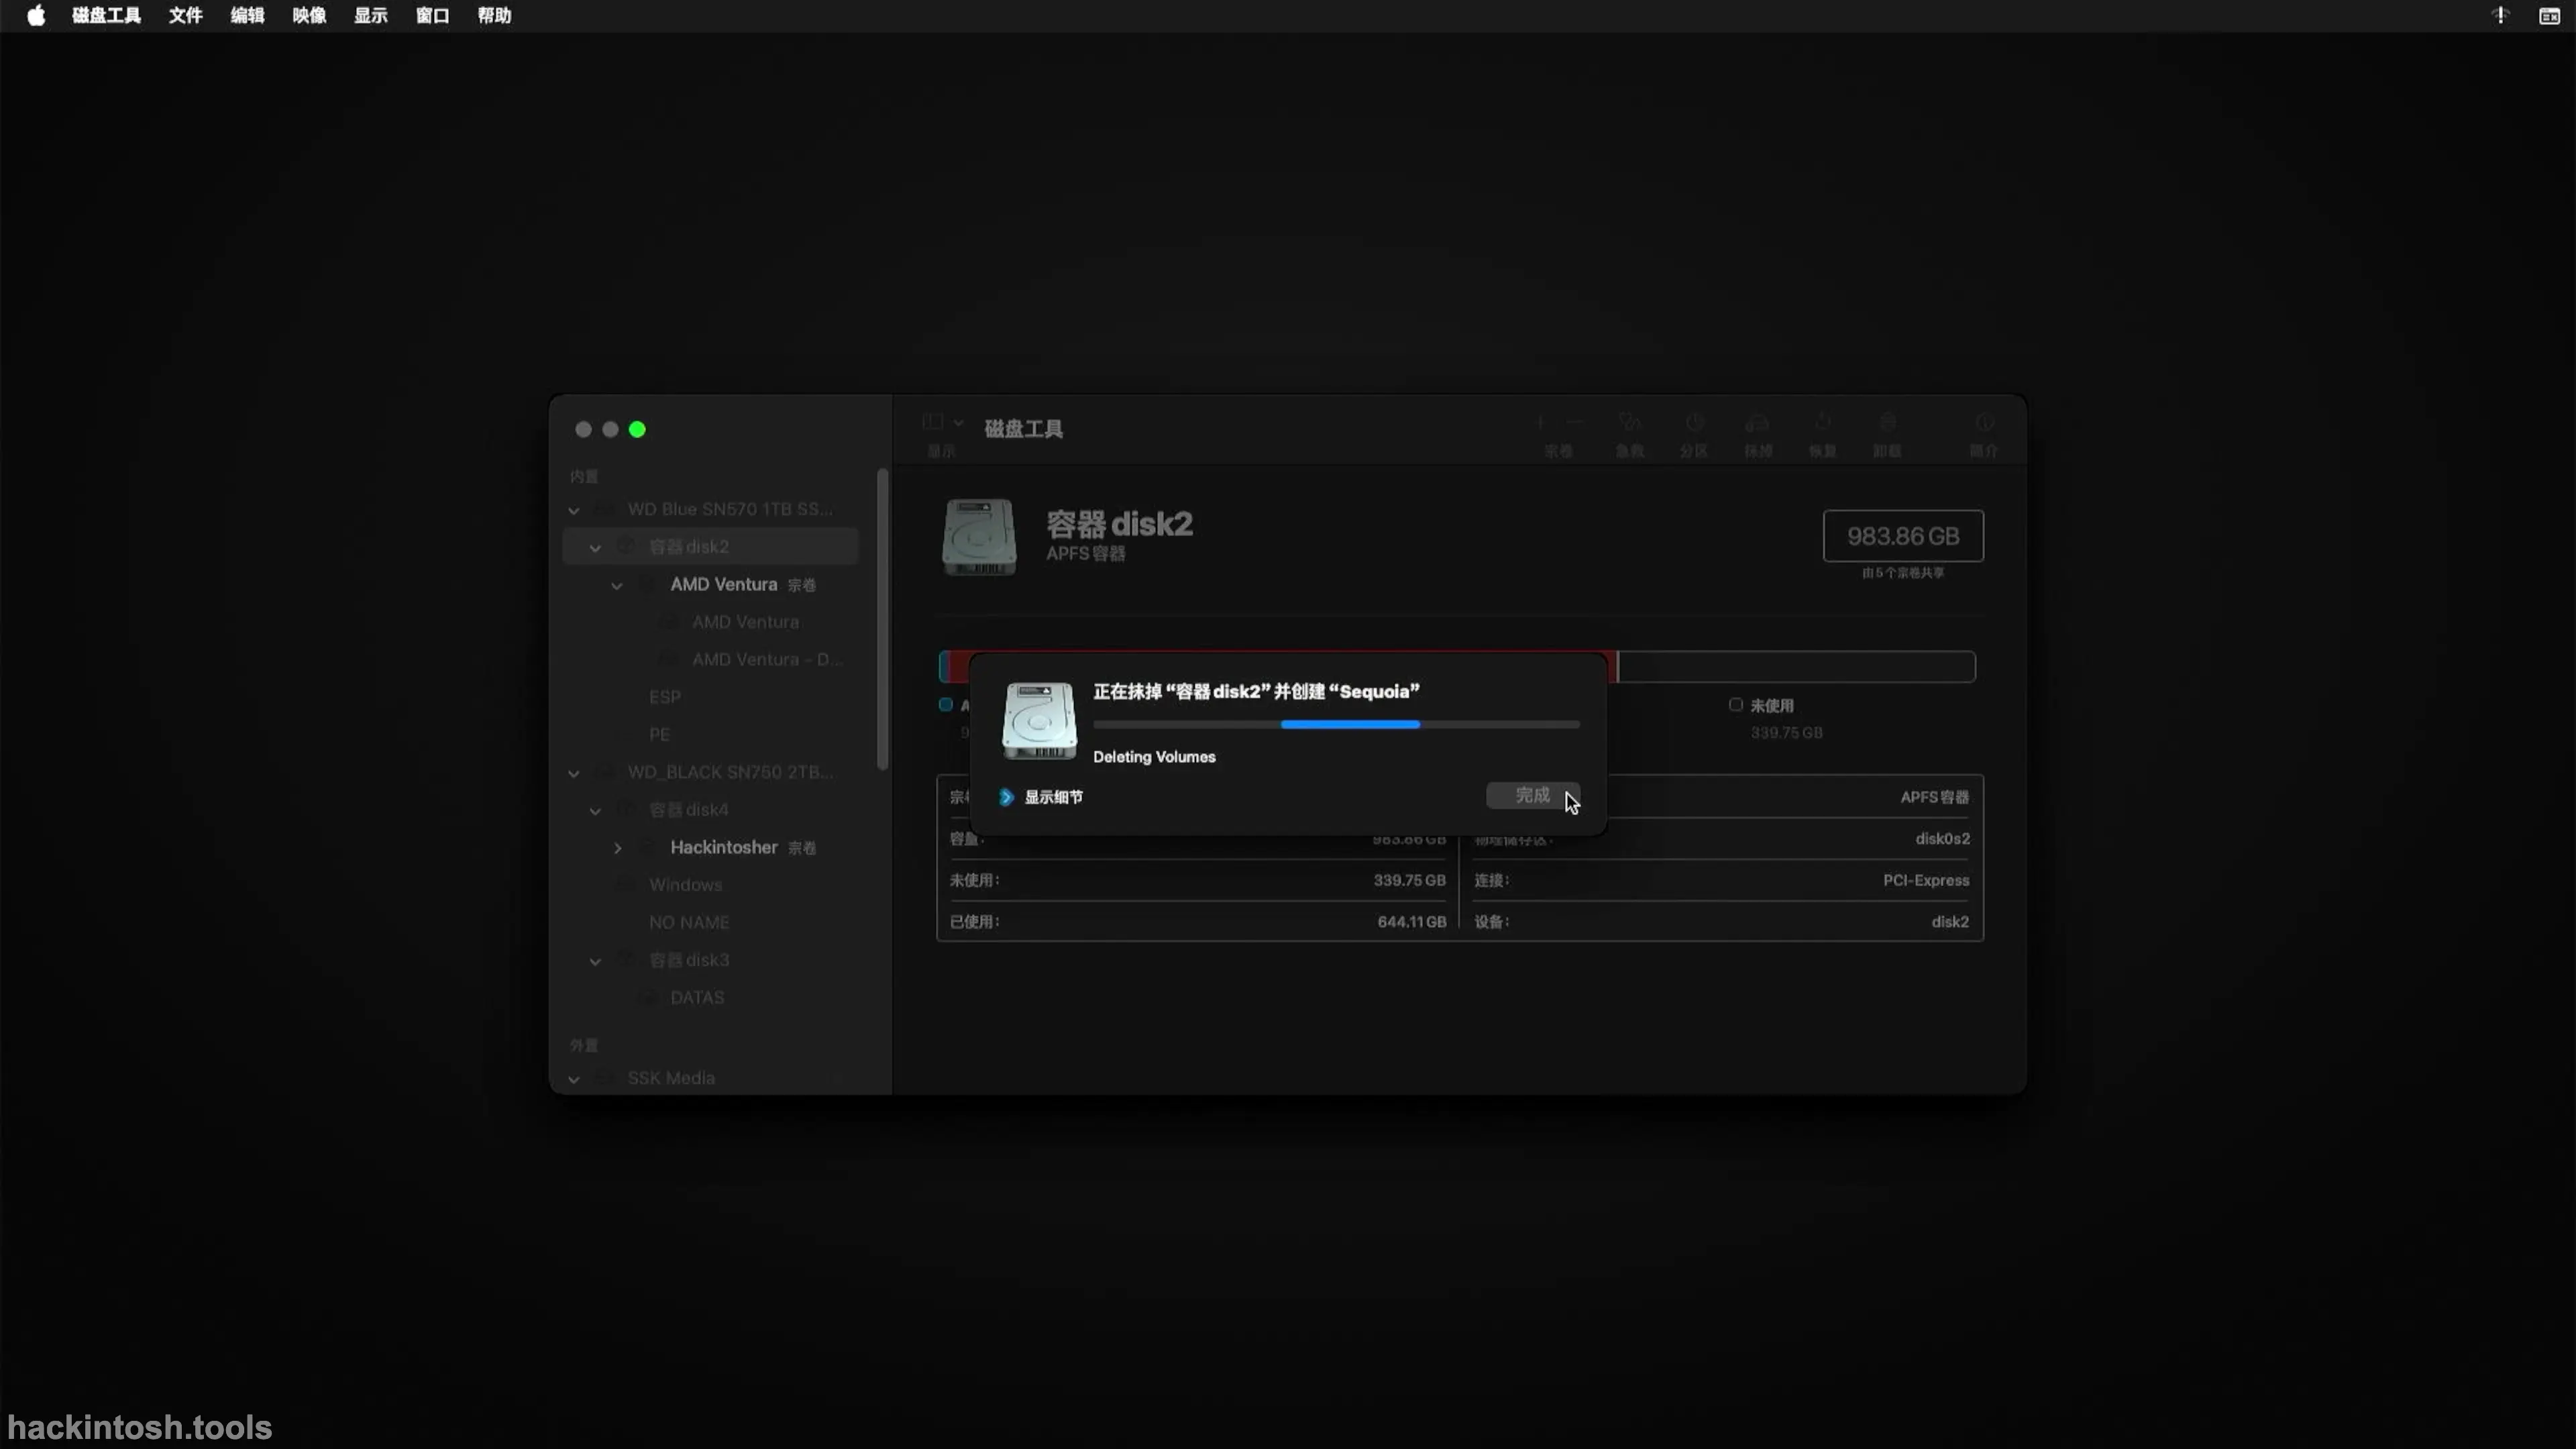
Click Erase, then wait for the operation to end, click Done, and either choose Quit Disk Utility from the menu or press the red button in the upper - left corner of the window to leave the disk utility.
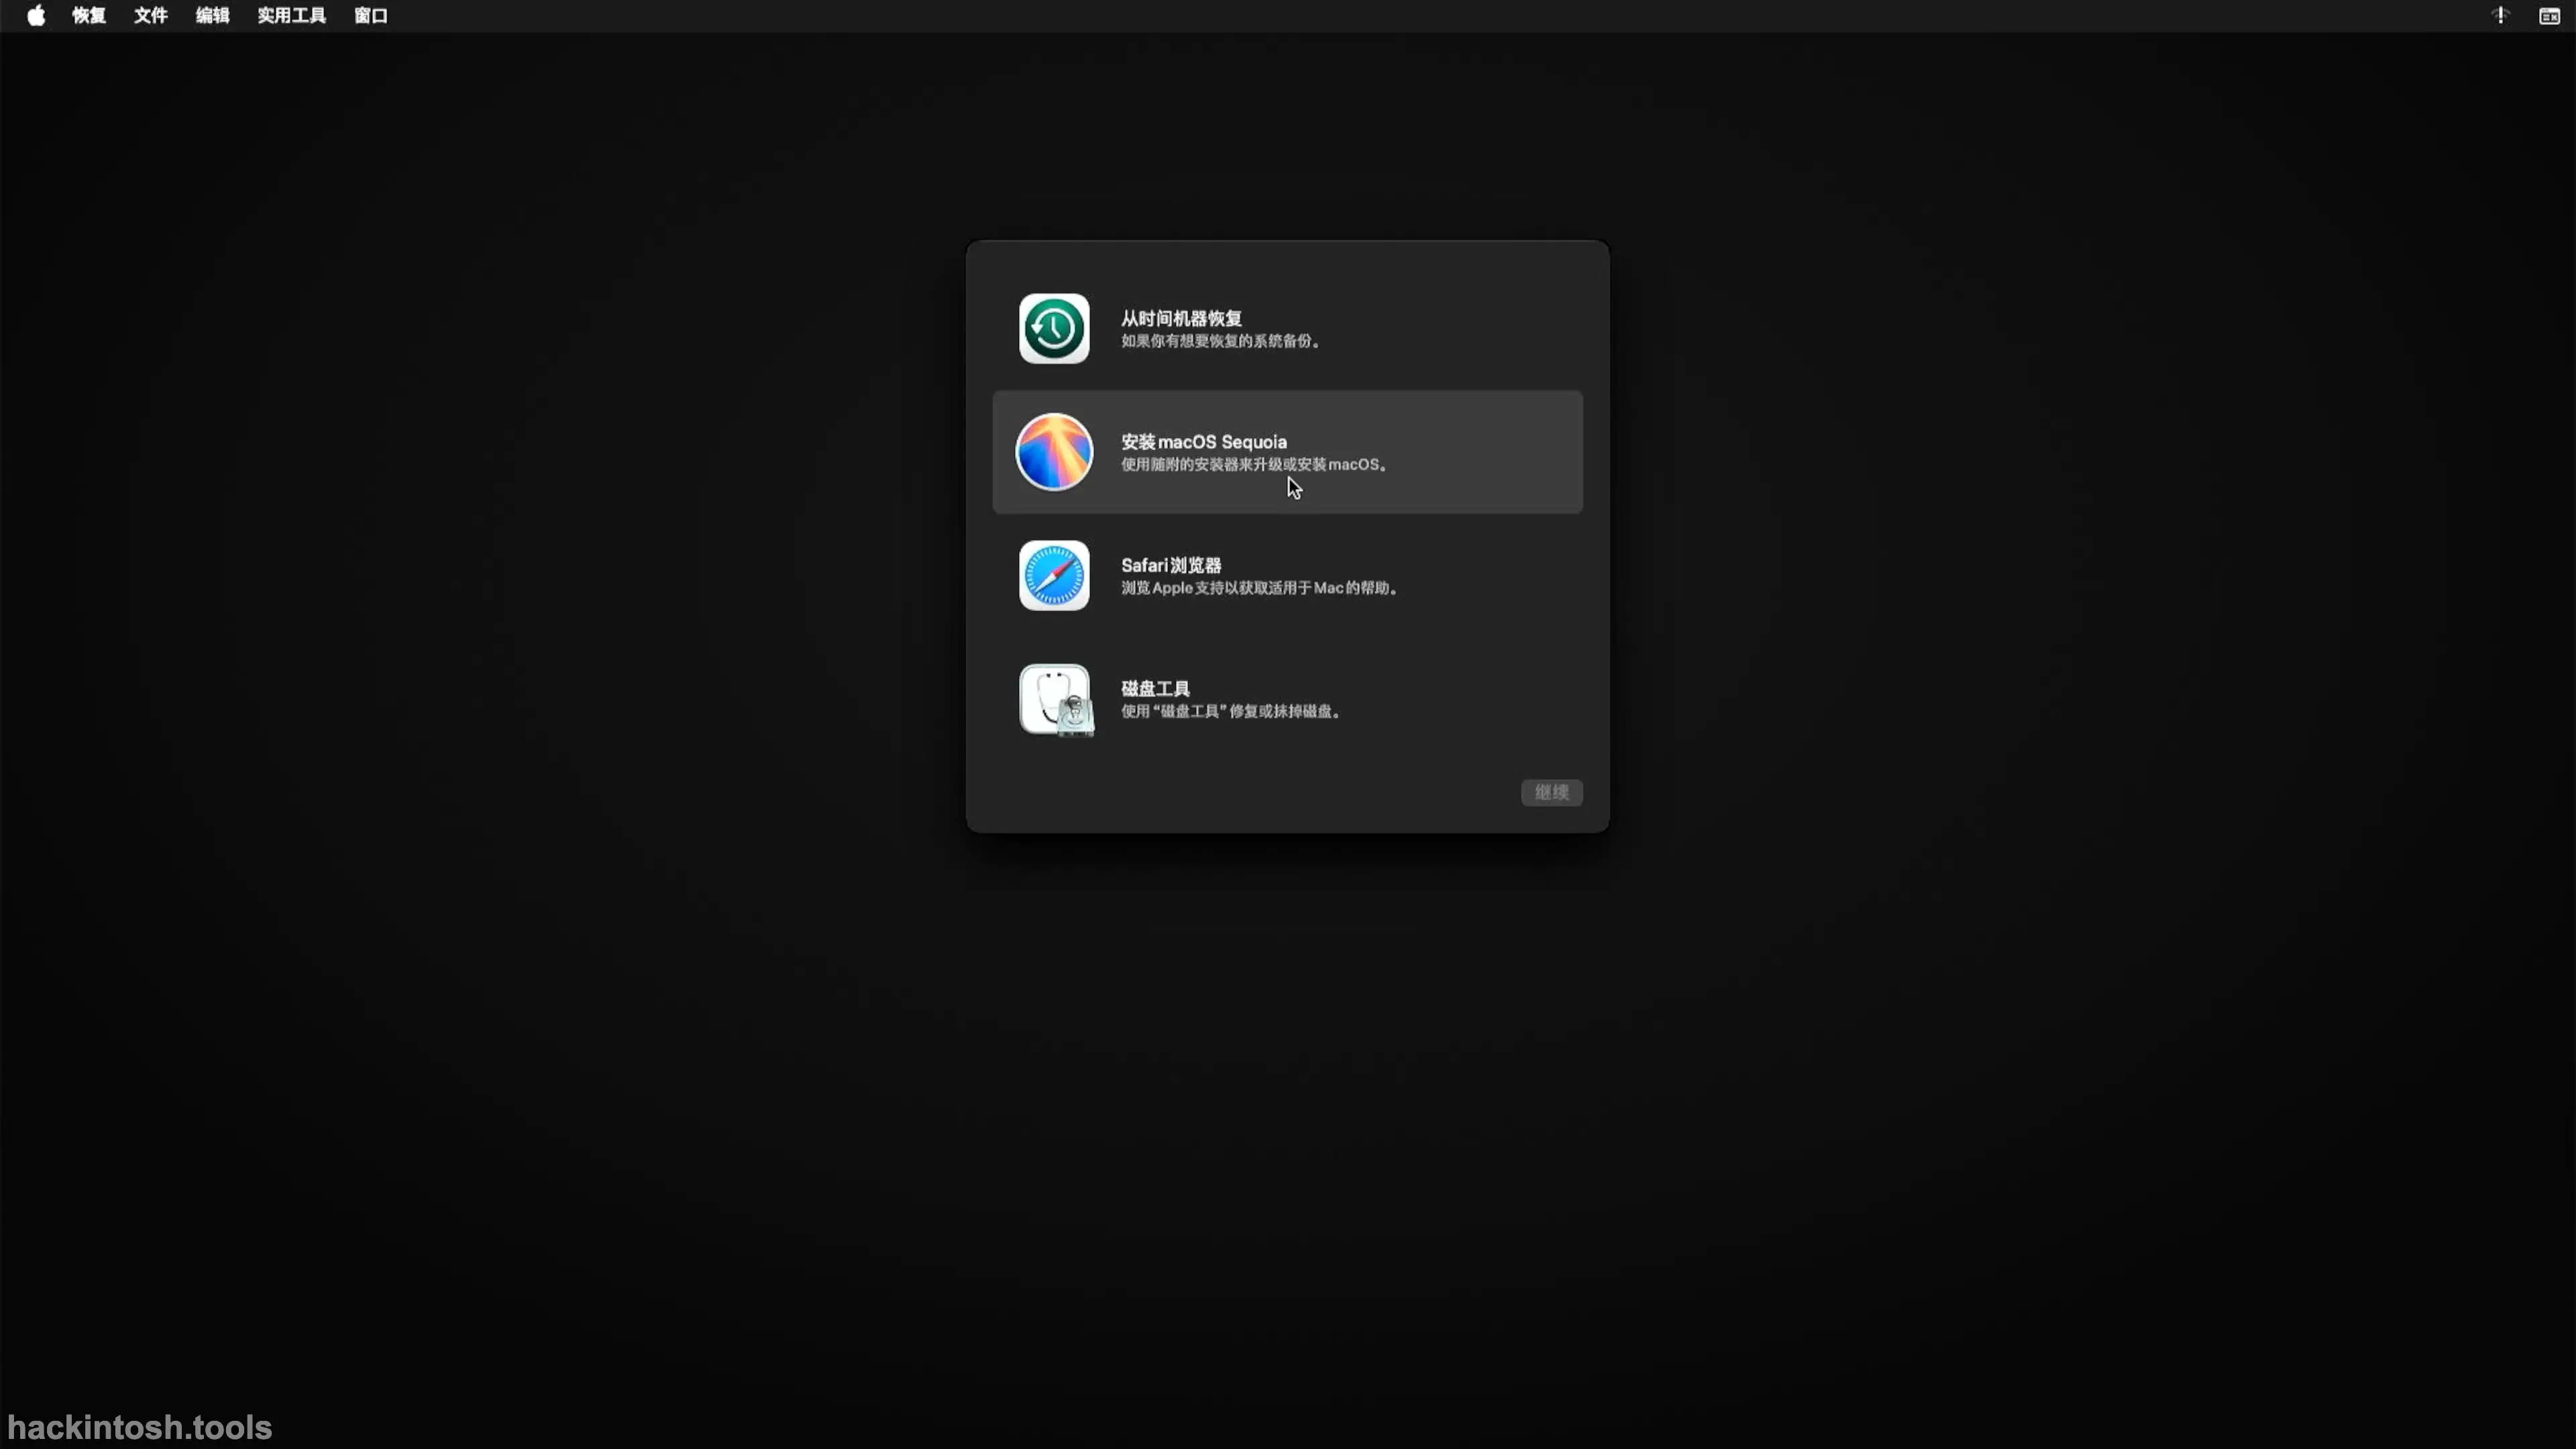
Return to the installation interface, select Install macOS Sequoia, and click Continue.

Click Agree to continue.
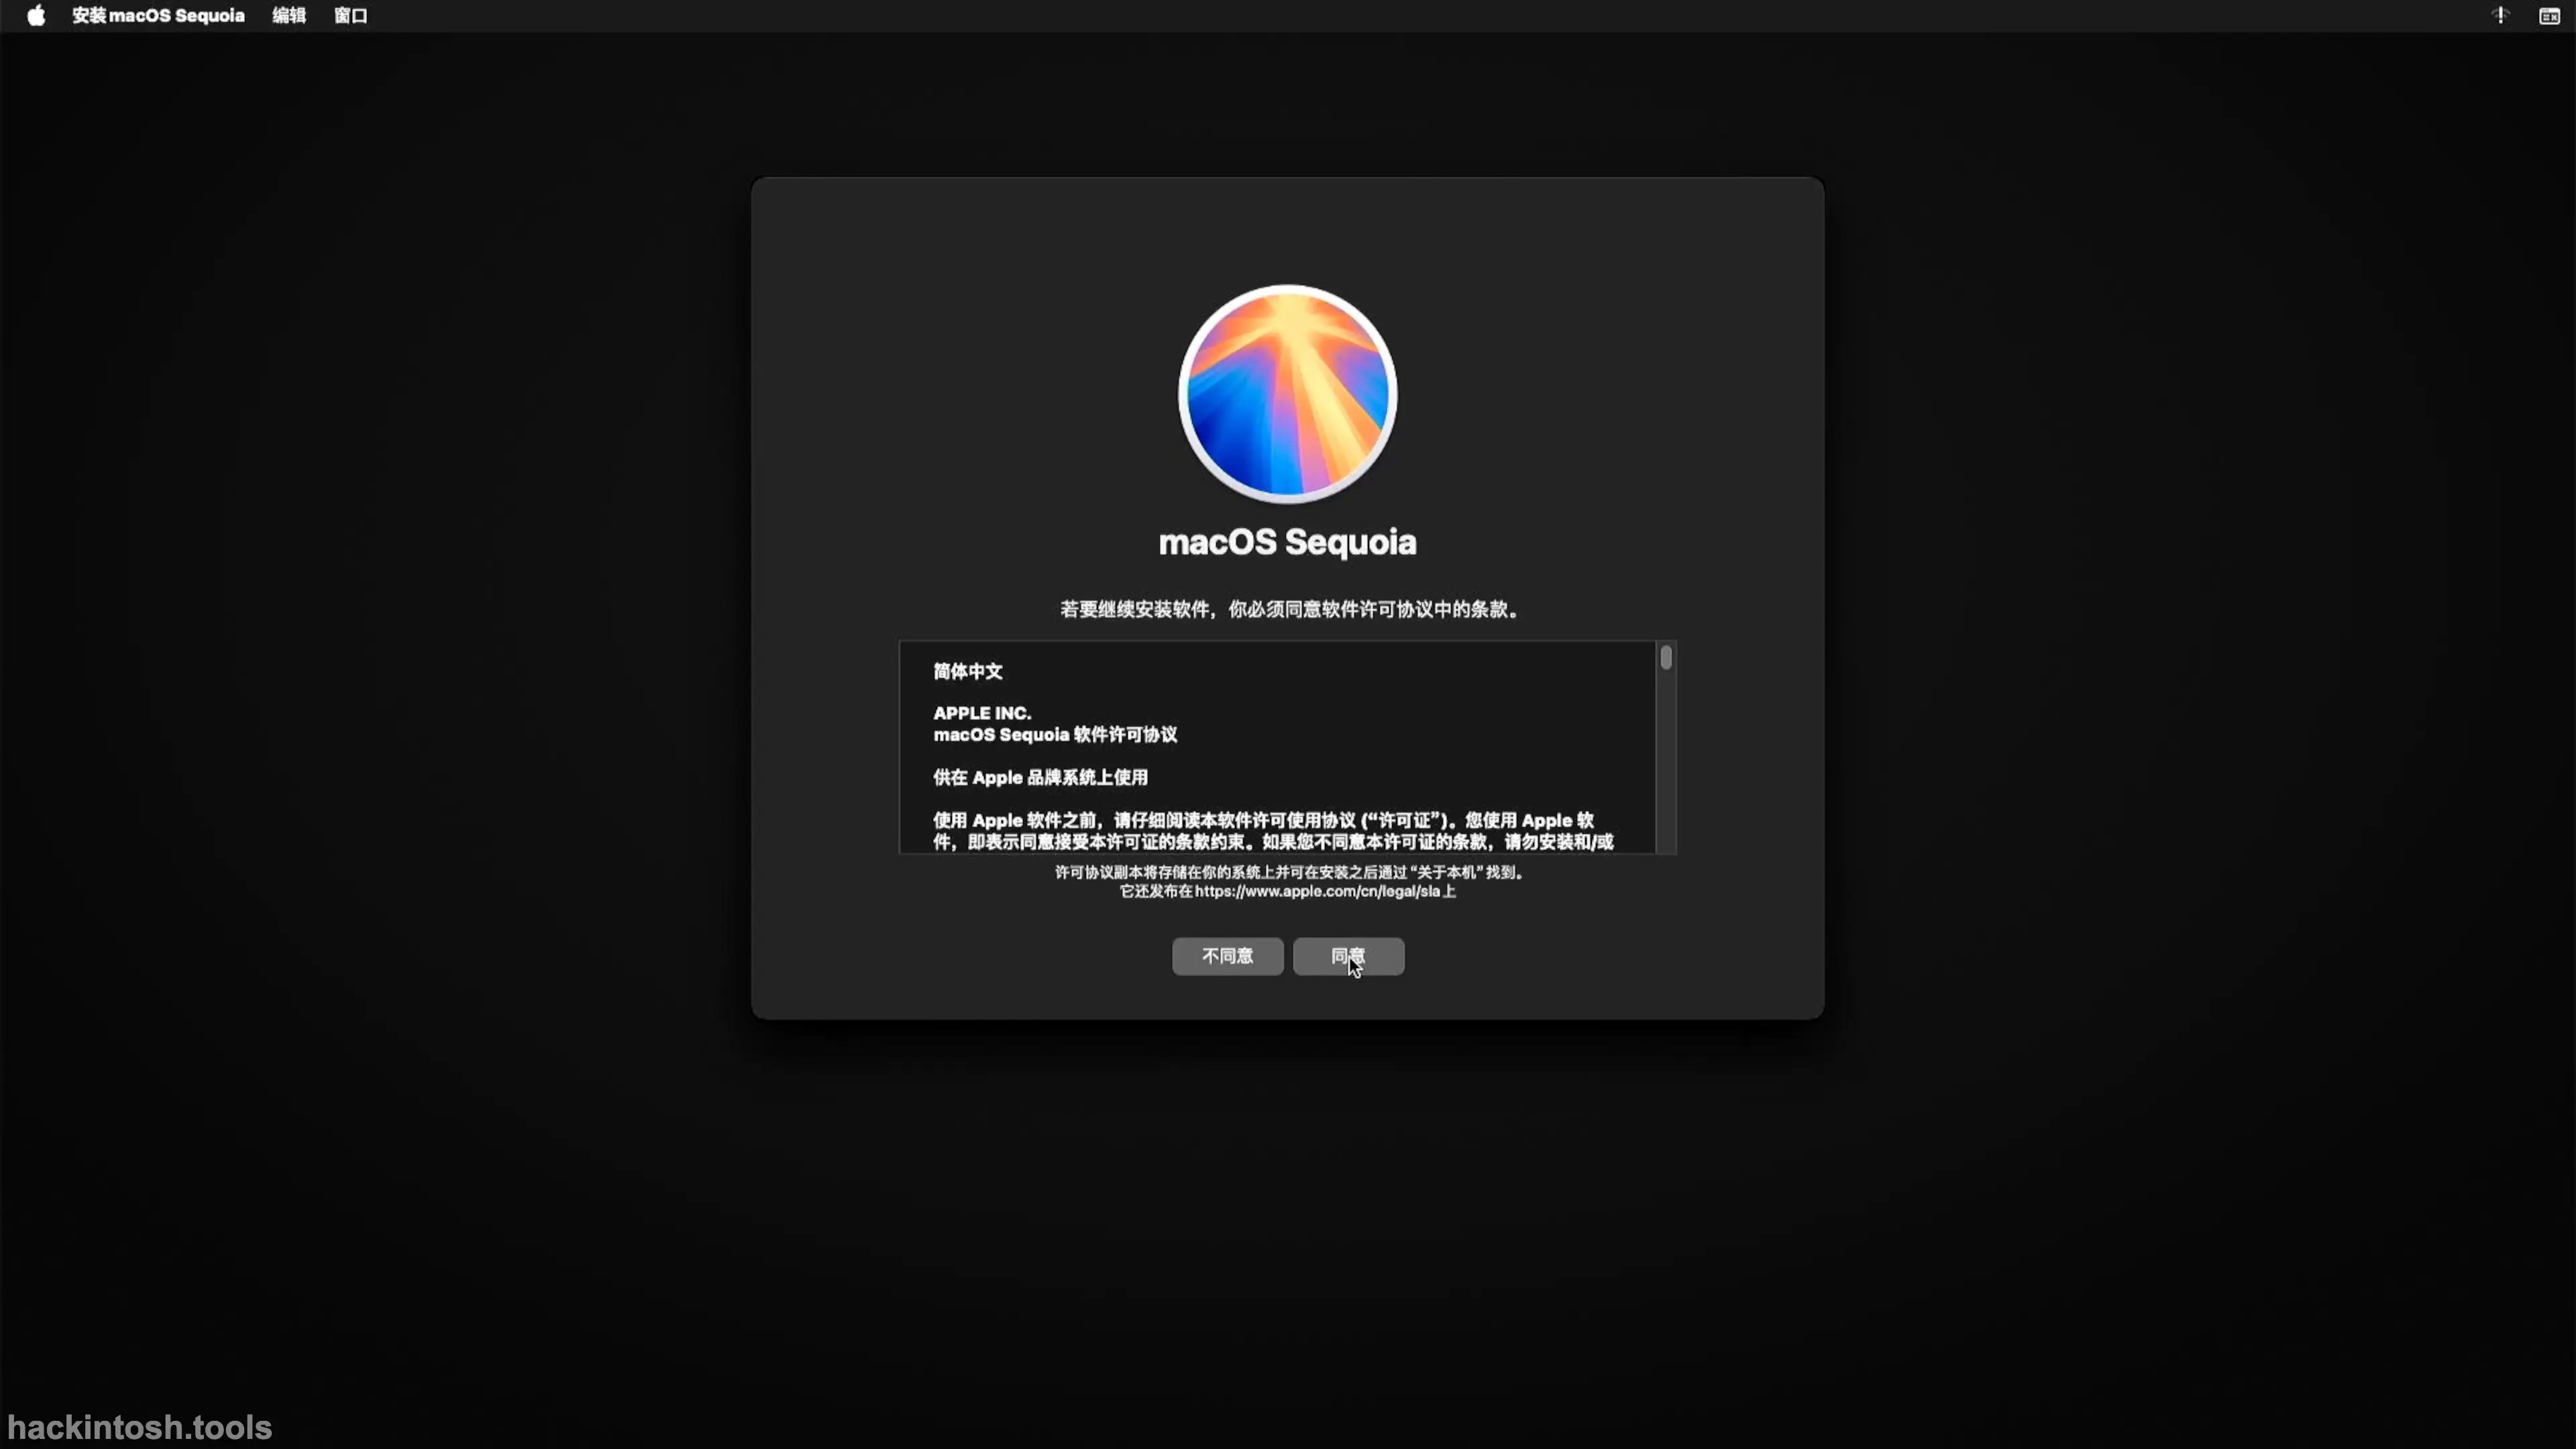
Read the terms of the license agreement and click Agree.
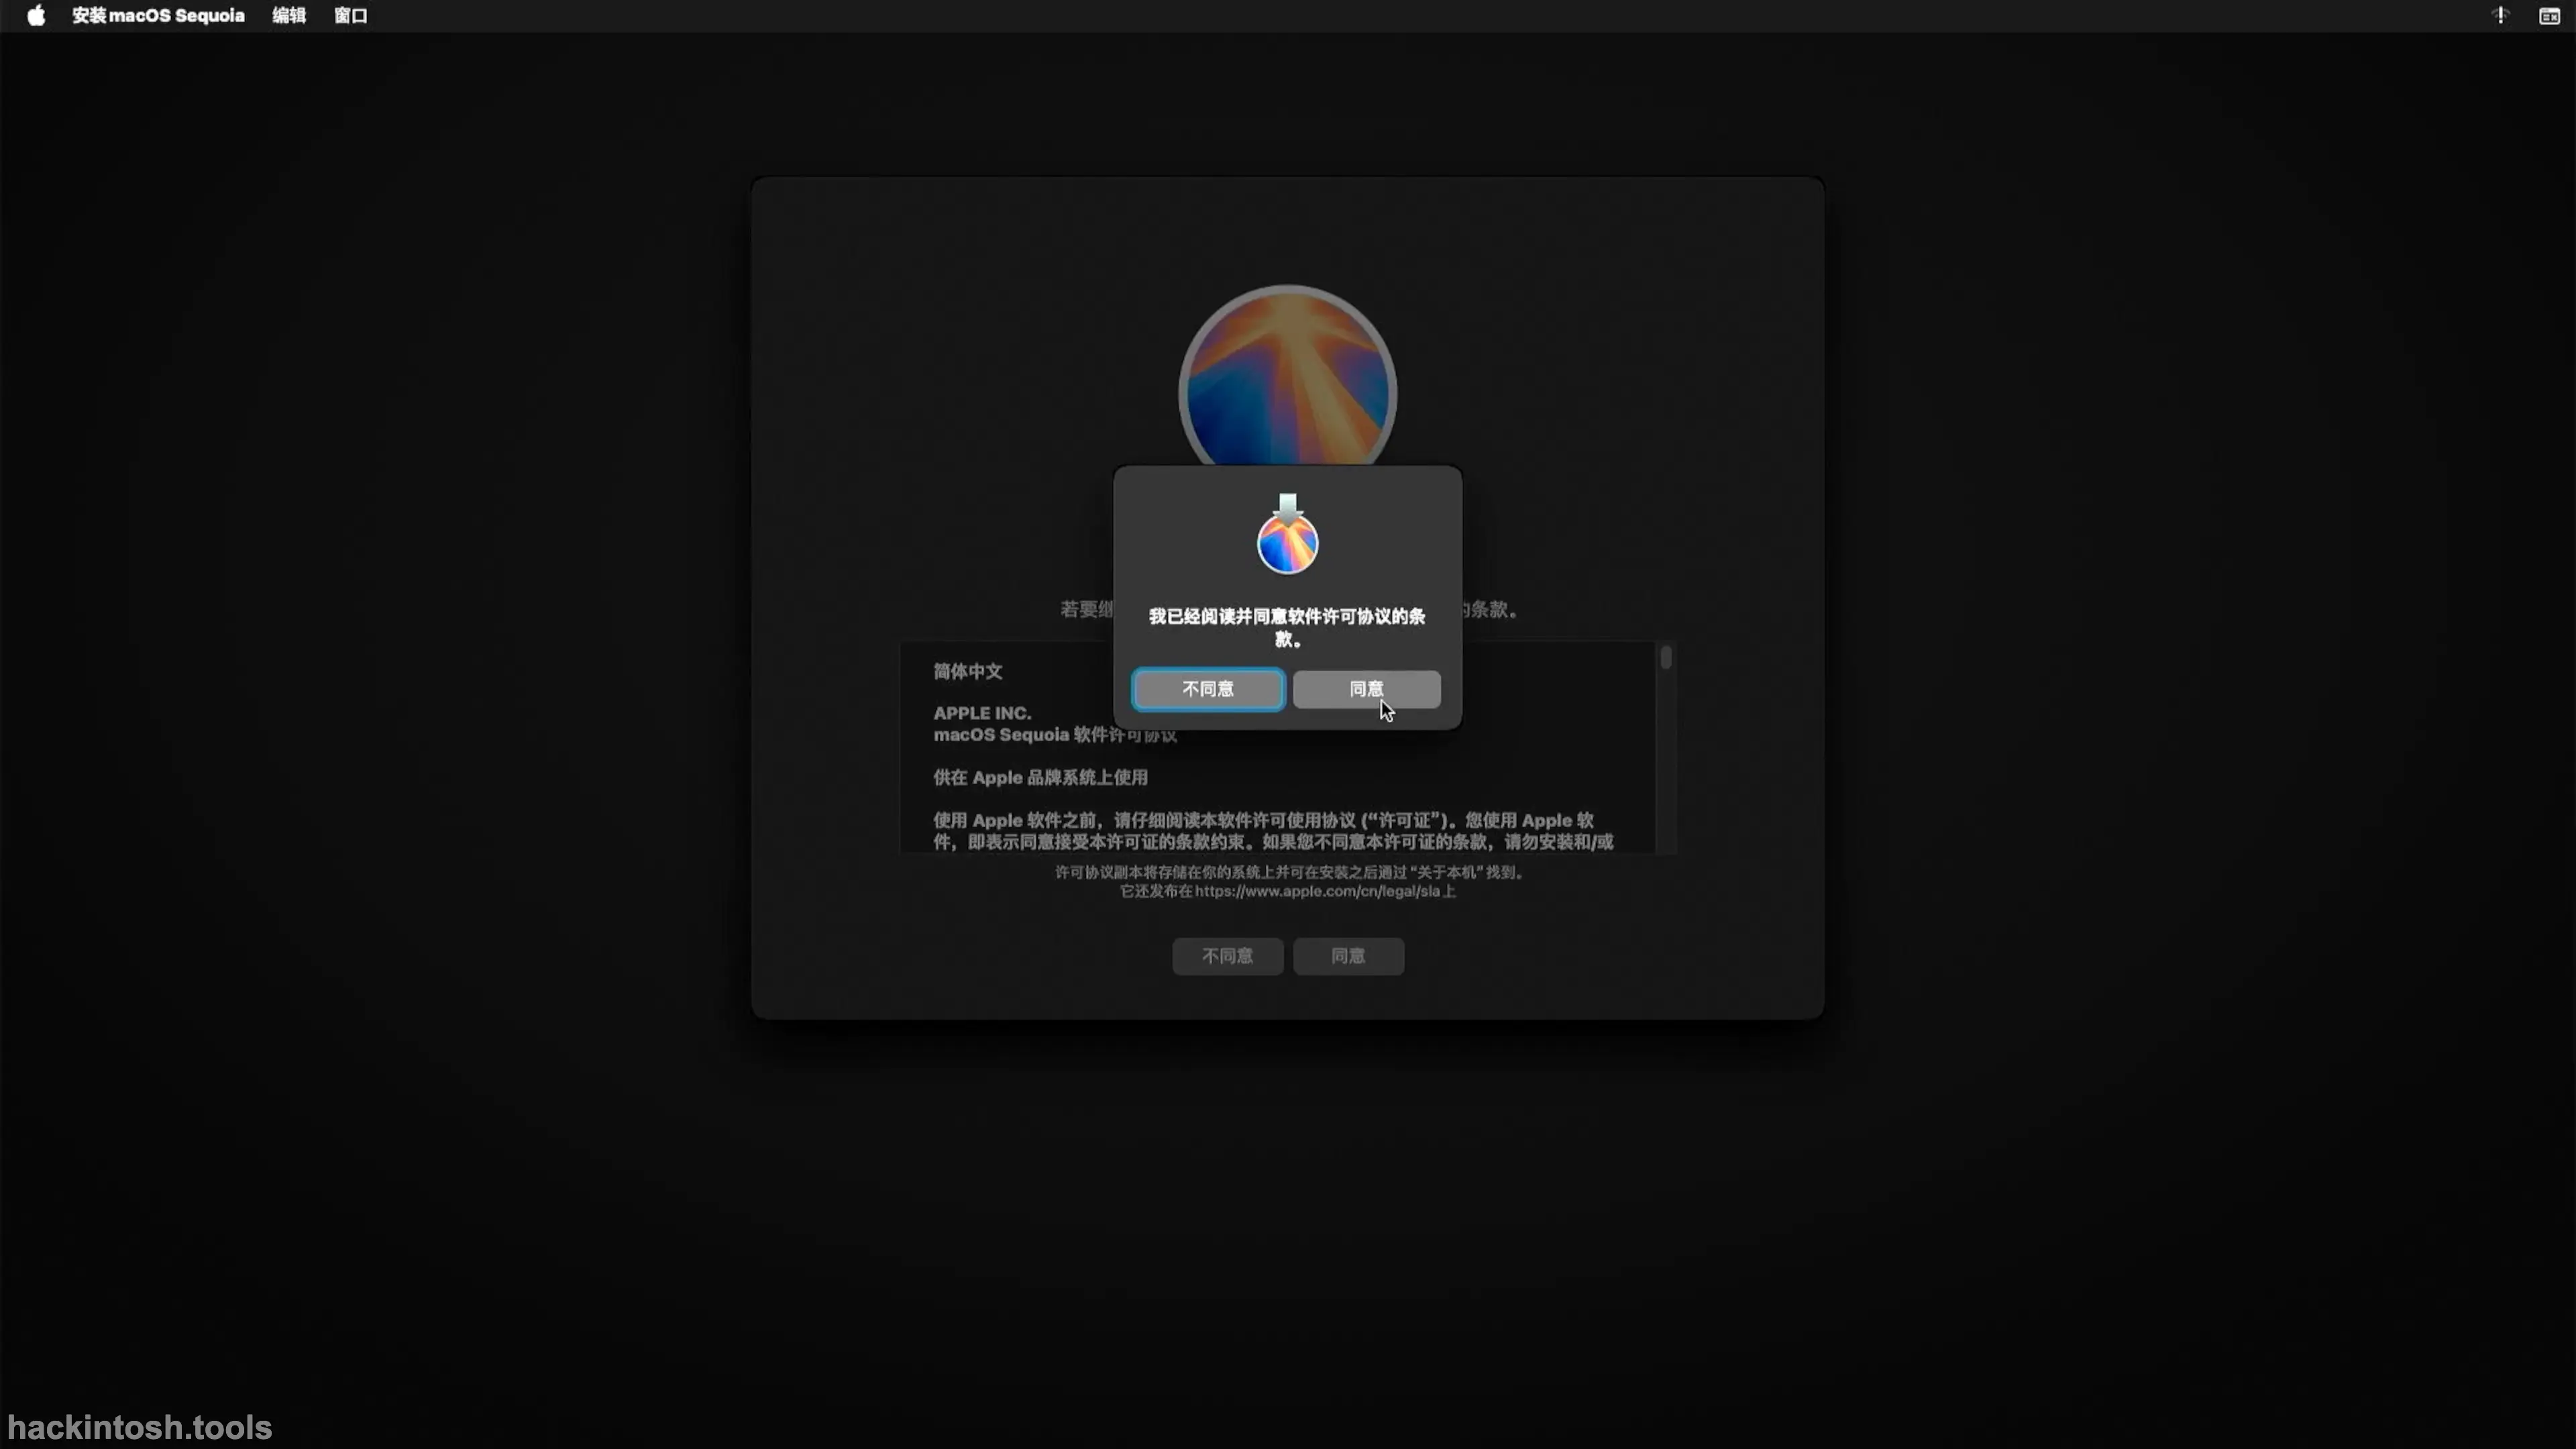
I have read and agreed to the terms of the software license agreement, click Agree.
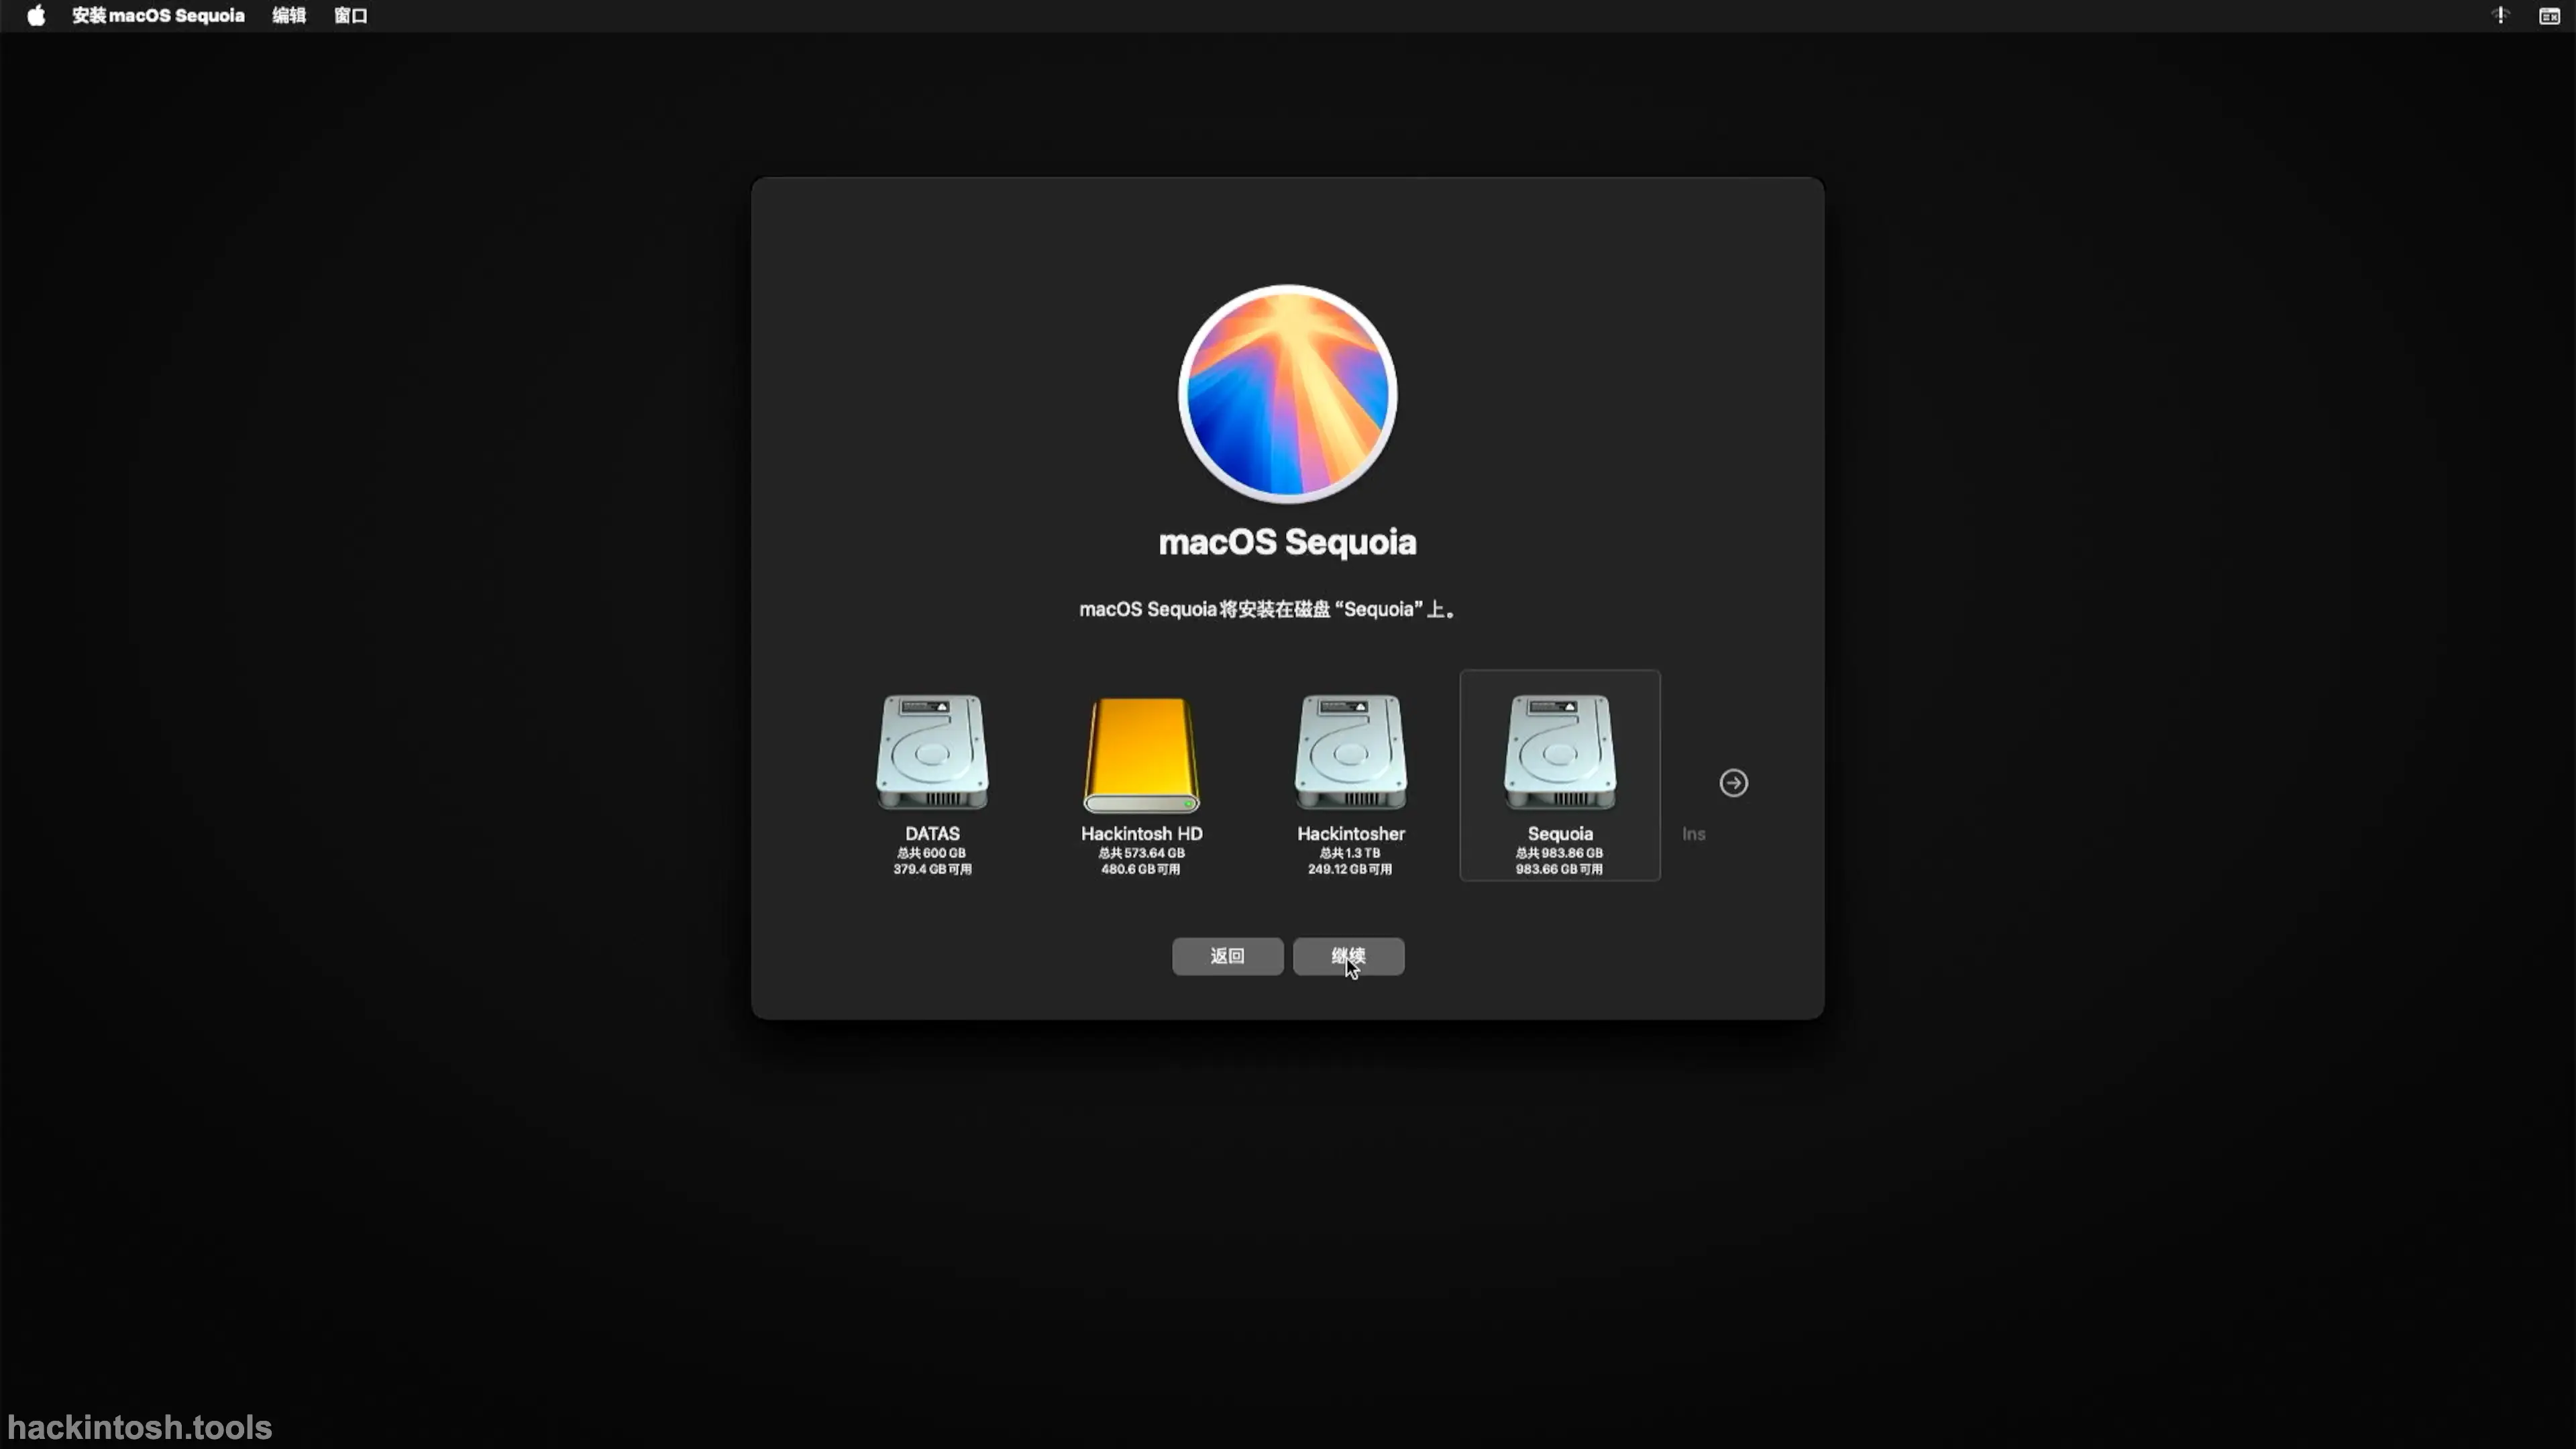
Select the disk volume label Sequoia to be installed and click Continue.
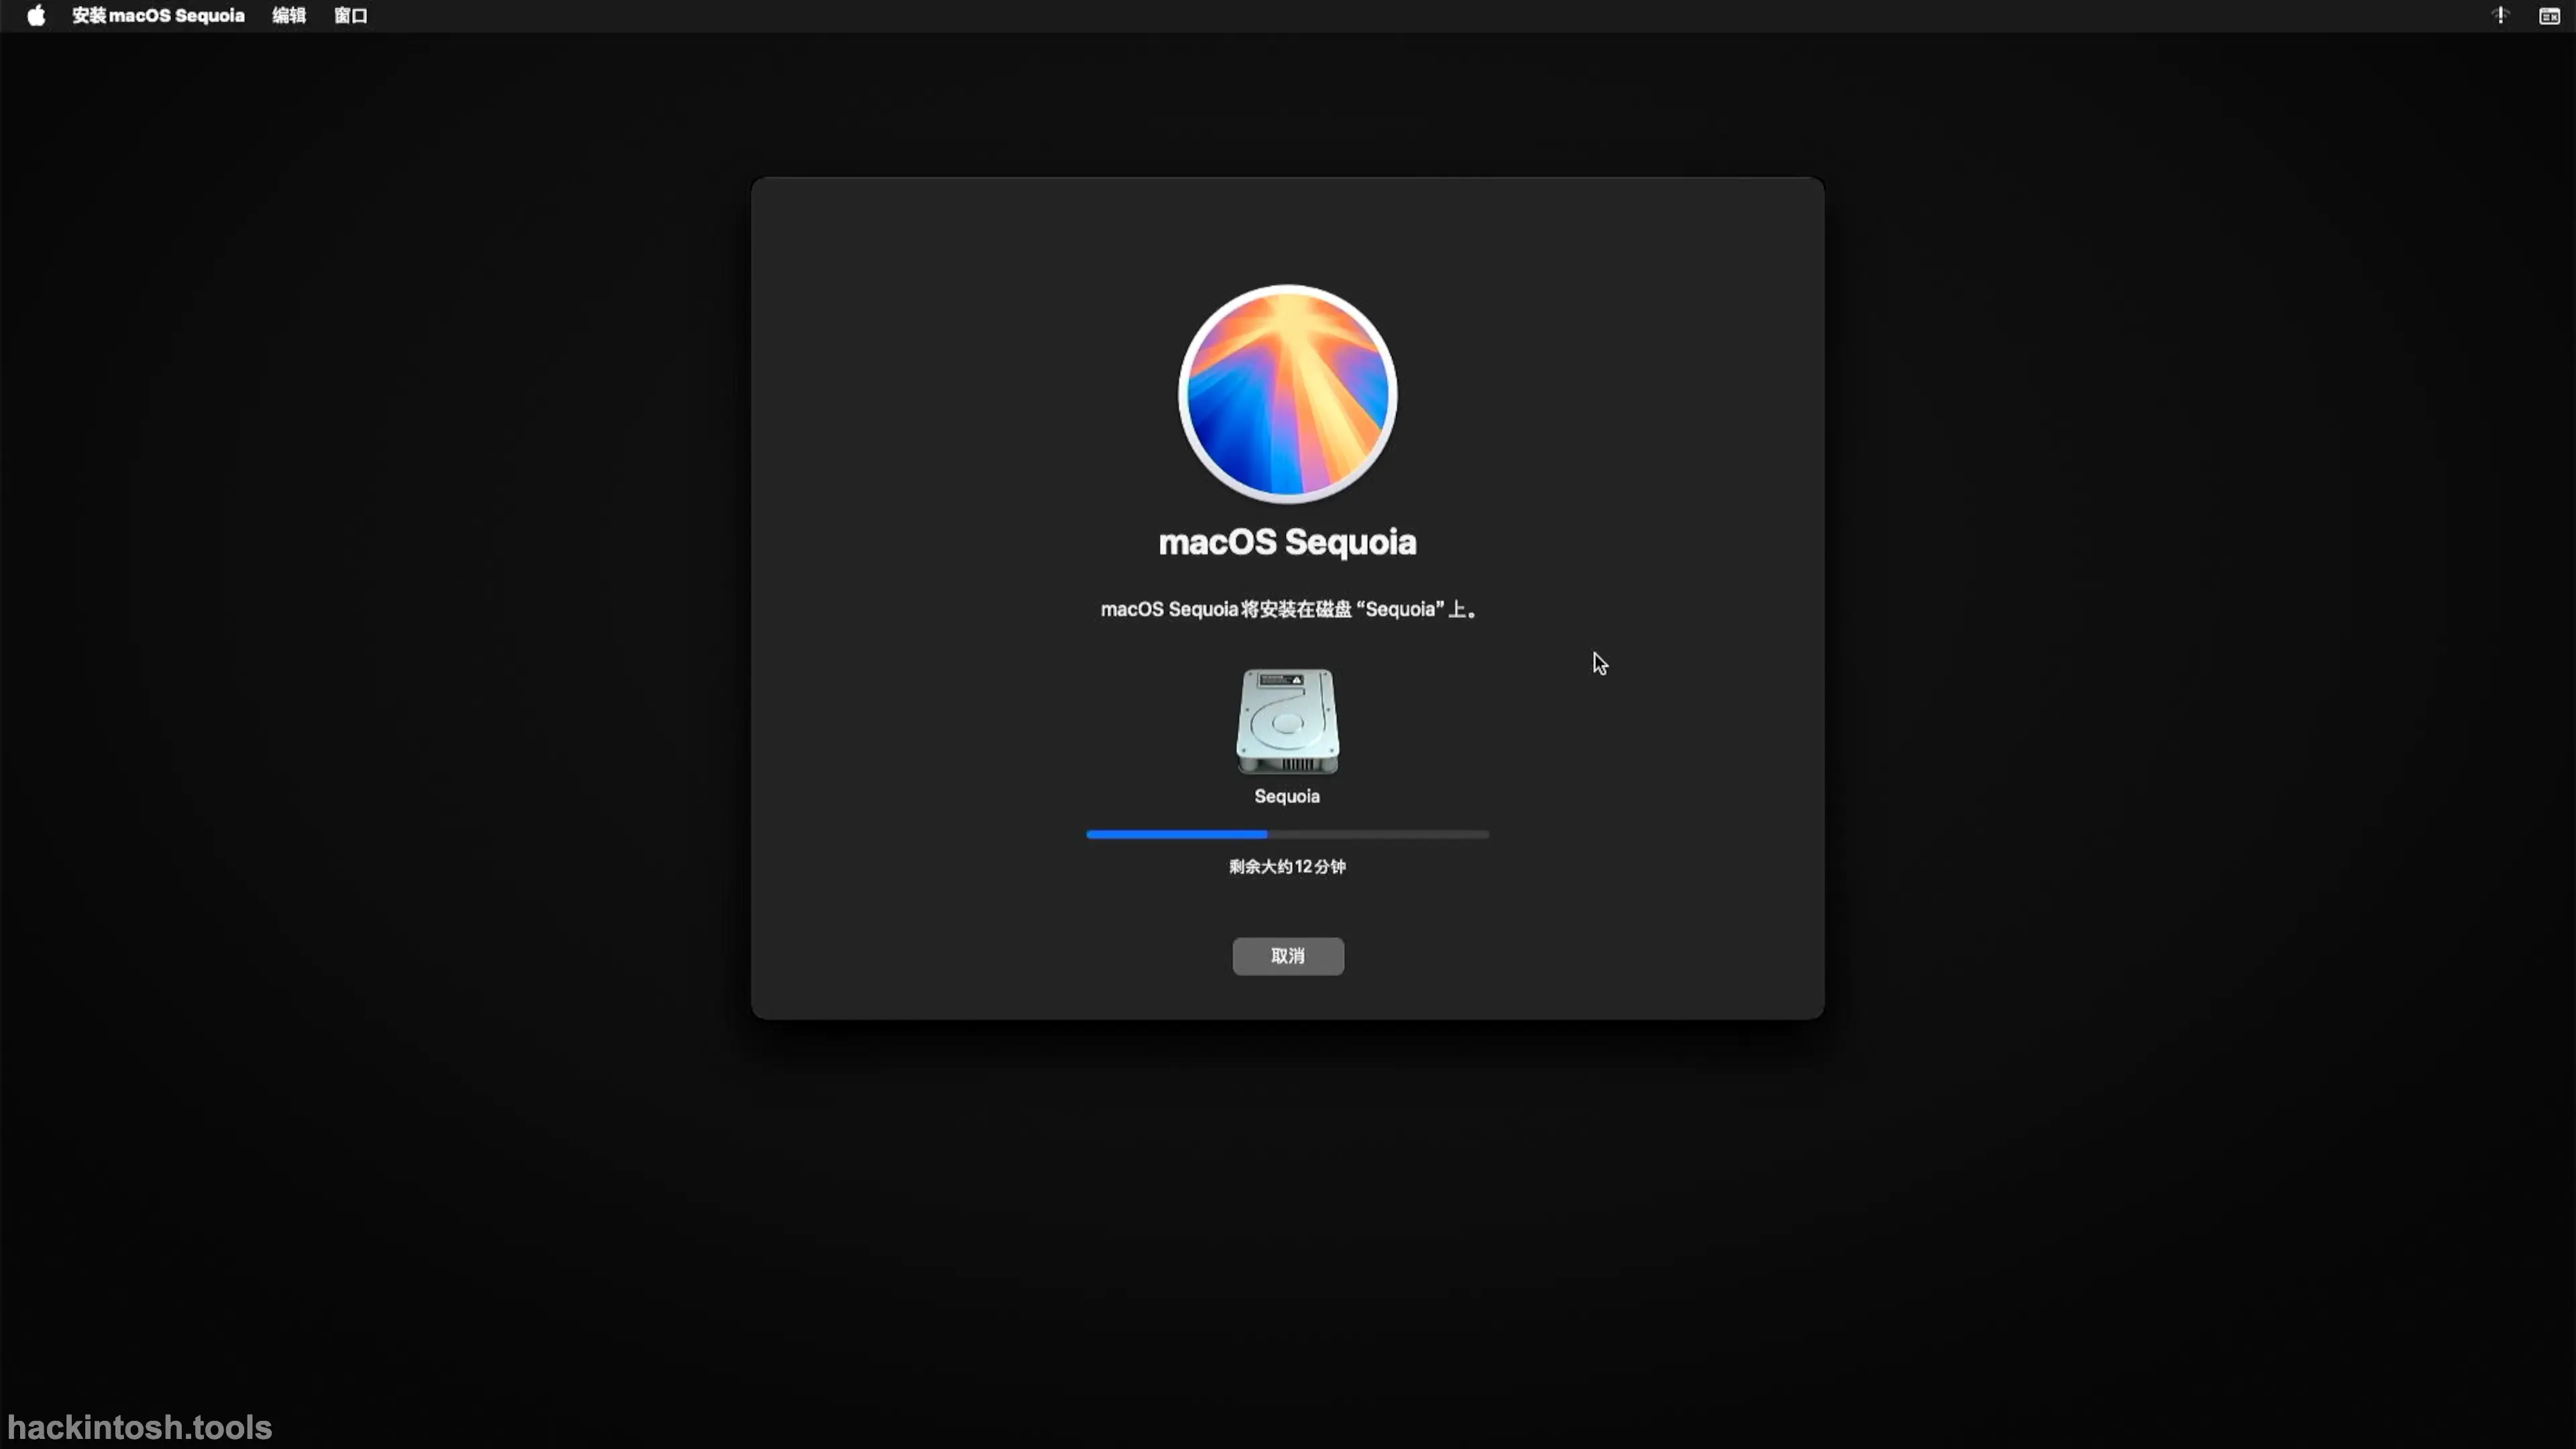
It will pre - copy the installation files on the USB installation disk to the system partition to be installed. This process usually lasts 1 - 2 minutes. When there are about 12 minutes remaining, the system will automatically restart and enter the second stage of installation.
Continue the installation after restarting. During the installation process, it usually restarts automatically 3 - 4 times.


The installation time of Sonoma is usually twice that of Catalina. It also depends on the read - write speed of the solid - state disk. Please be patient. After the installation is completed, the setup wizard will be entered.
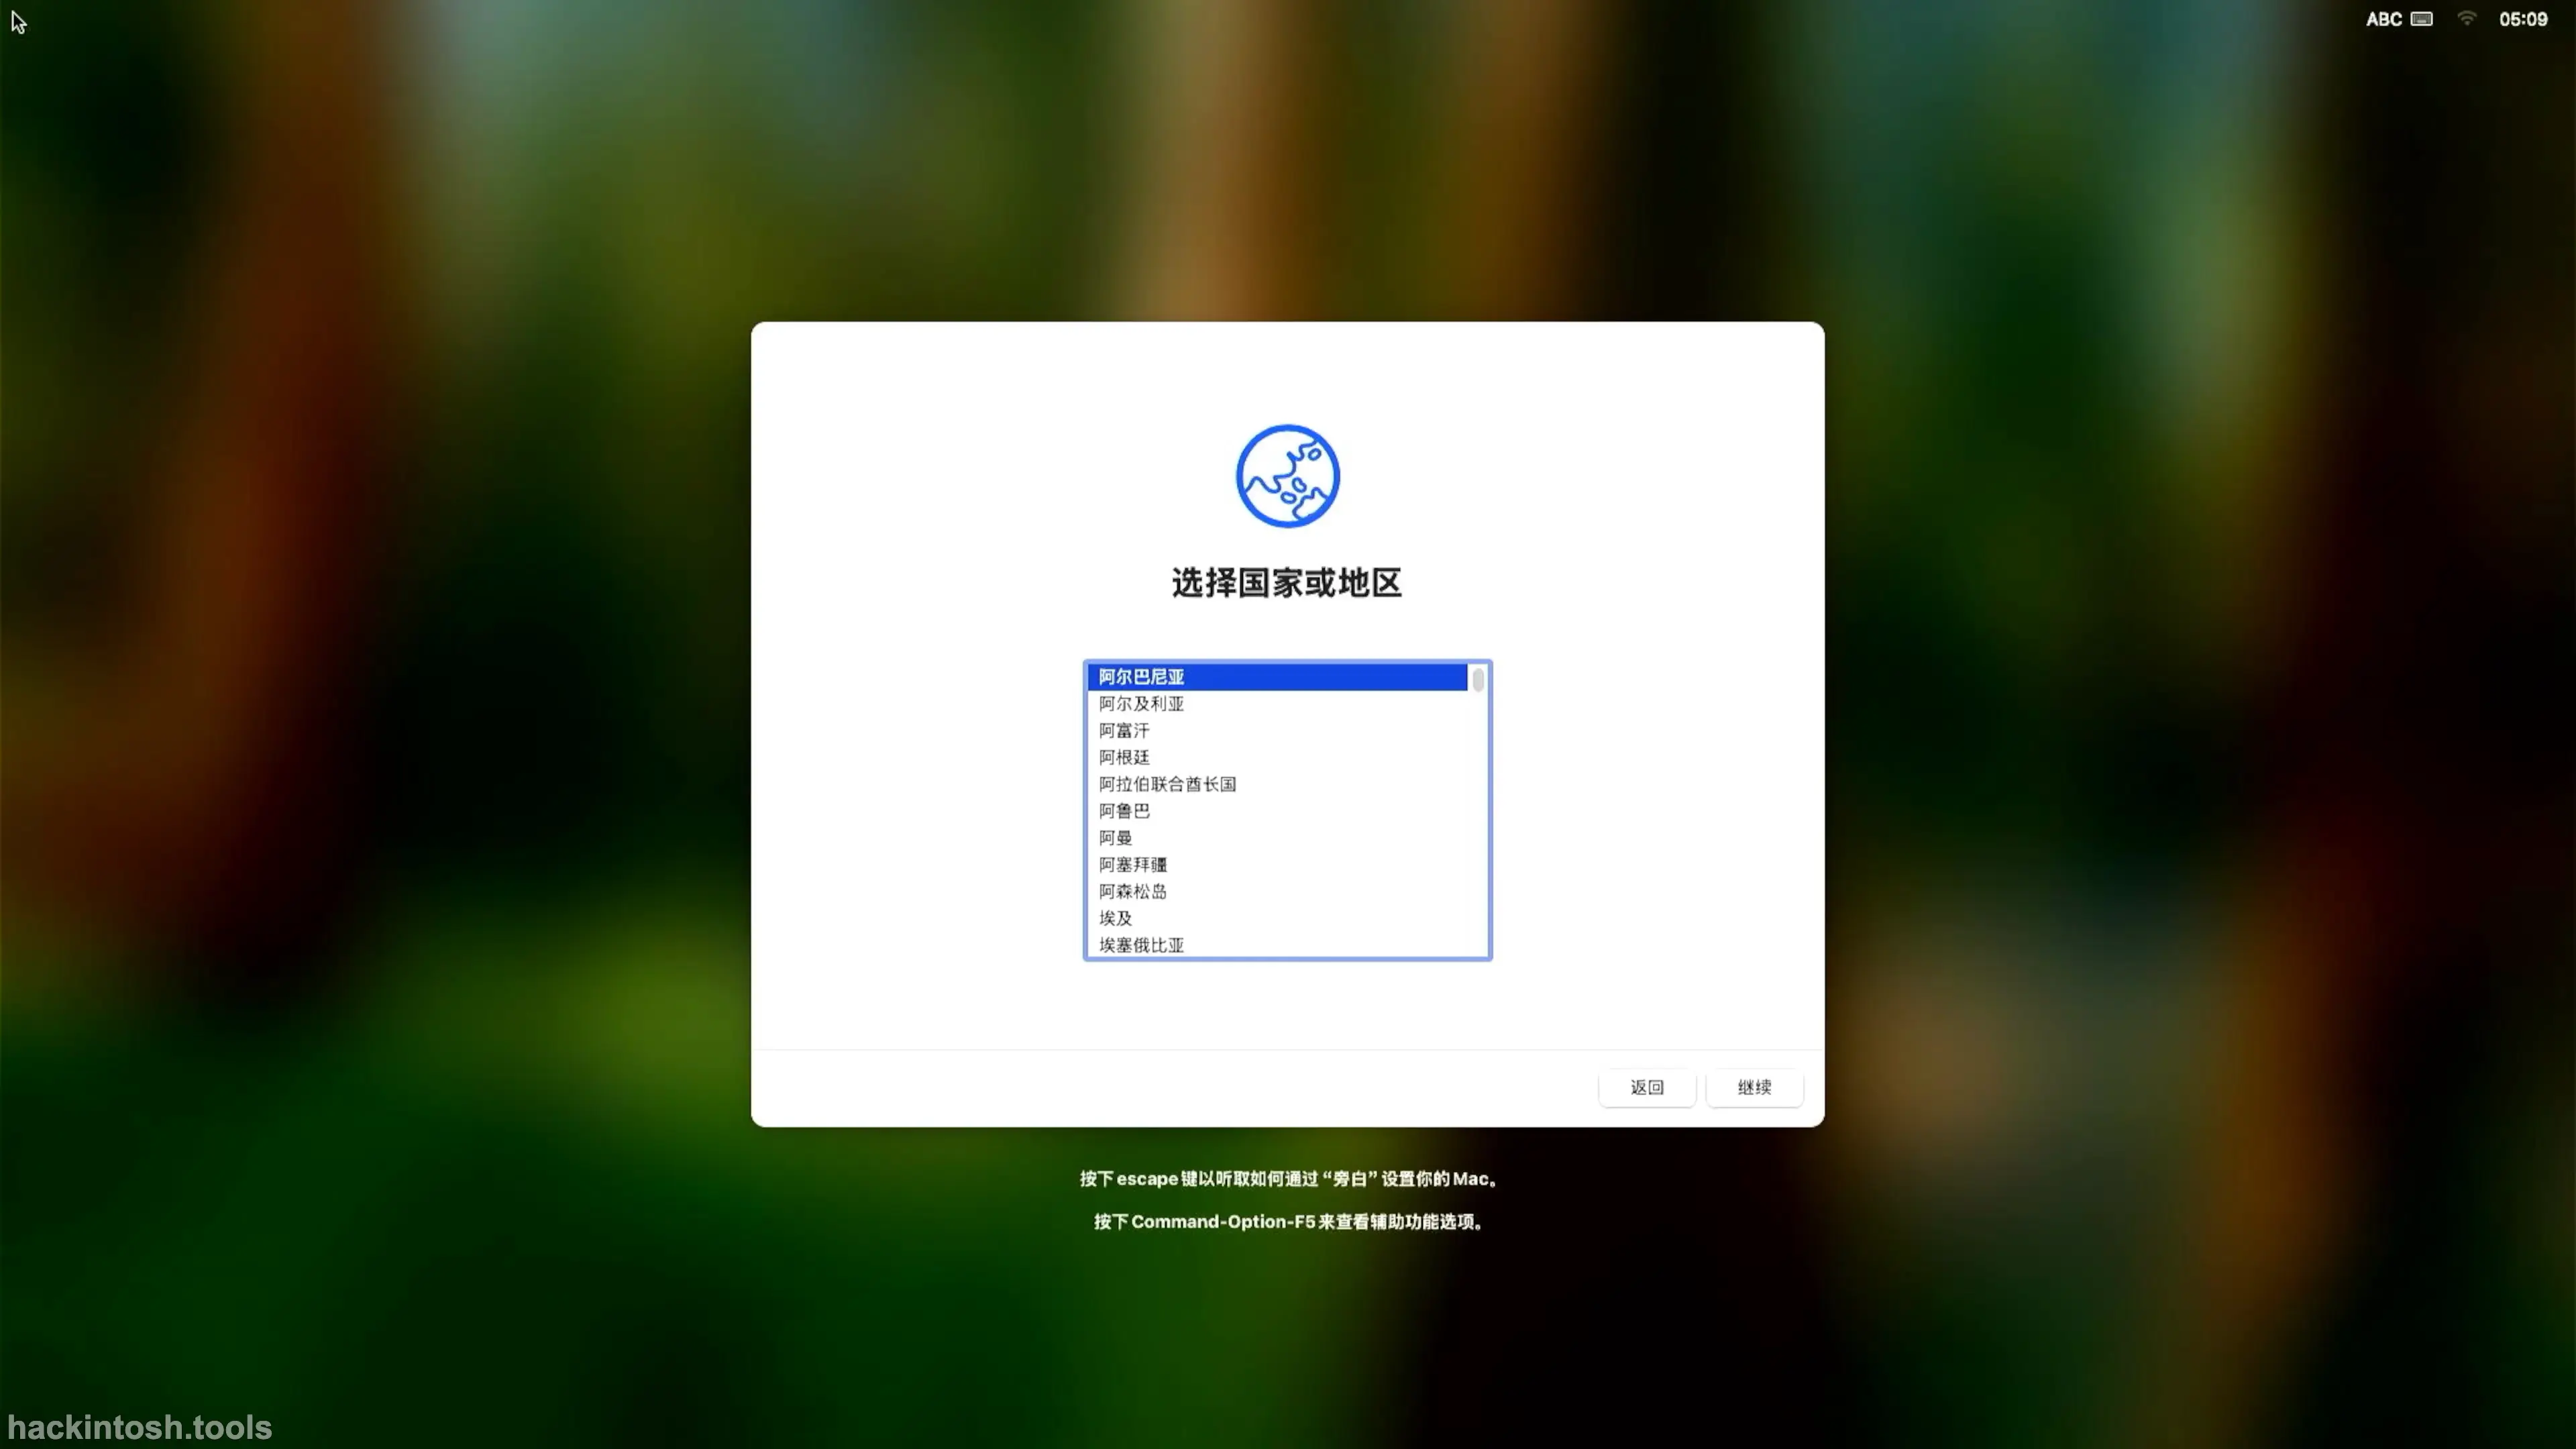
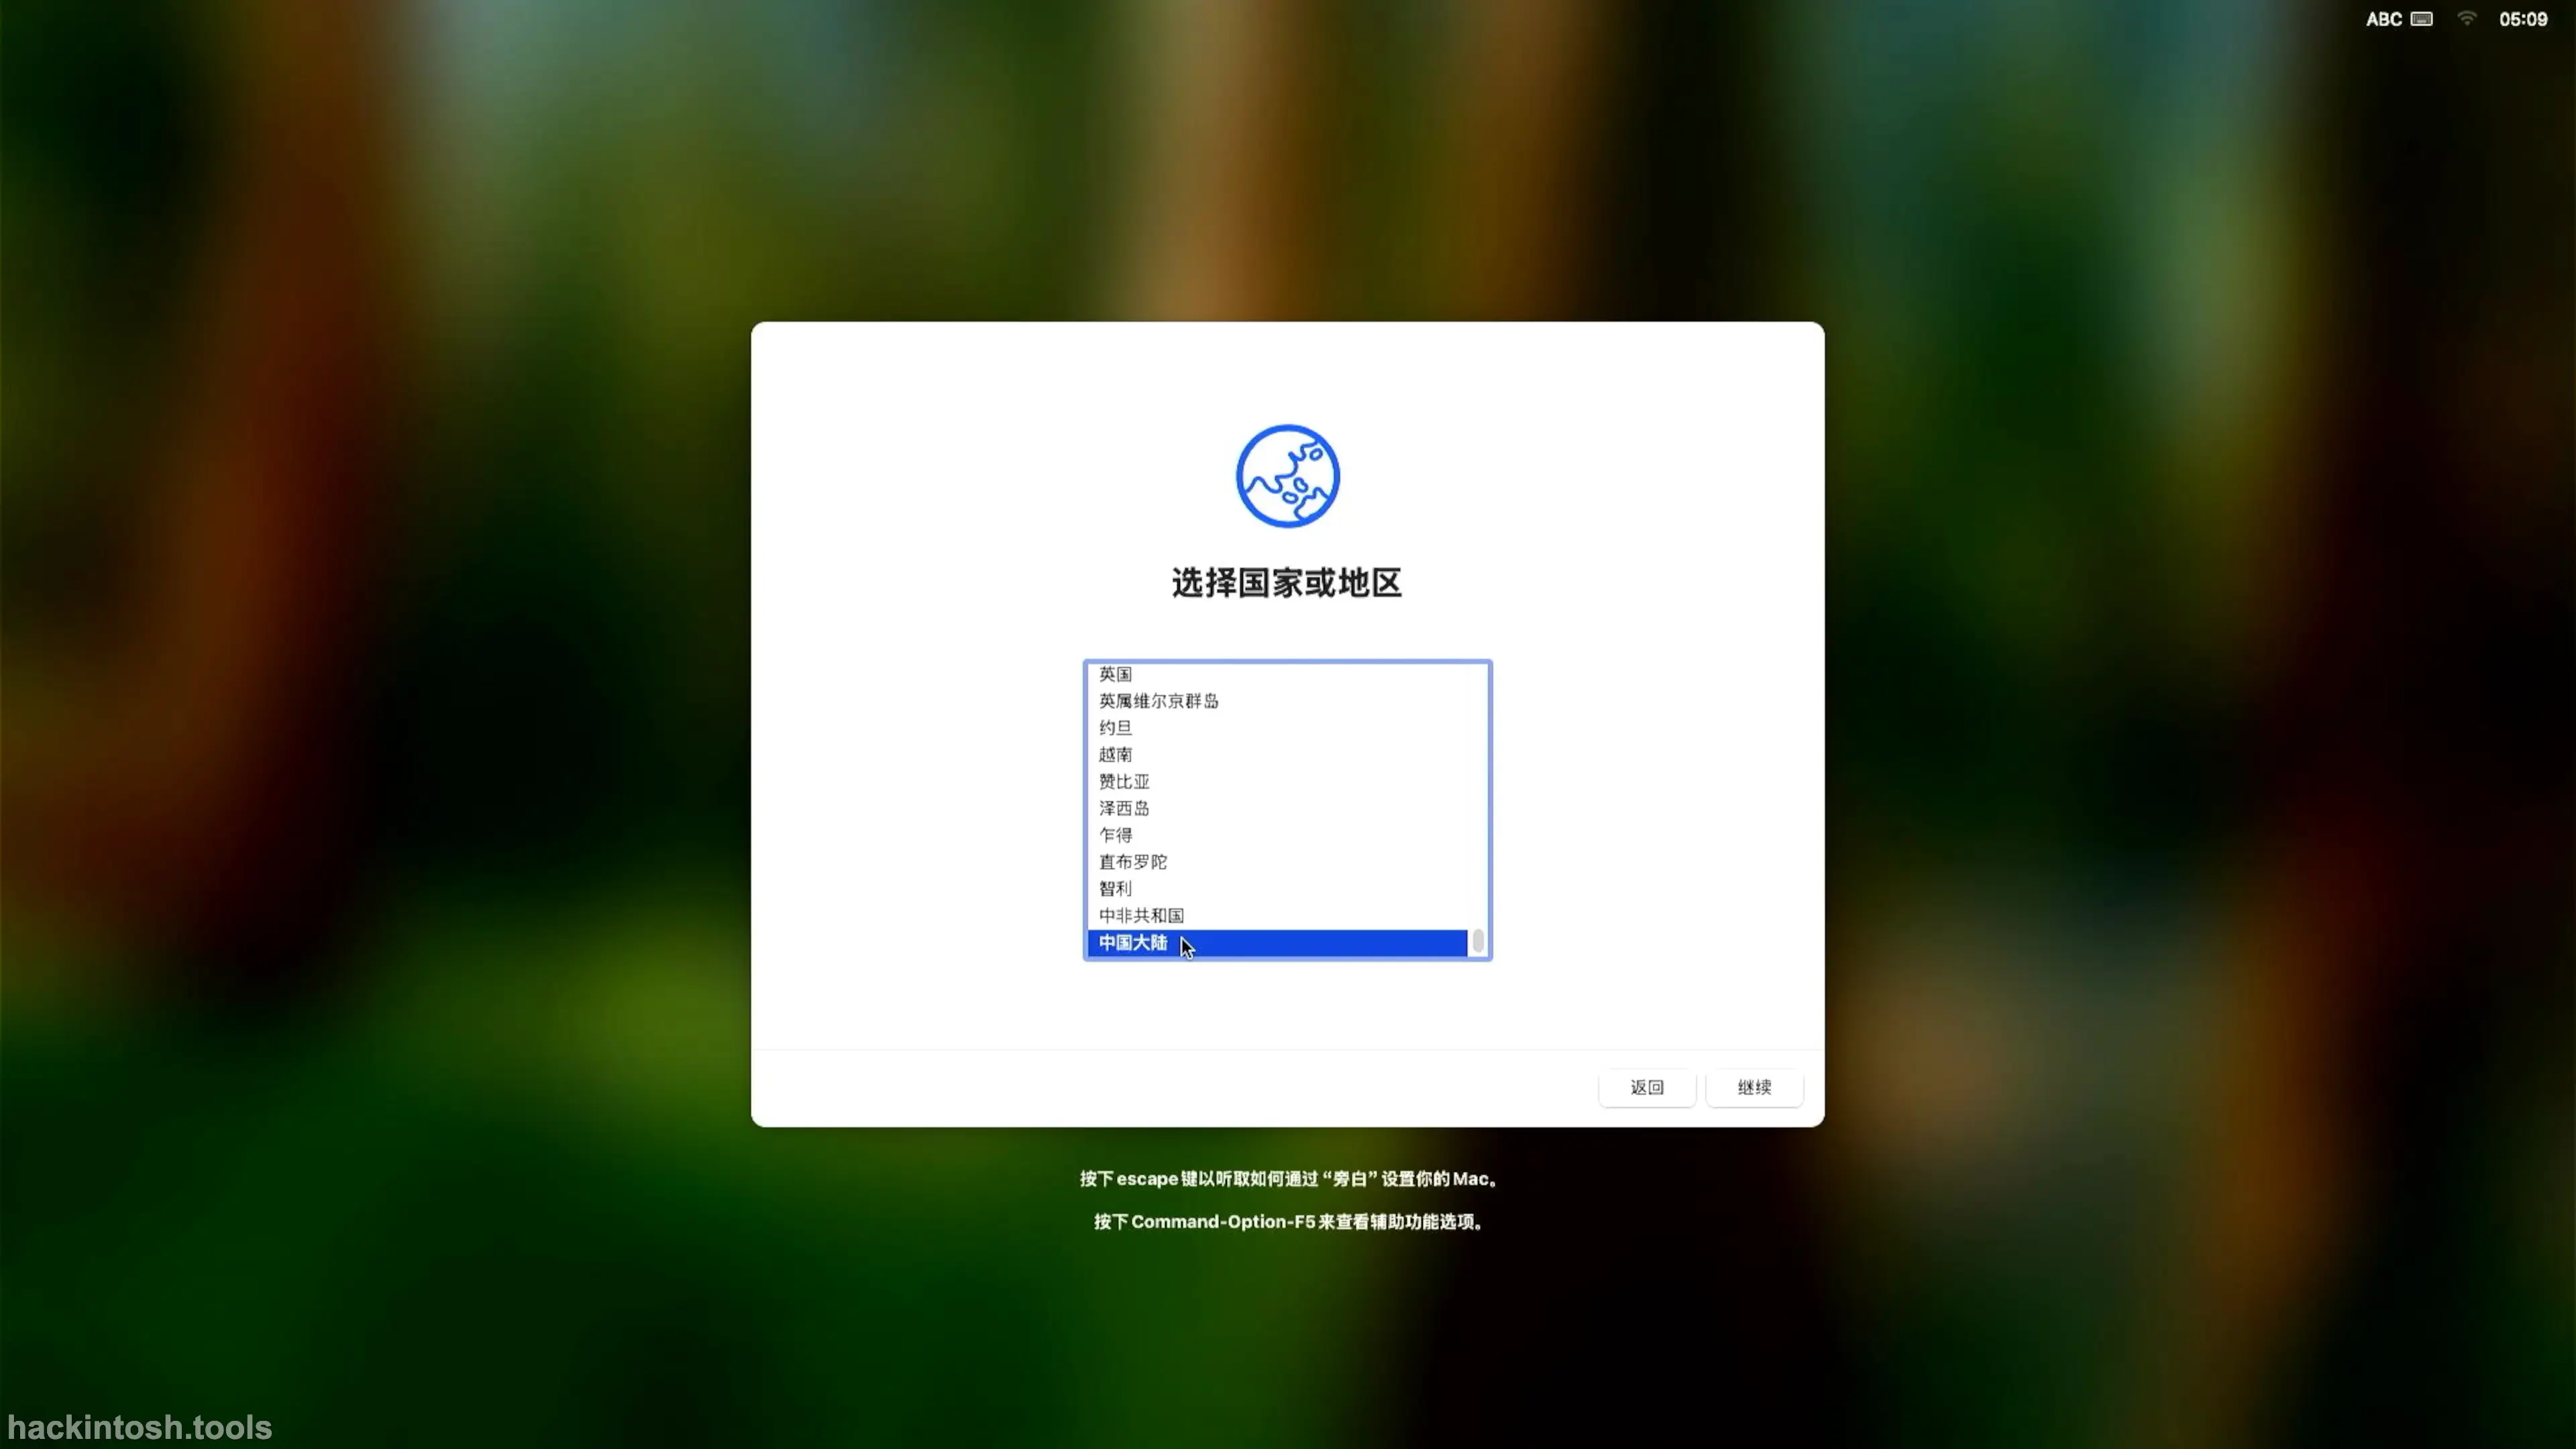
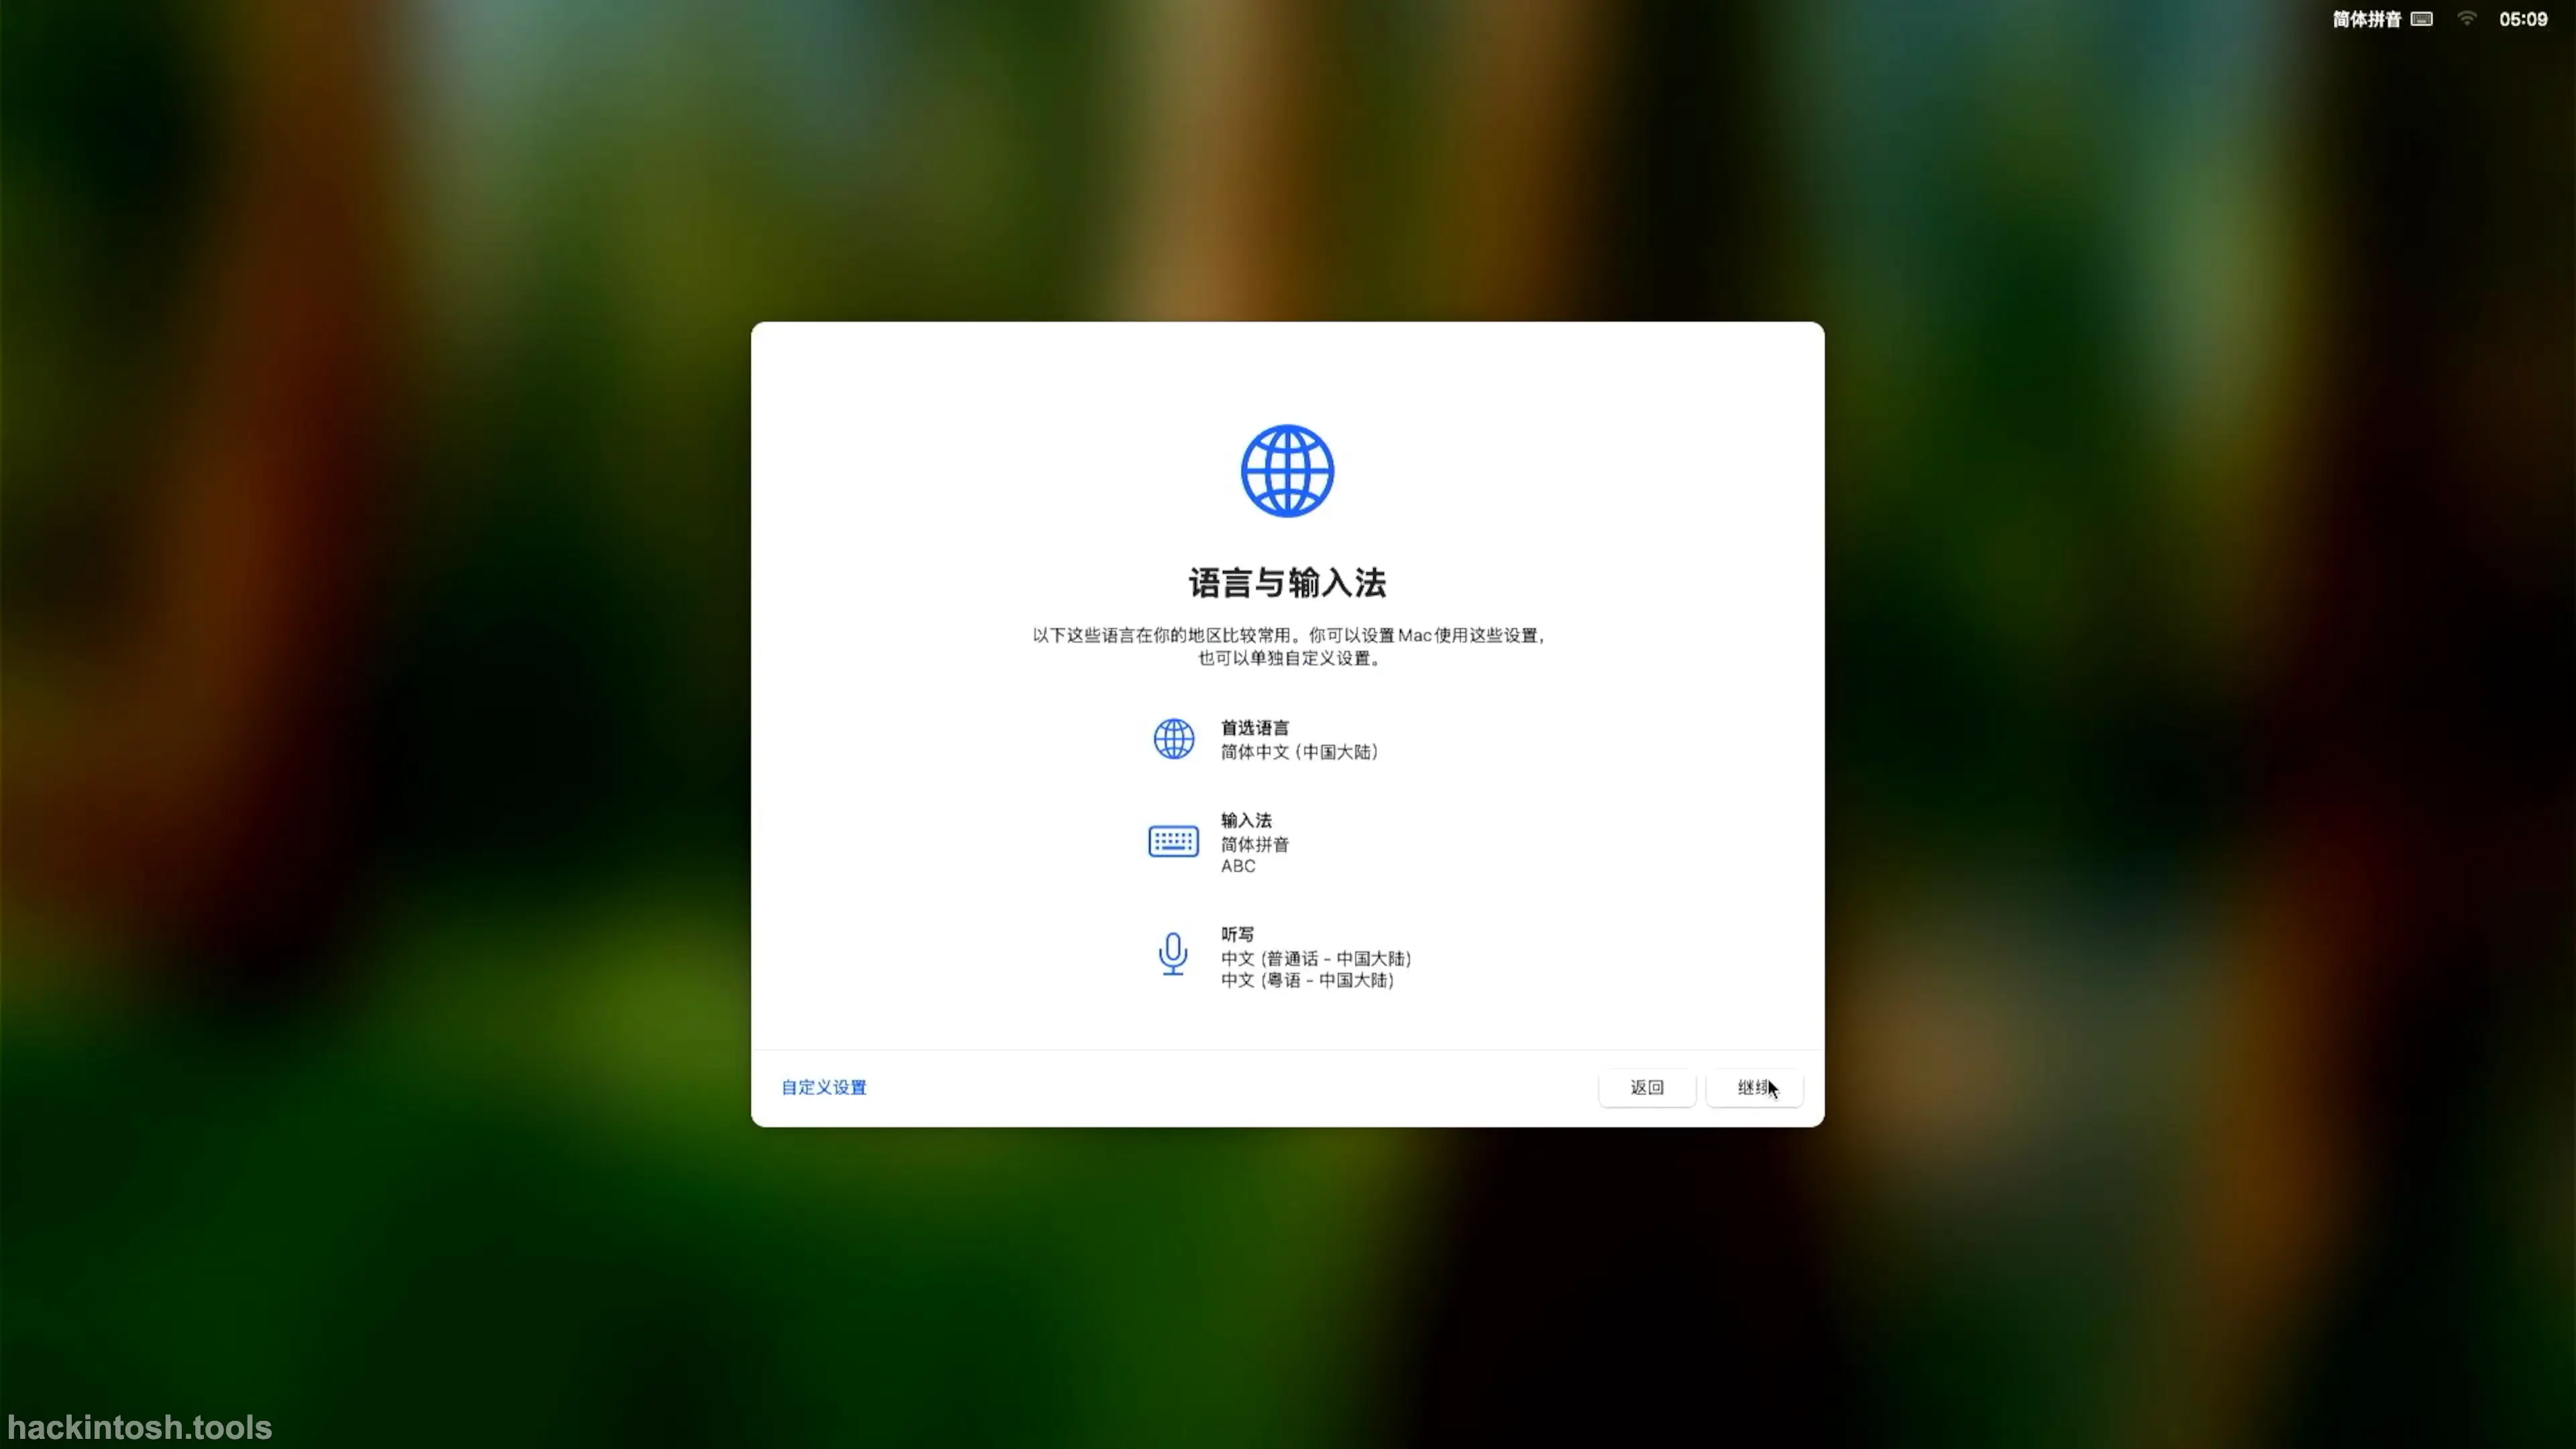
Select Country/Region: Mainland China, and click the Continue button.
Set the keyboard, use the default values, and click the Continue button.
Enter the accessibility settings. By default, do not set and choose Later to continue.

Enter the network connection settings and click Other Network Options.
[Screenshot omitted]
It is especially important to remind that: when the Hackintosh setup wizard is running, do not connect to the network, and do not log in to the
Apple ID. You can log in to theApple IDafter entering the desktop.
A prompt message pops up: My computer is not connected to the Internet, click the Continue button.
The Accessibility option appears, click Later to continue.
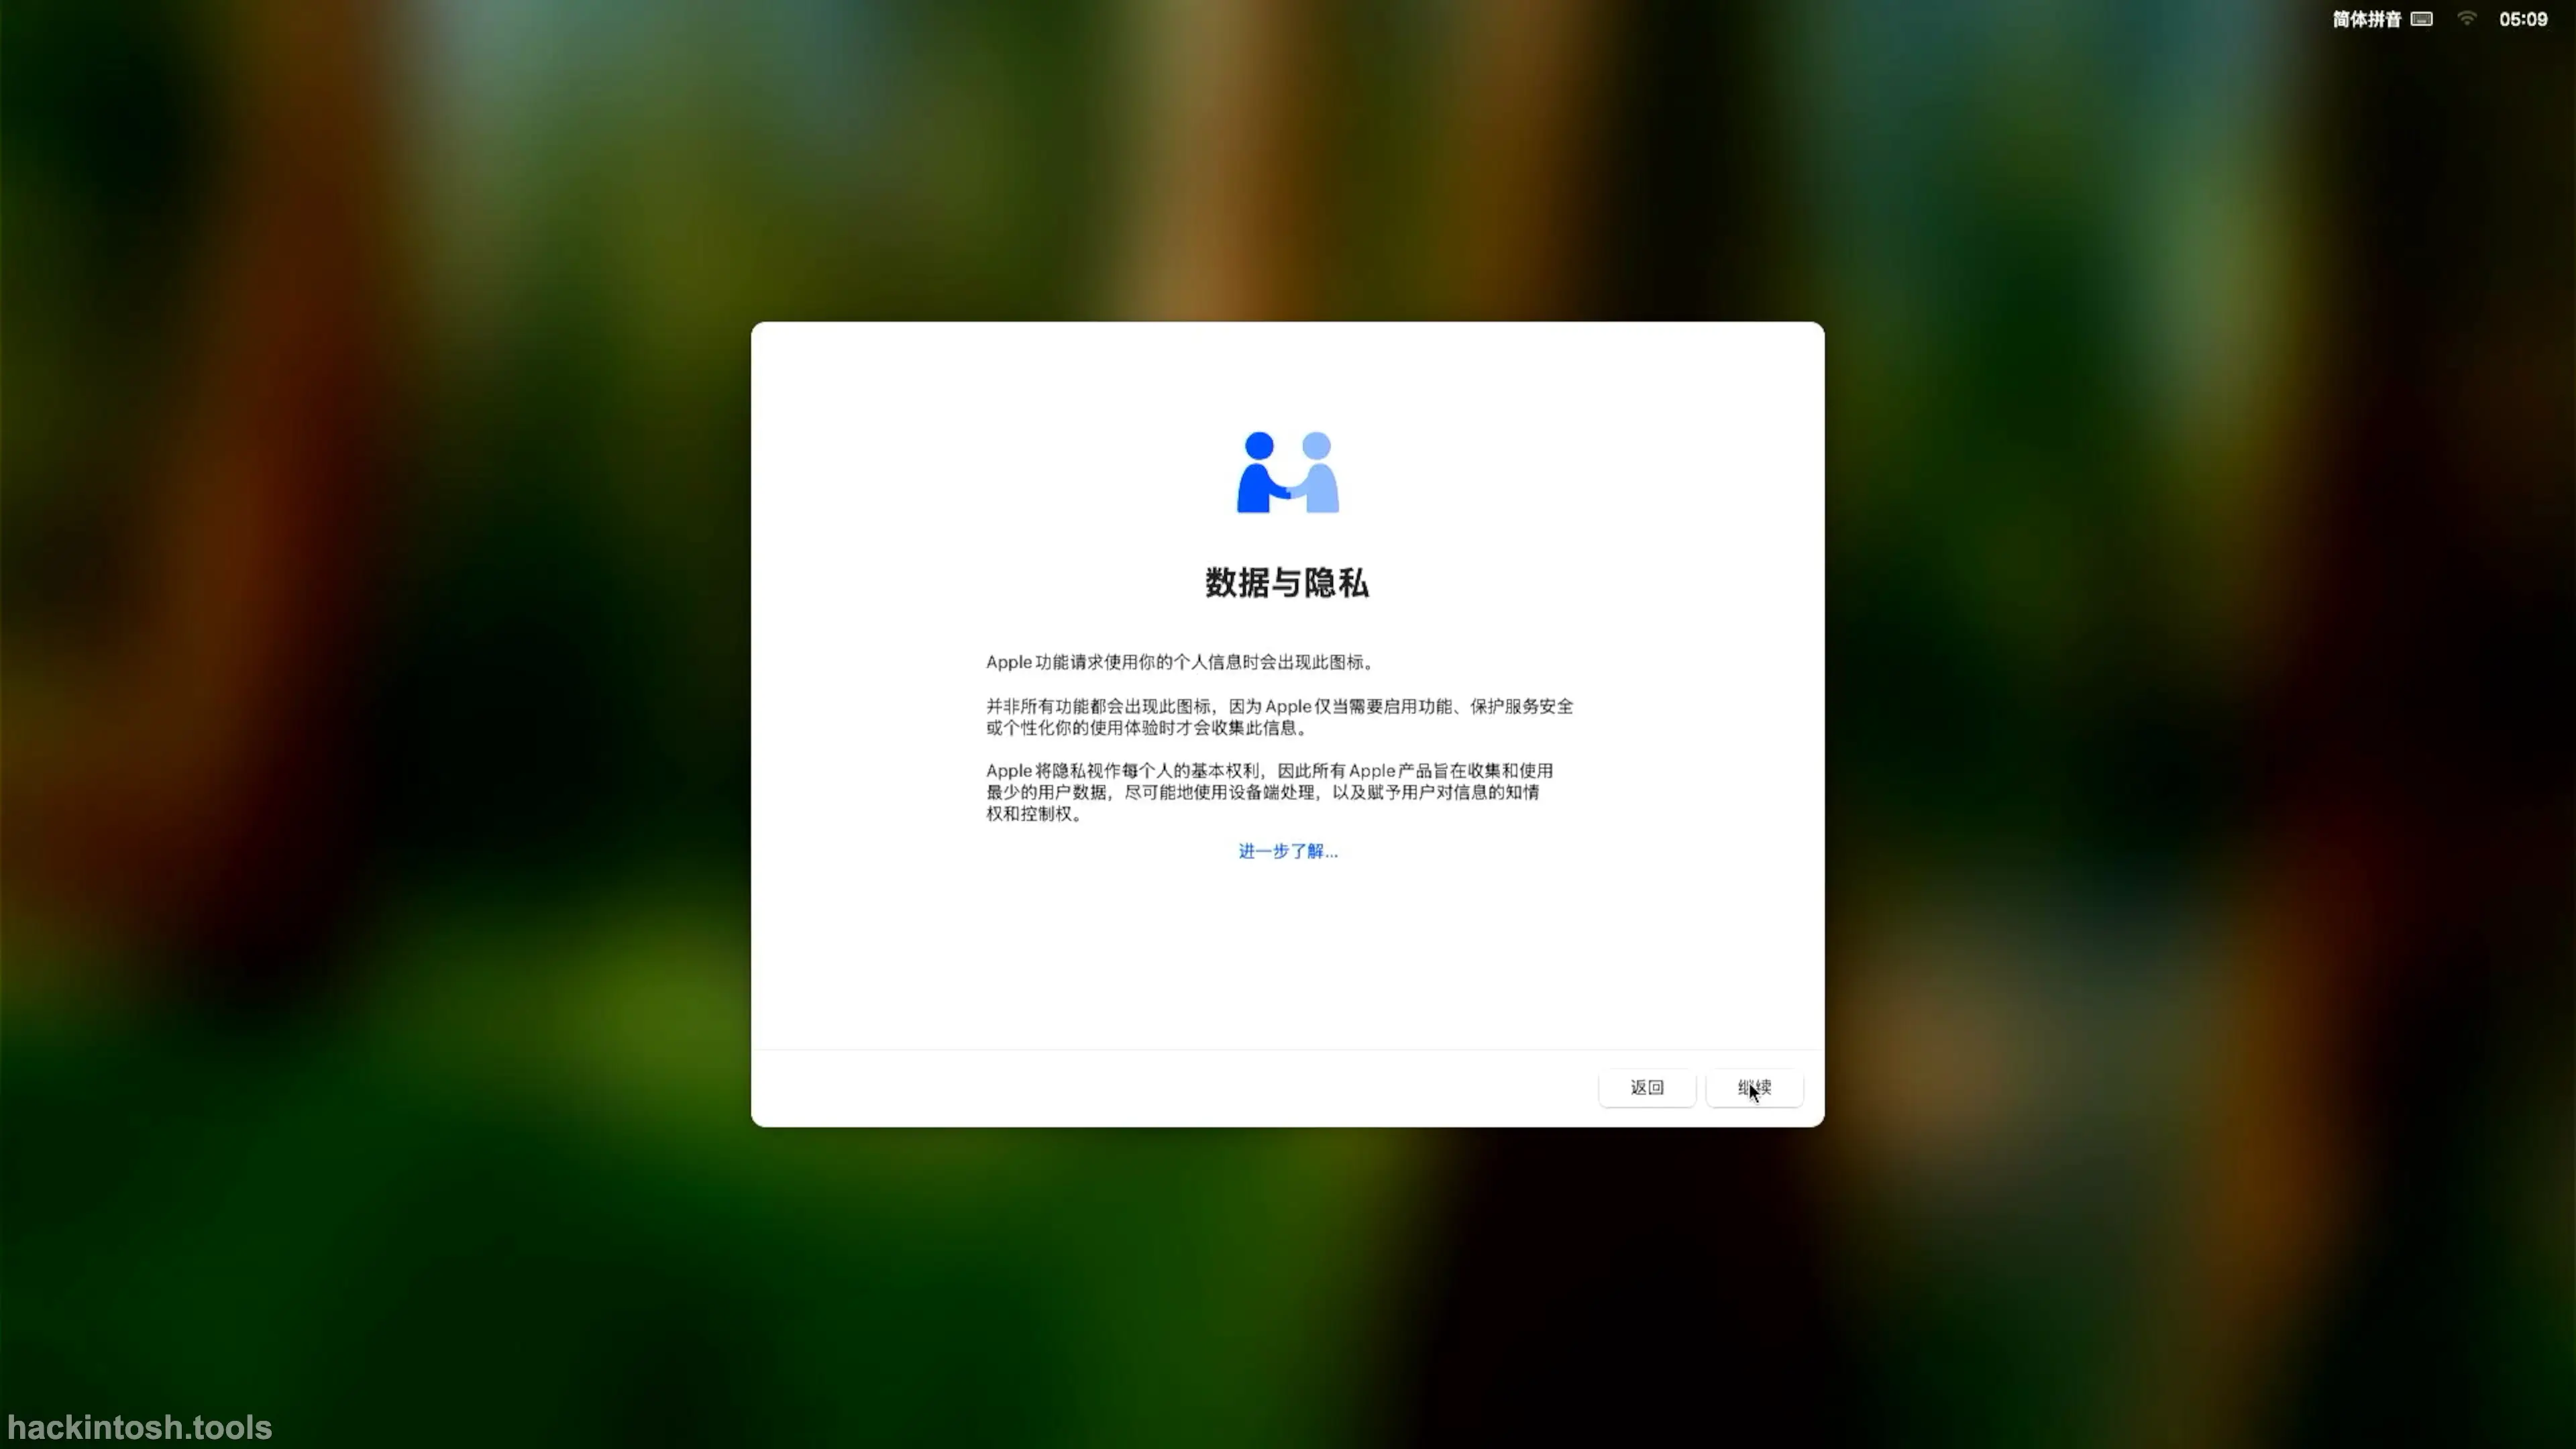
The Data & Privacy option appears. After reading, click the Continue button.
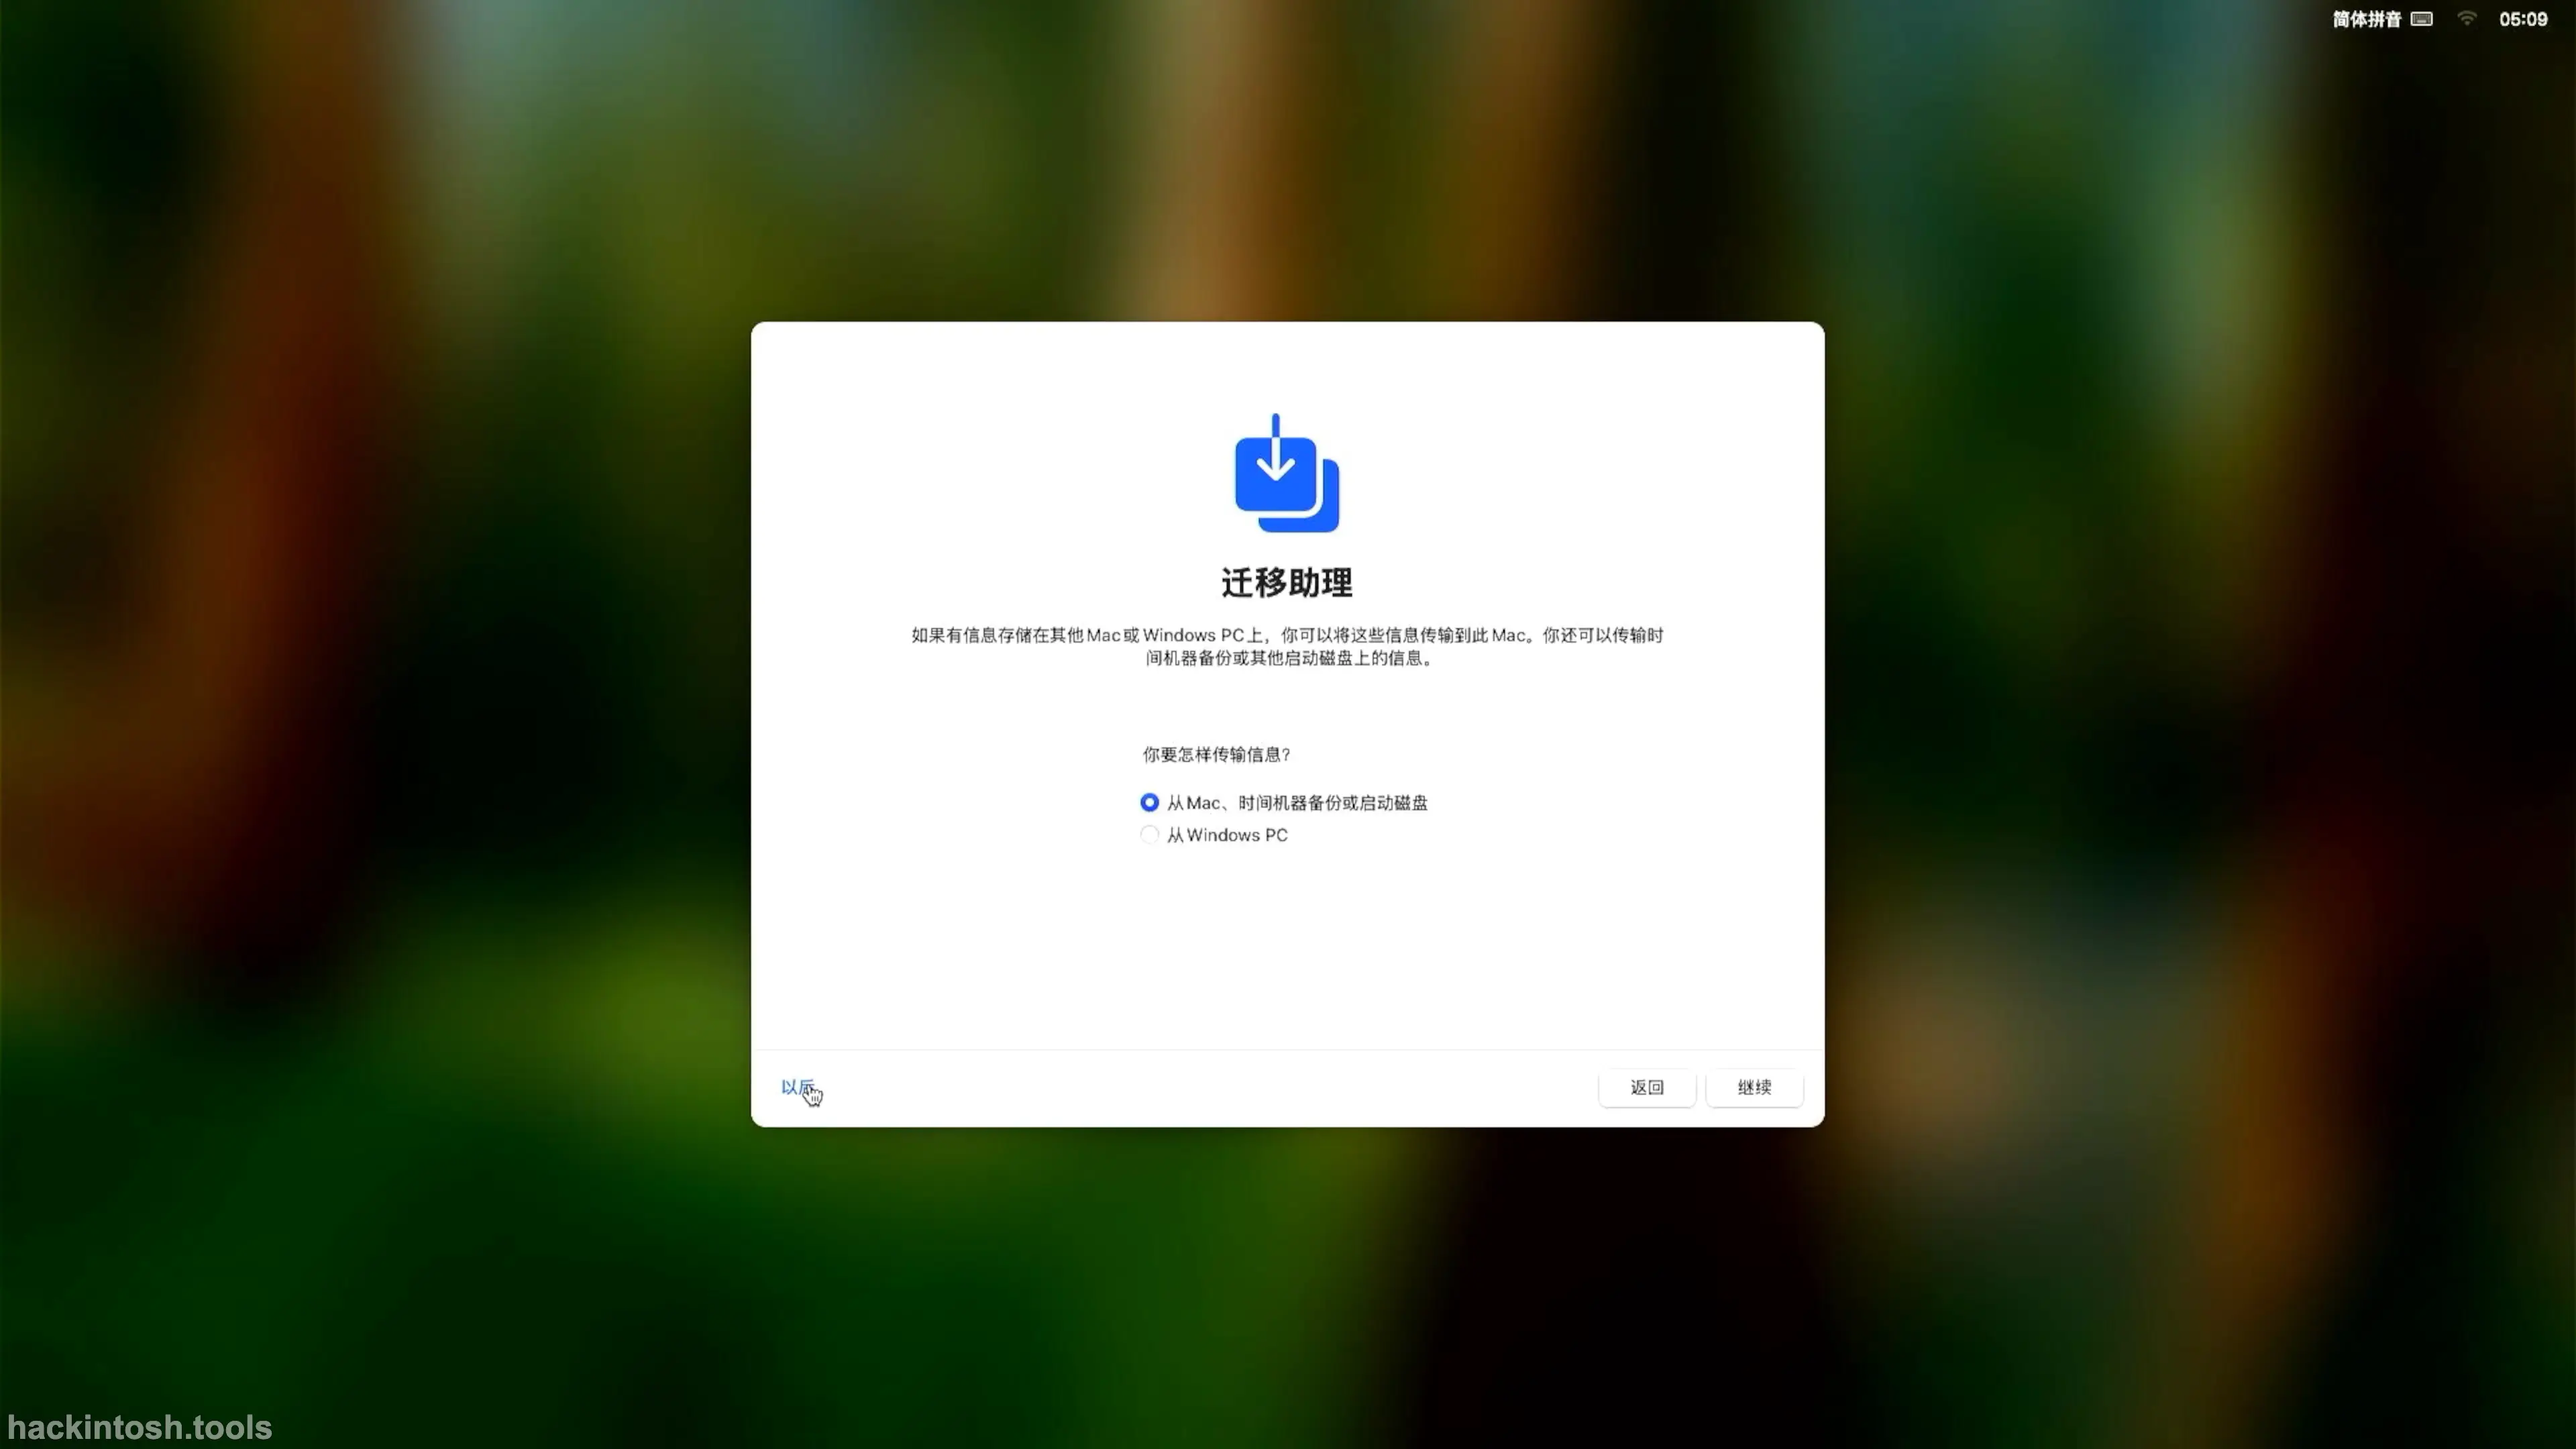
The Migration Assistant appears. If it's a fresh installation and you are not using Time Machine to restore data, please click Later to continue.
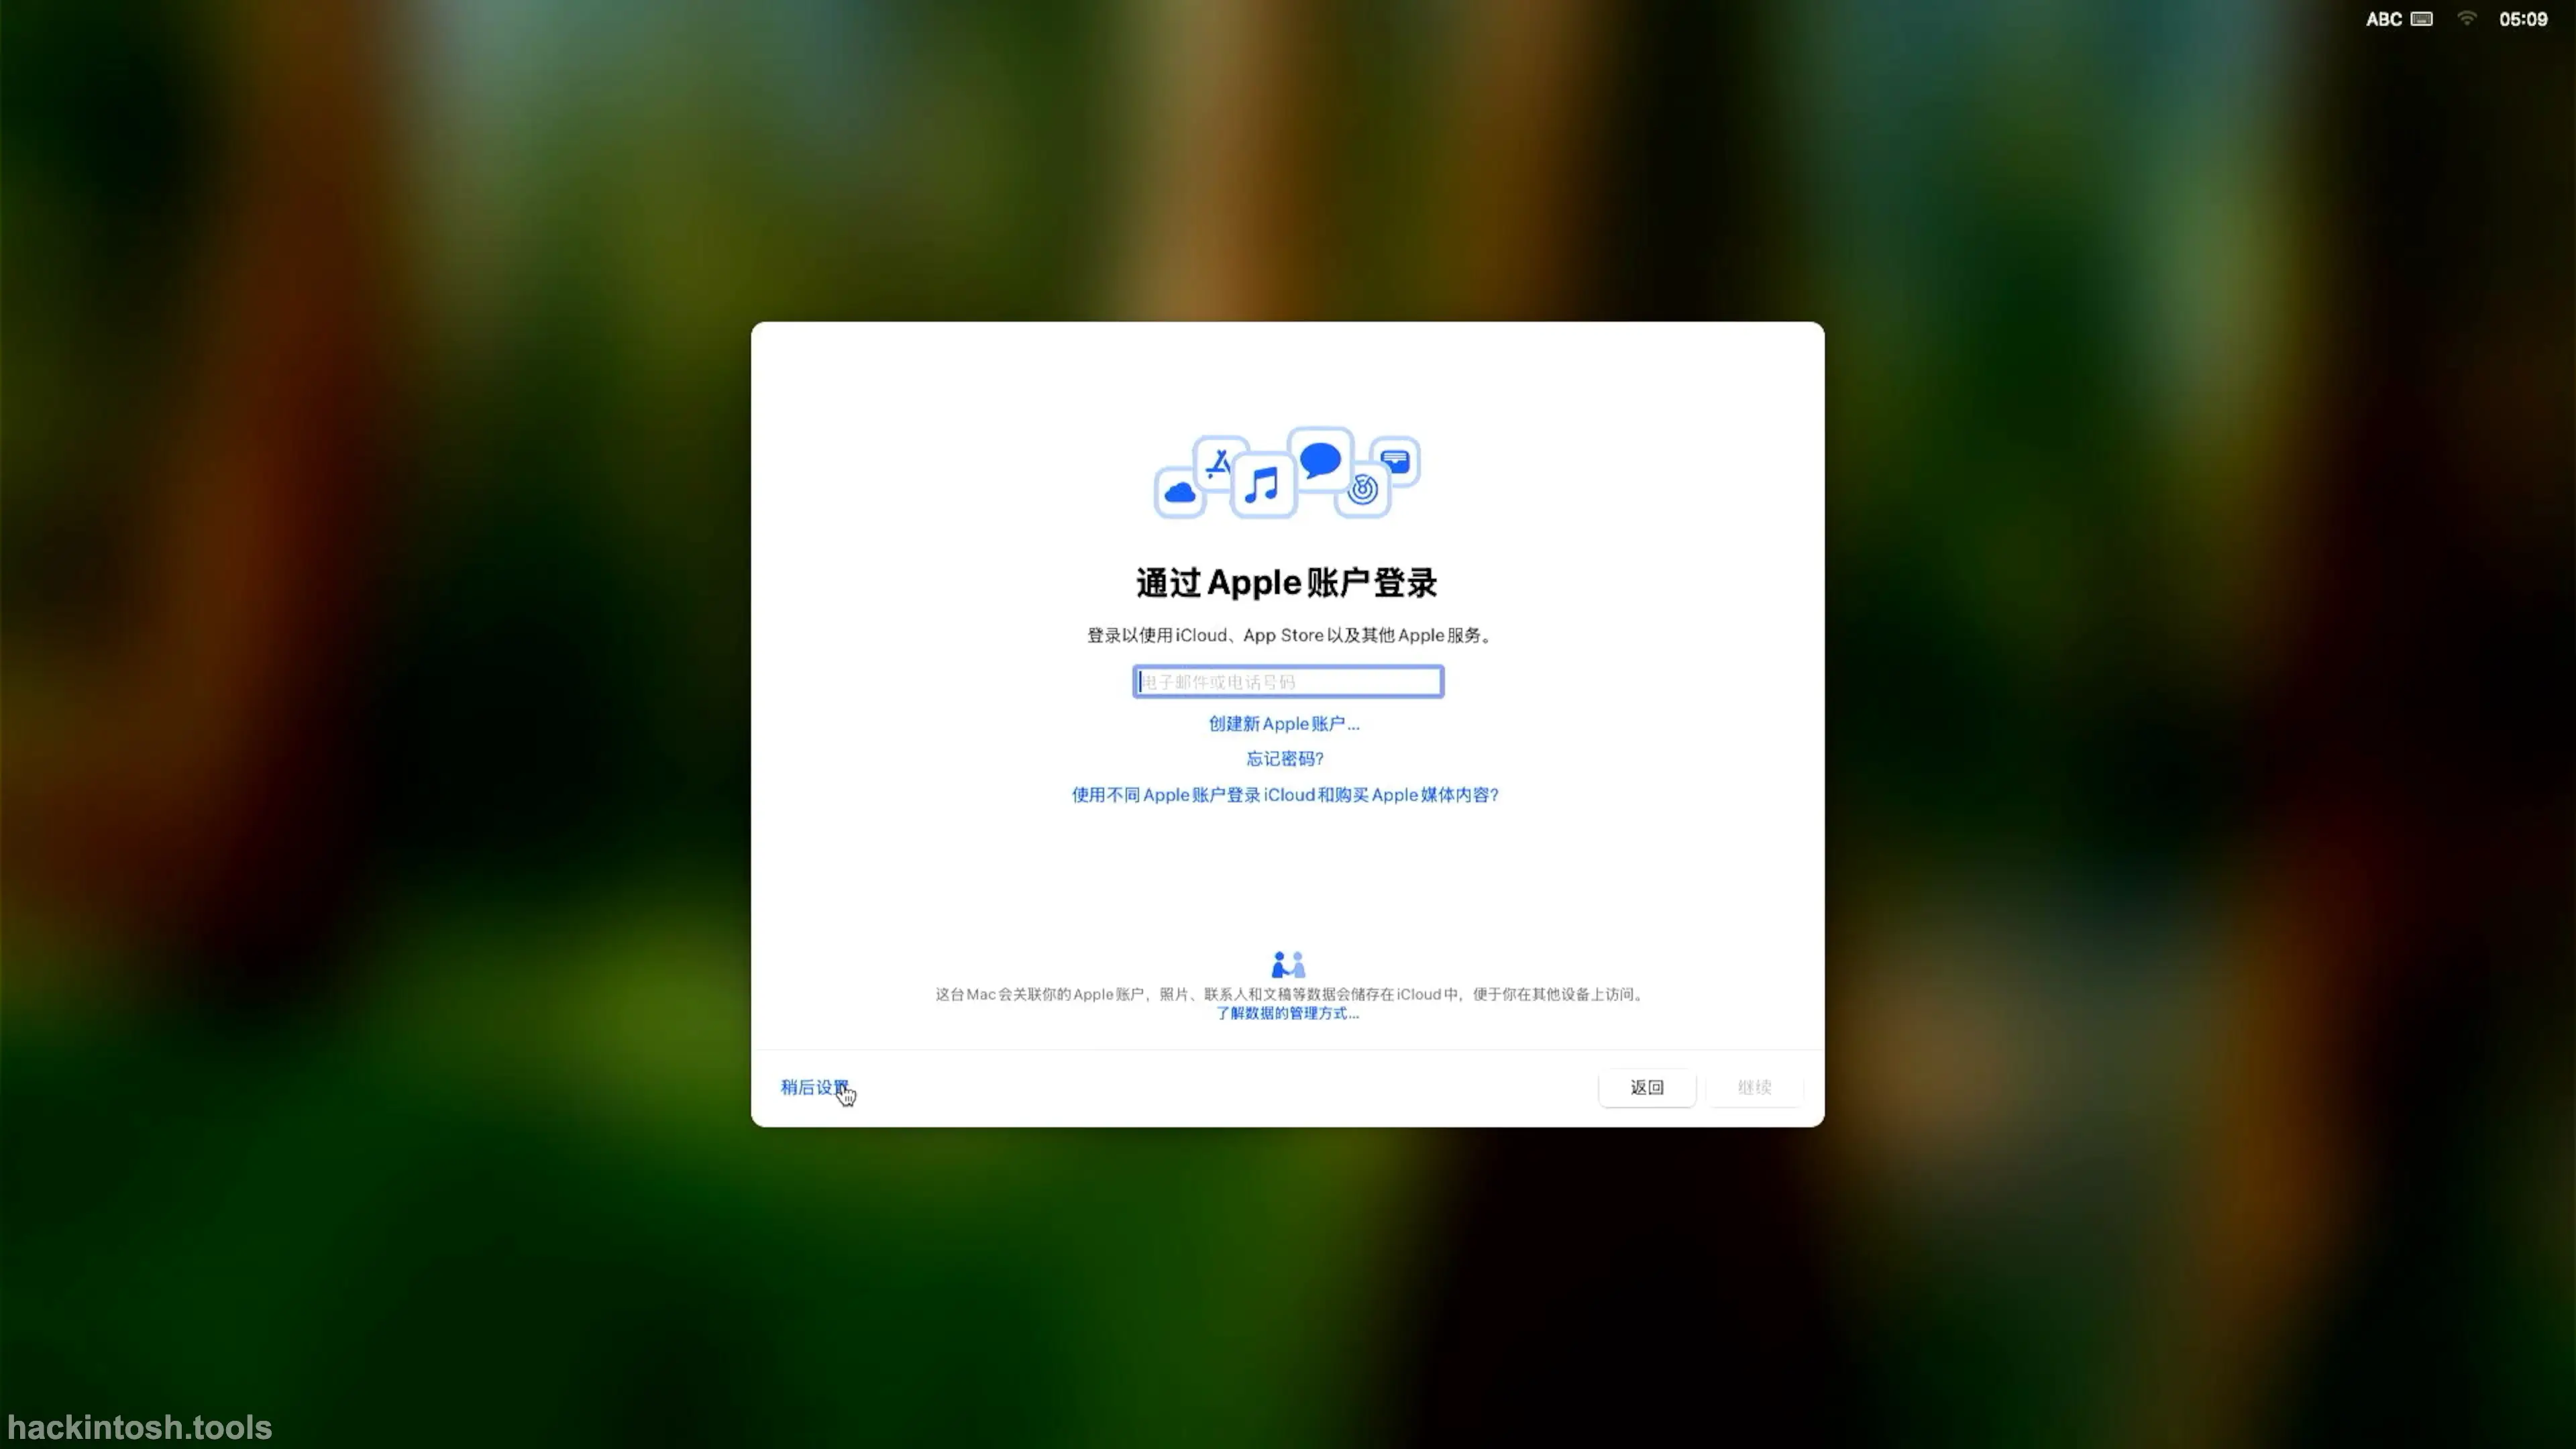
The Sign in with your Apple ID option appears. Please select Set up later.
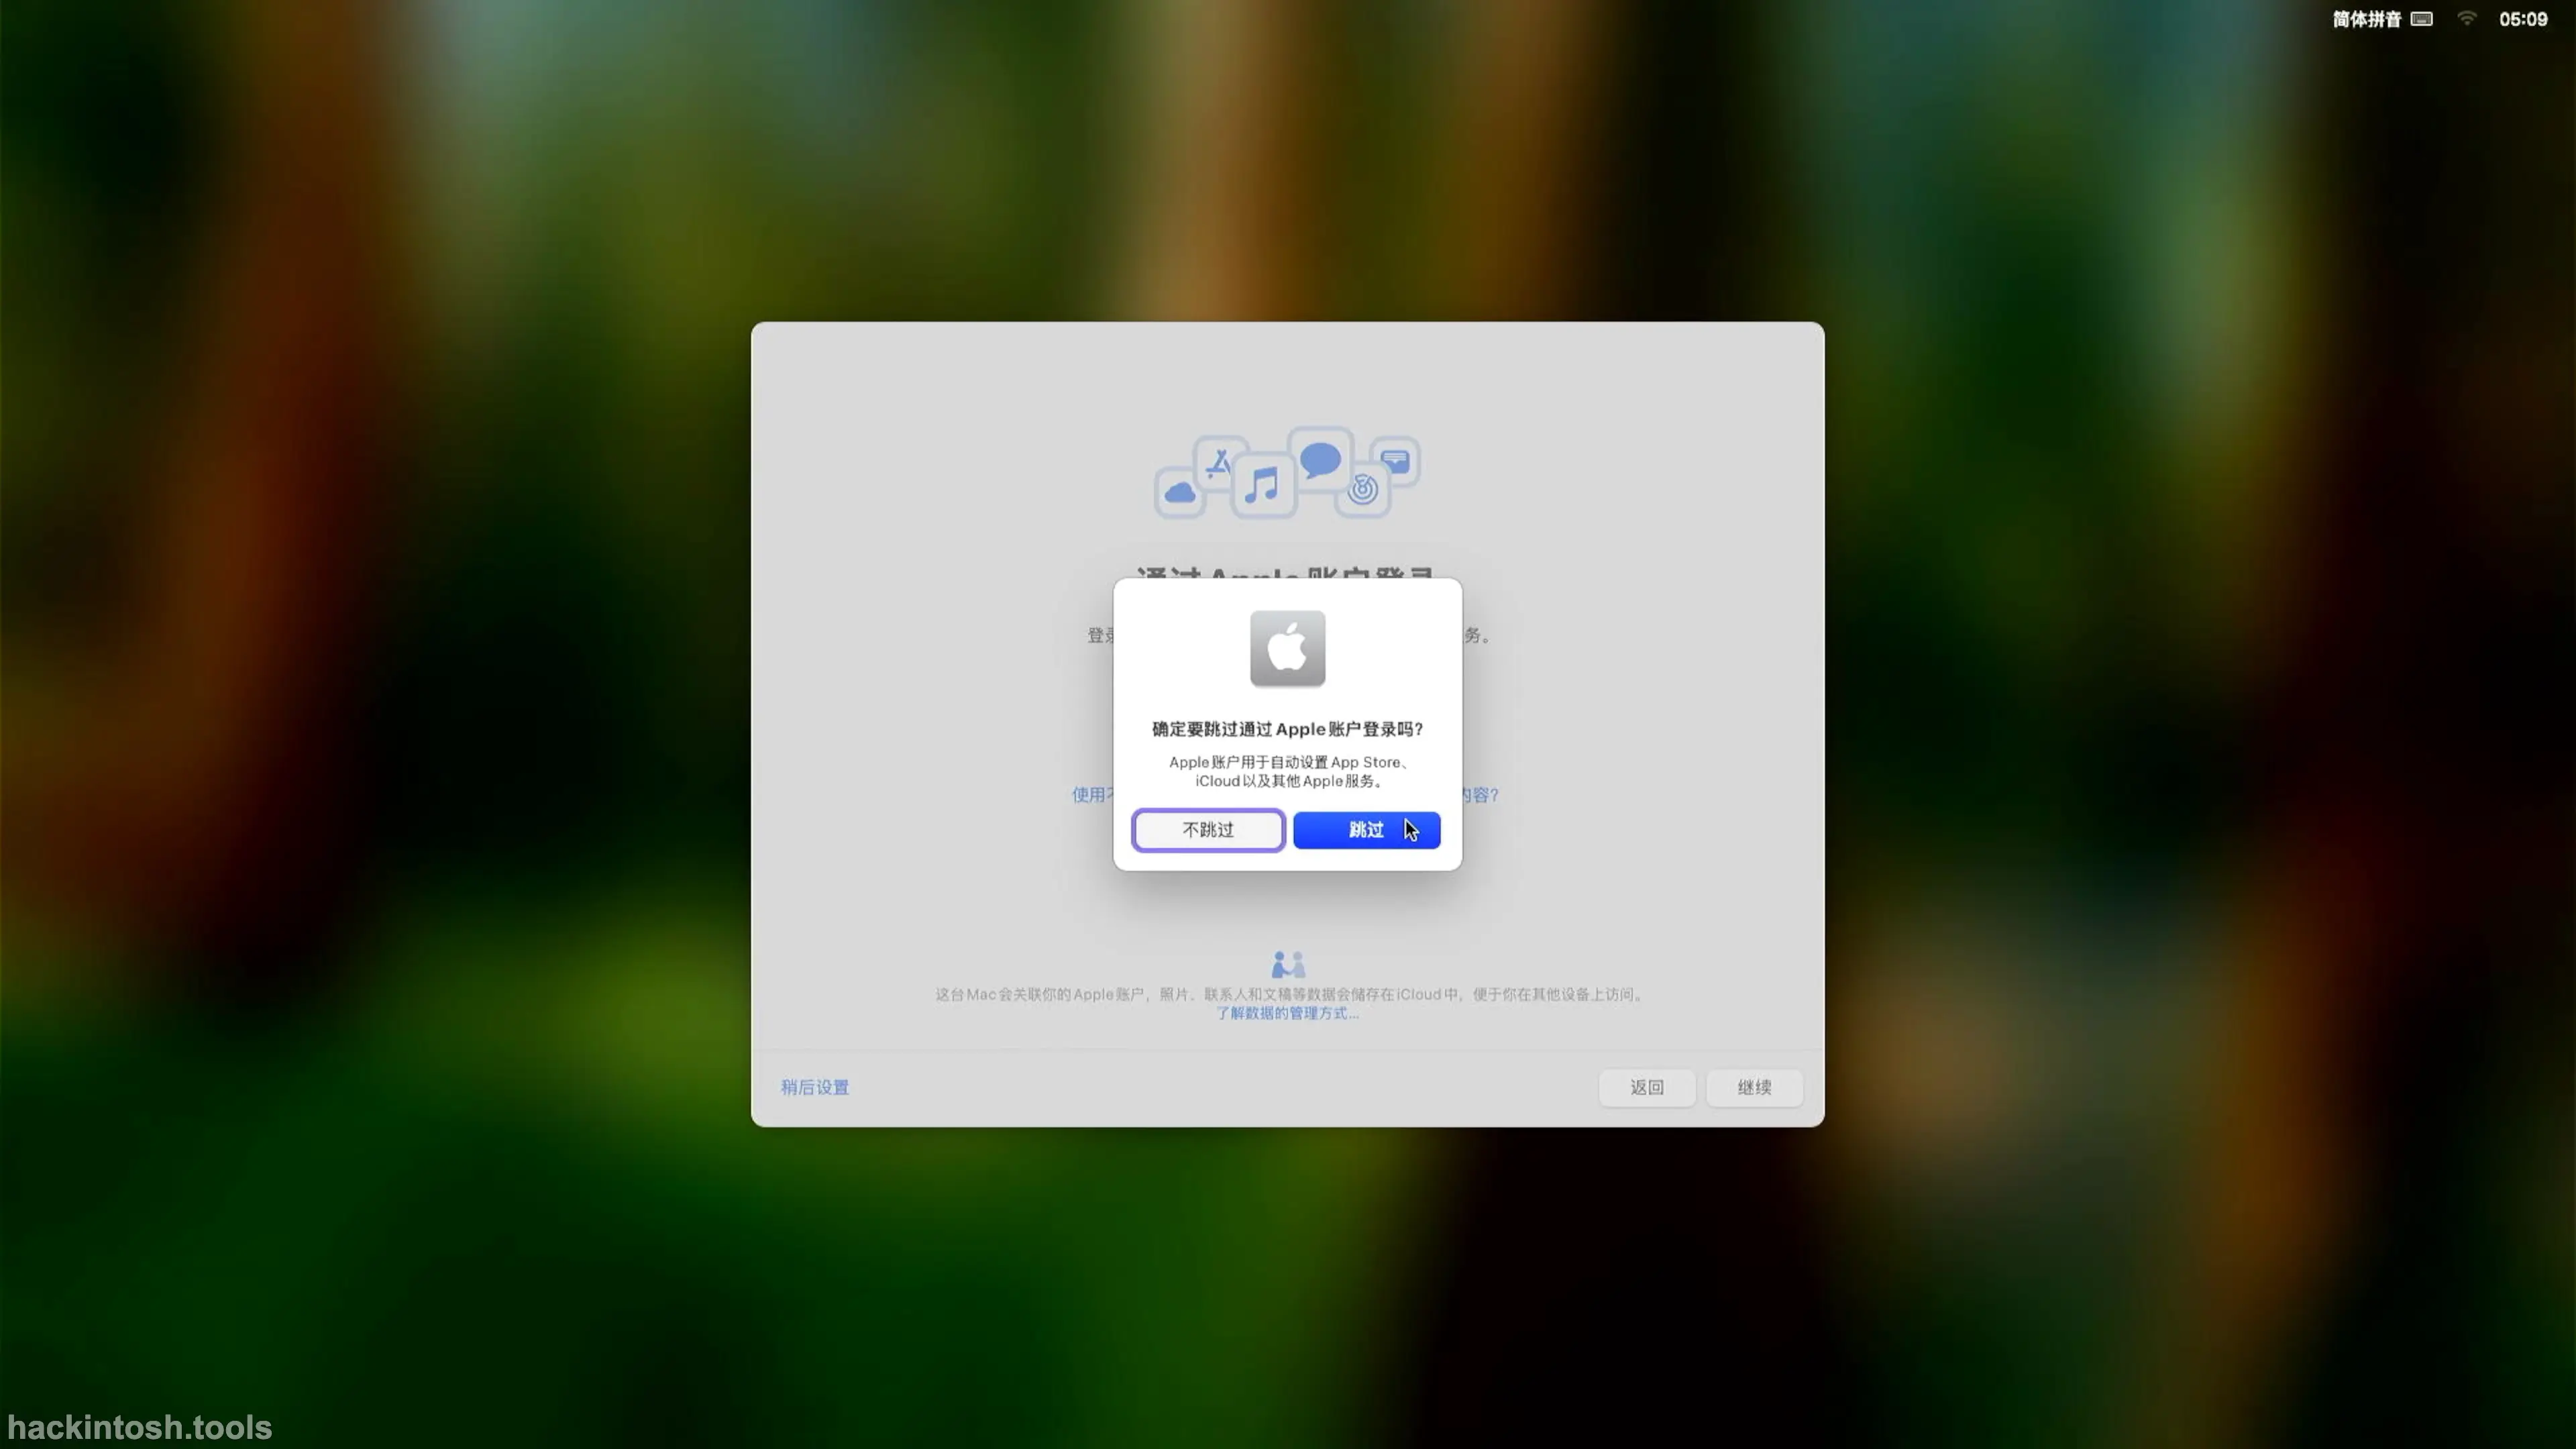
Select Skip in the pop - up window.
The Terms and Conditions appear. Please read them and then click Agree to continue.

Click Agree again in the pop - up window to continue.

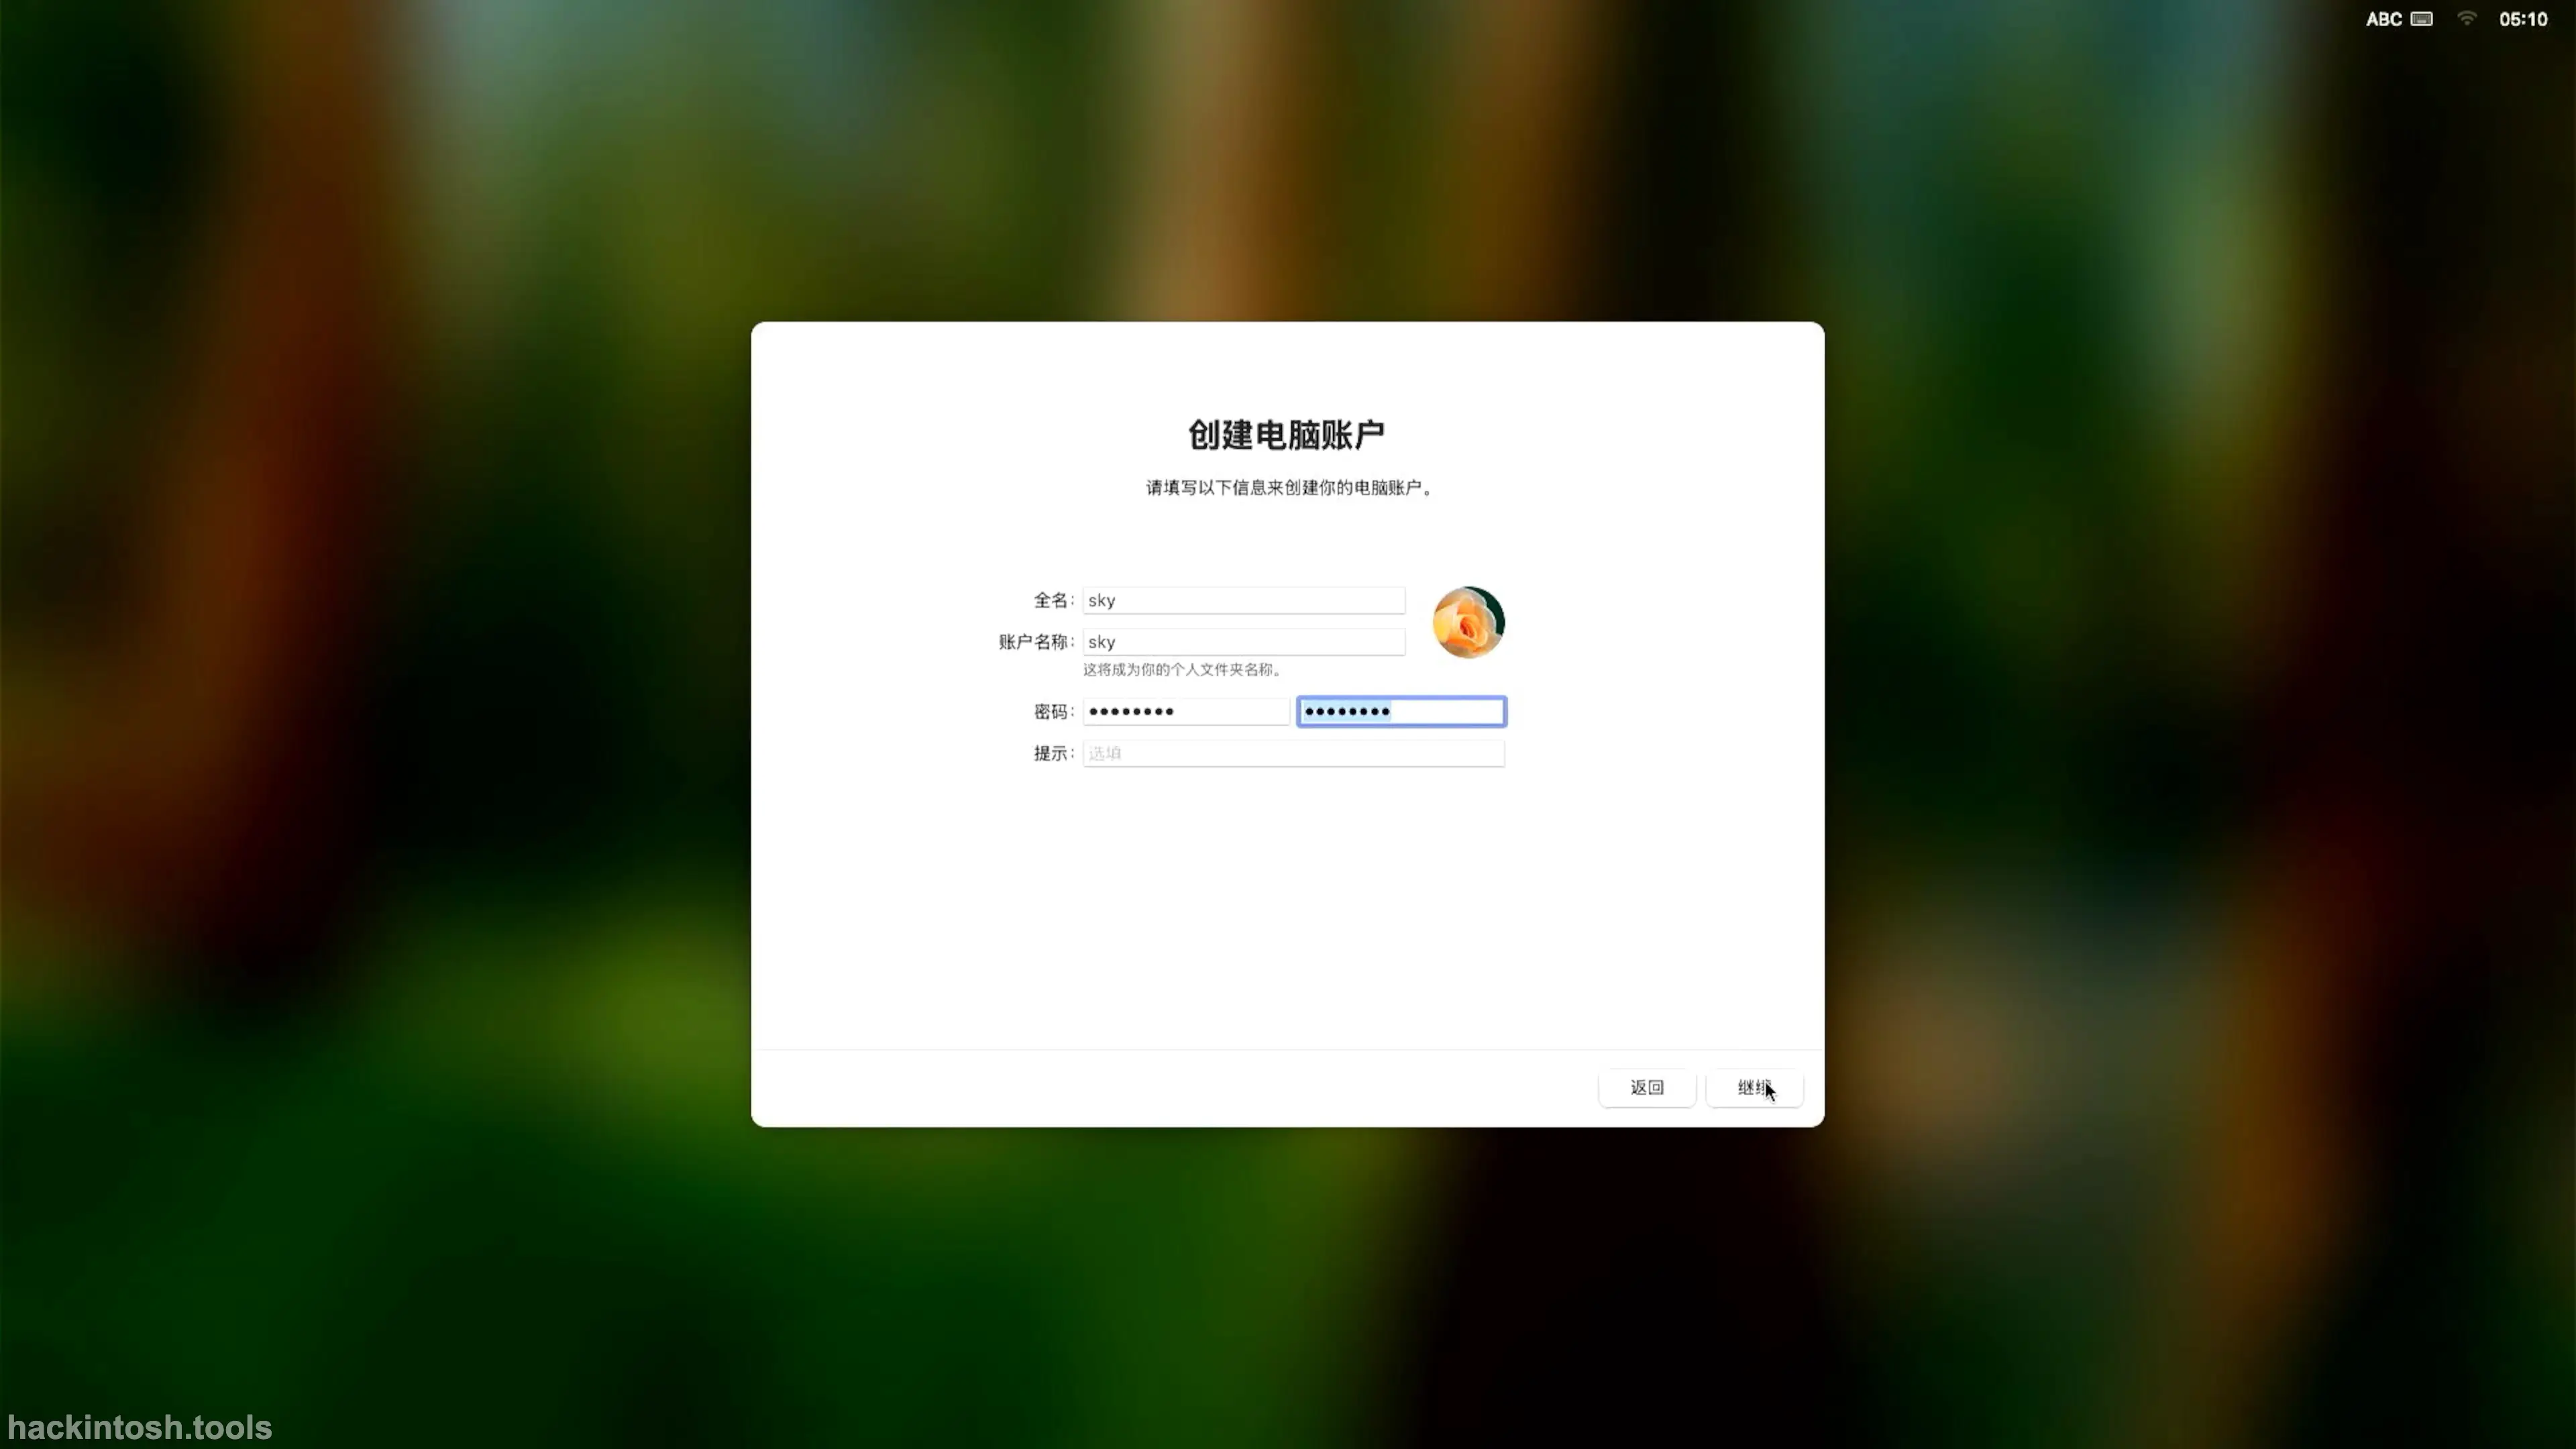
The window for creating a user account appears. Enter the username and password, and click the Continue button.
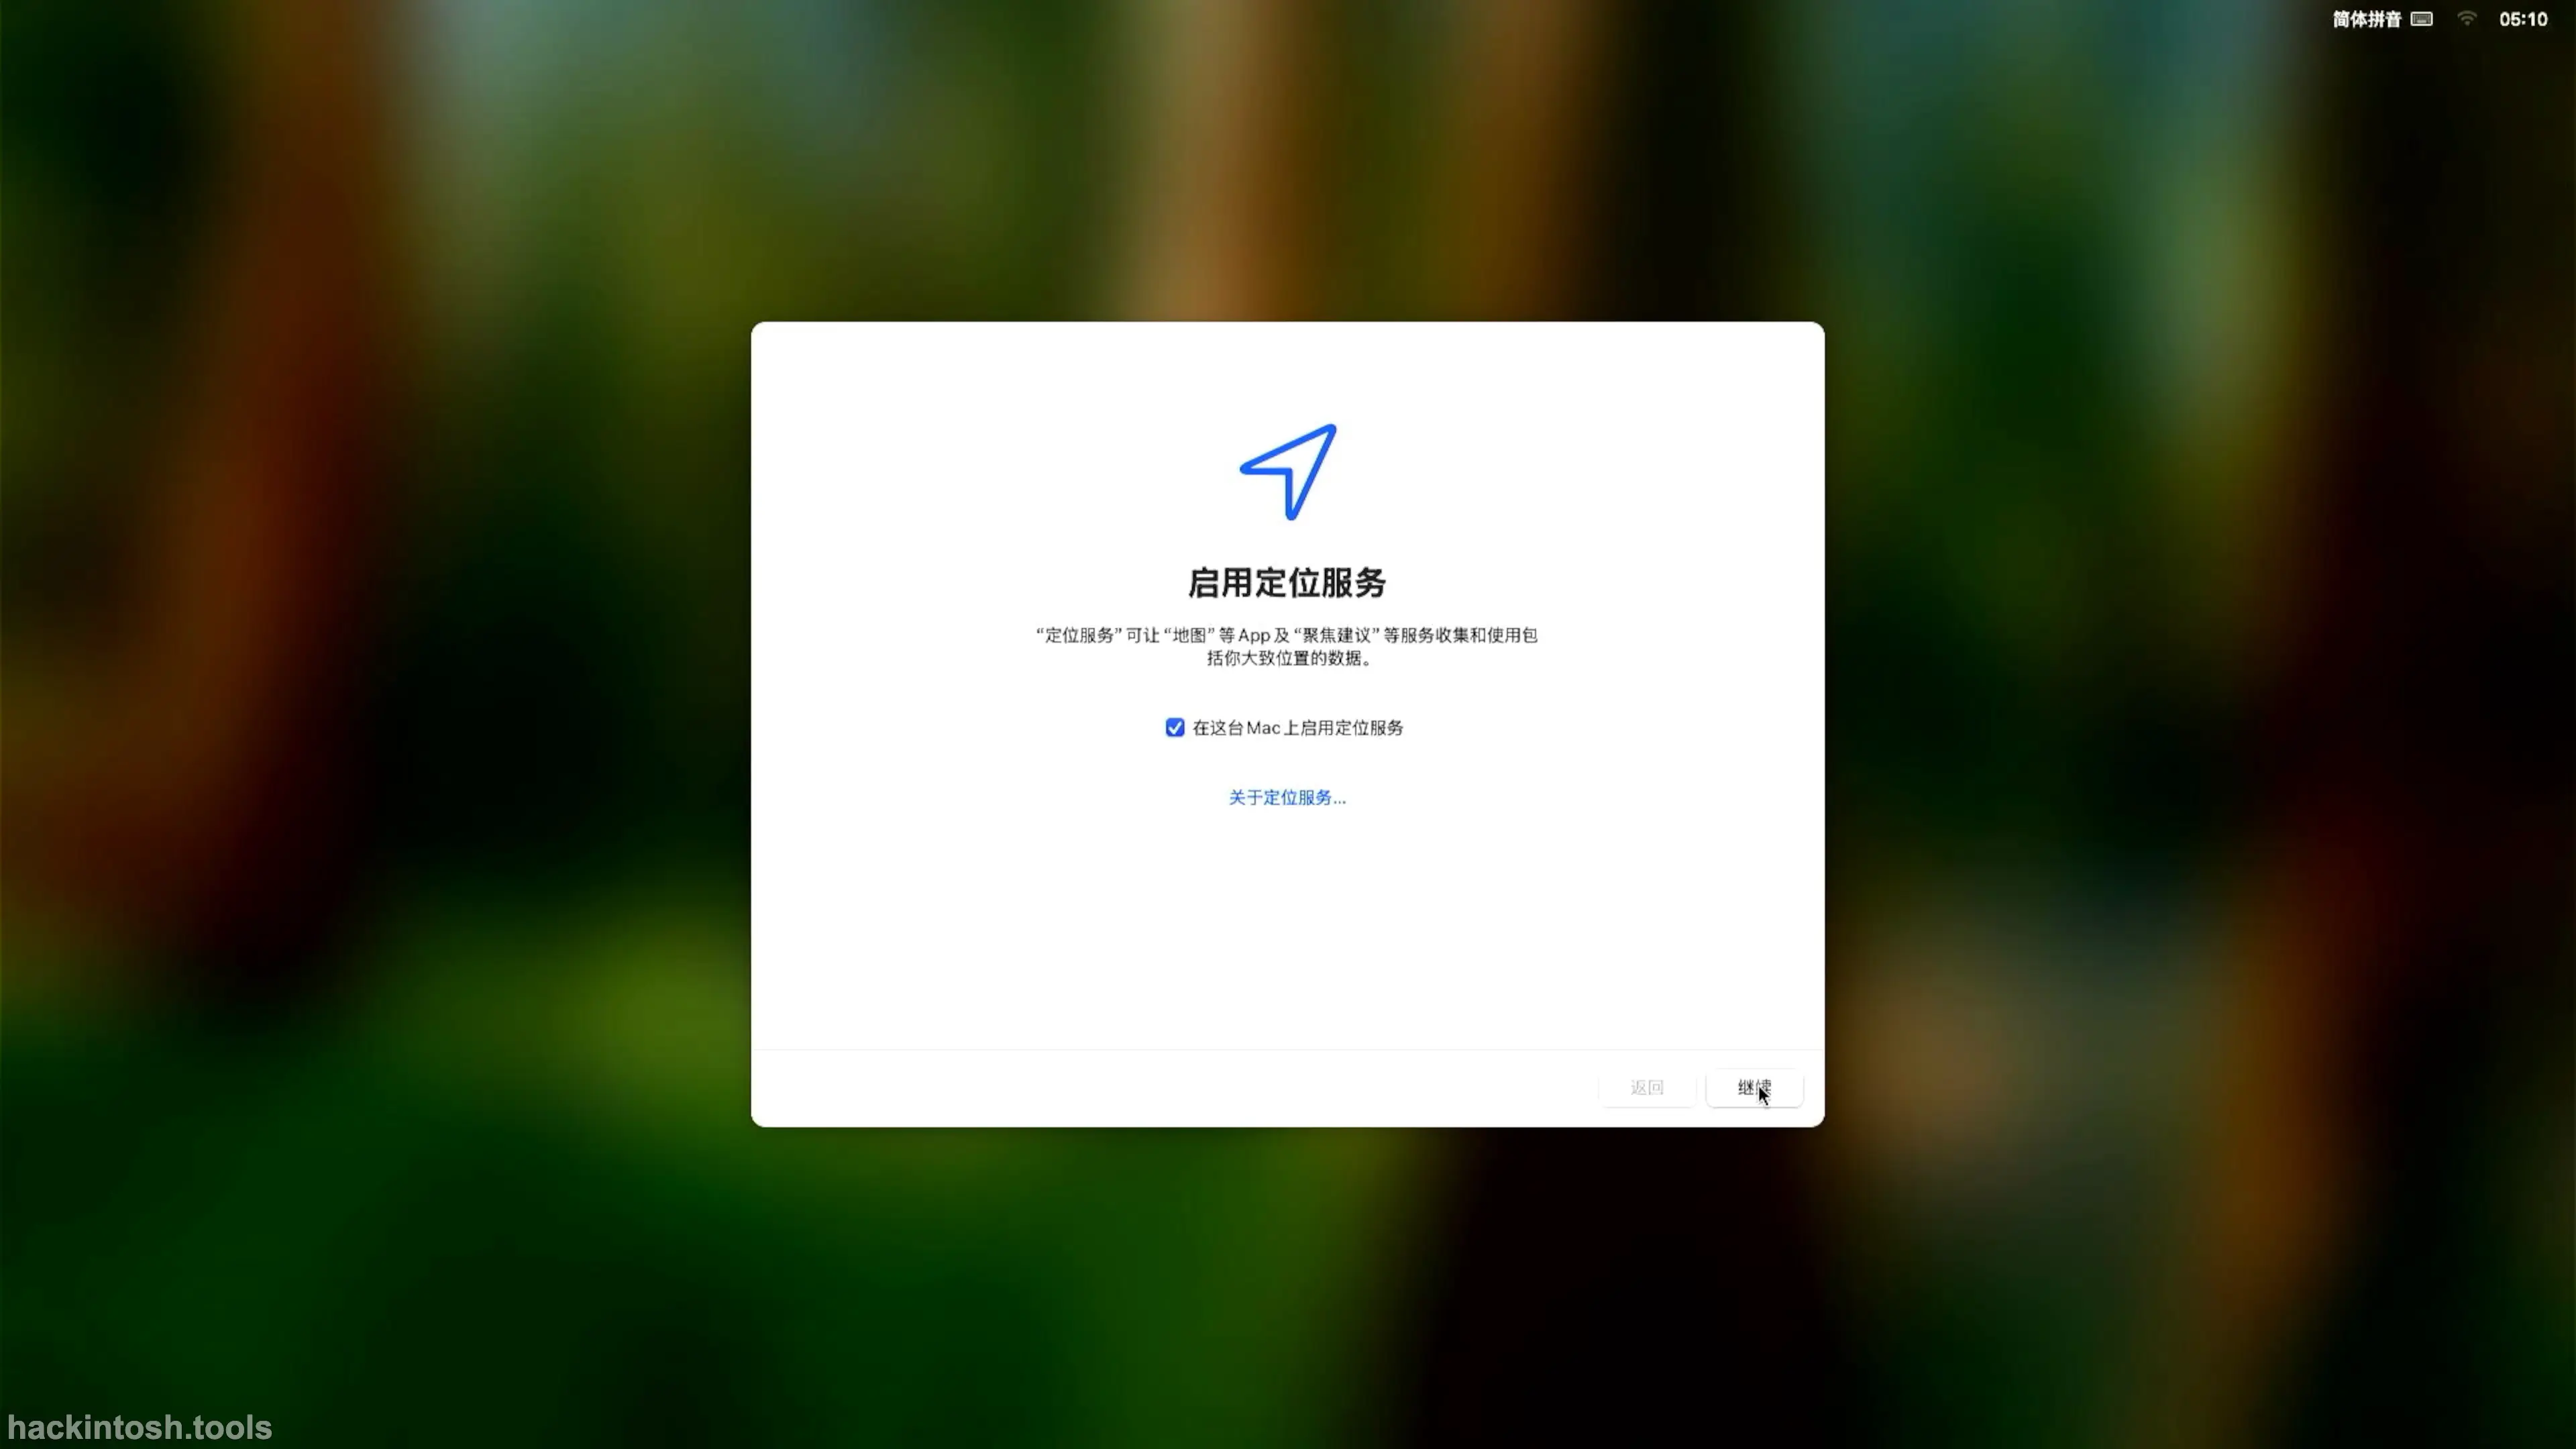
The Enable Location Services window appears. Click the Continue button.
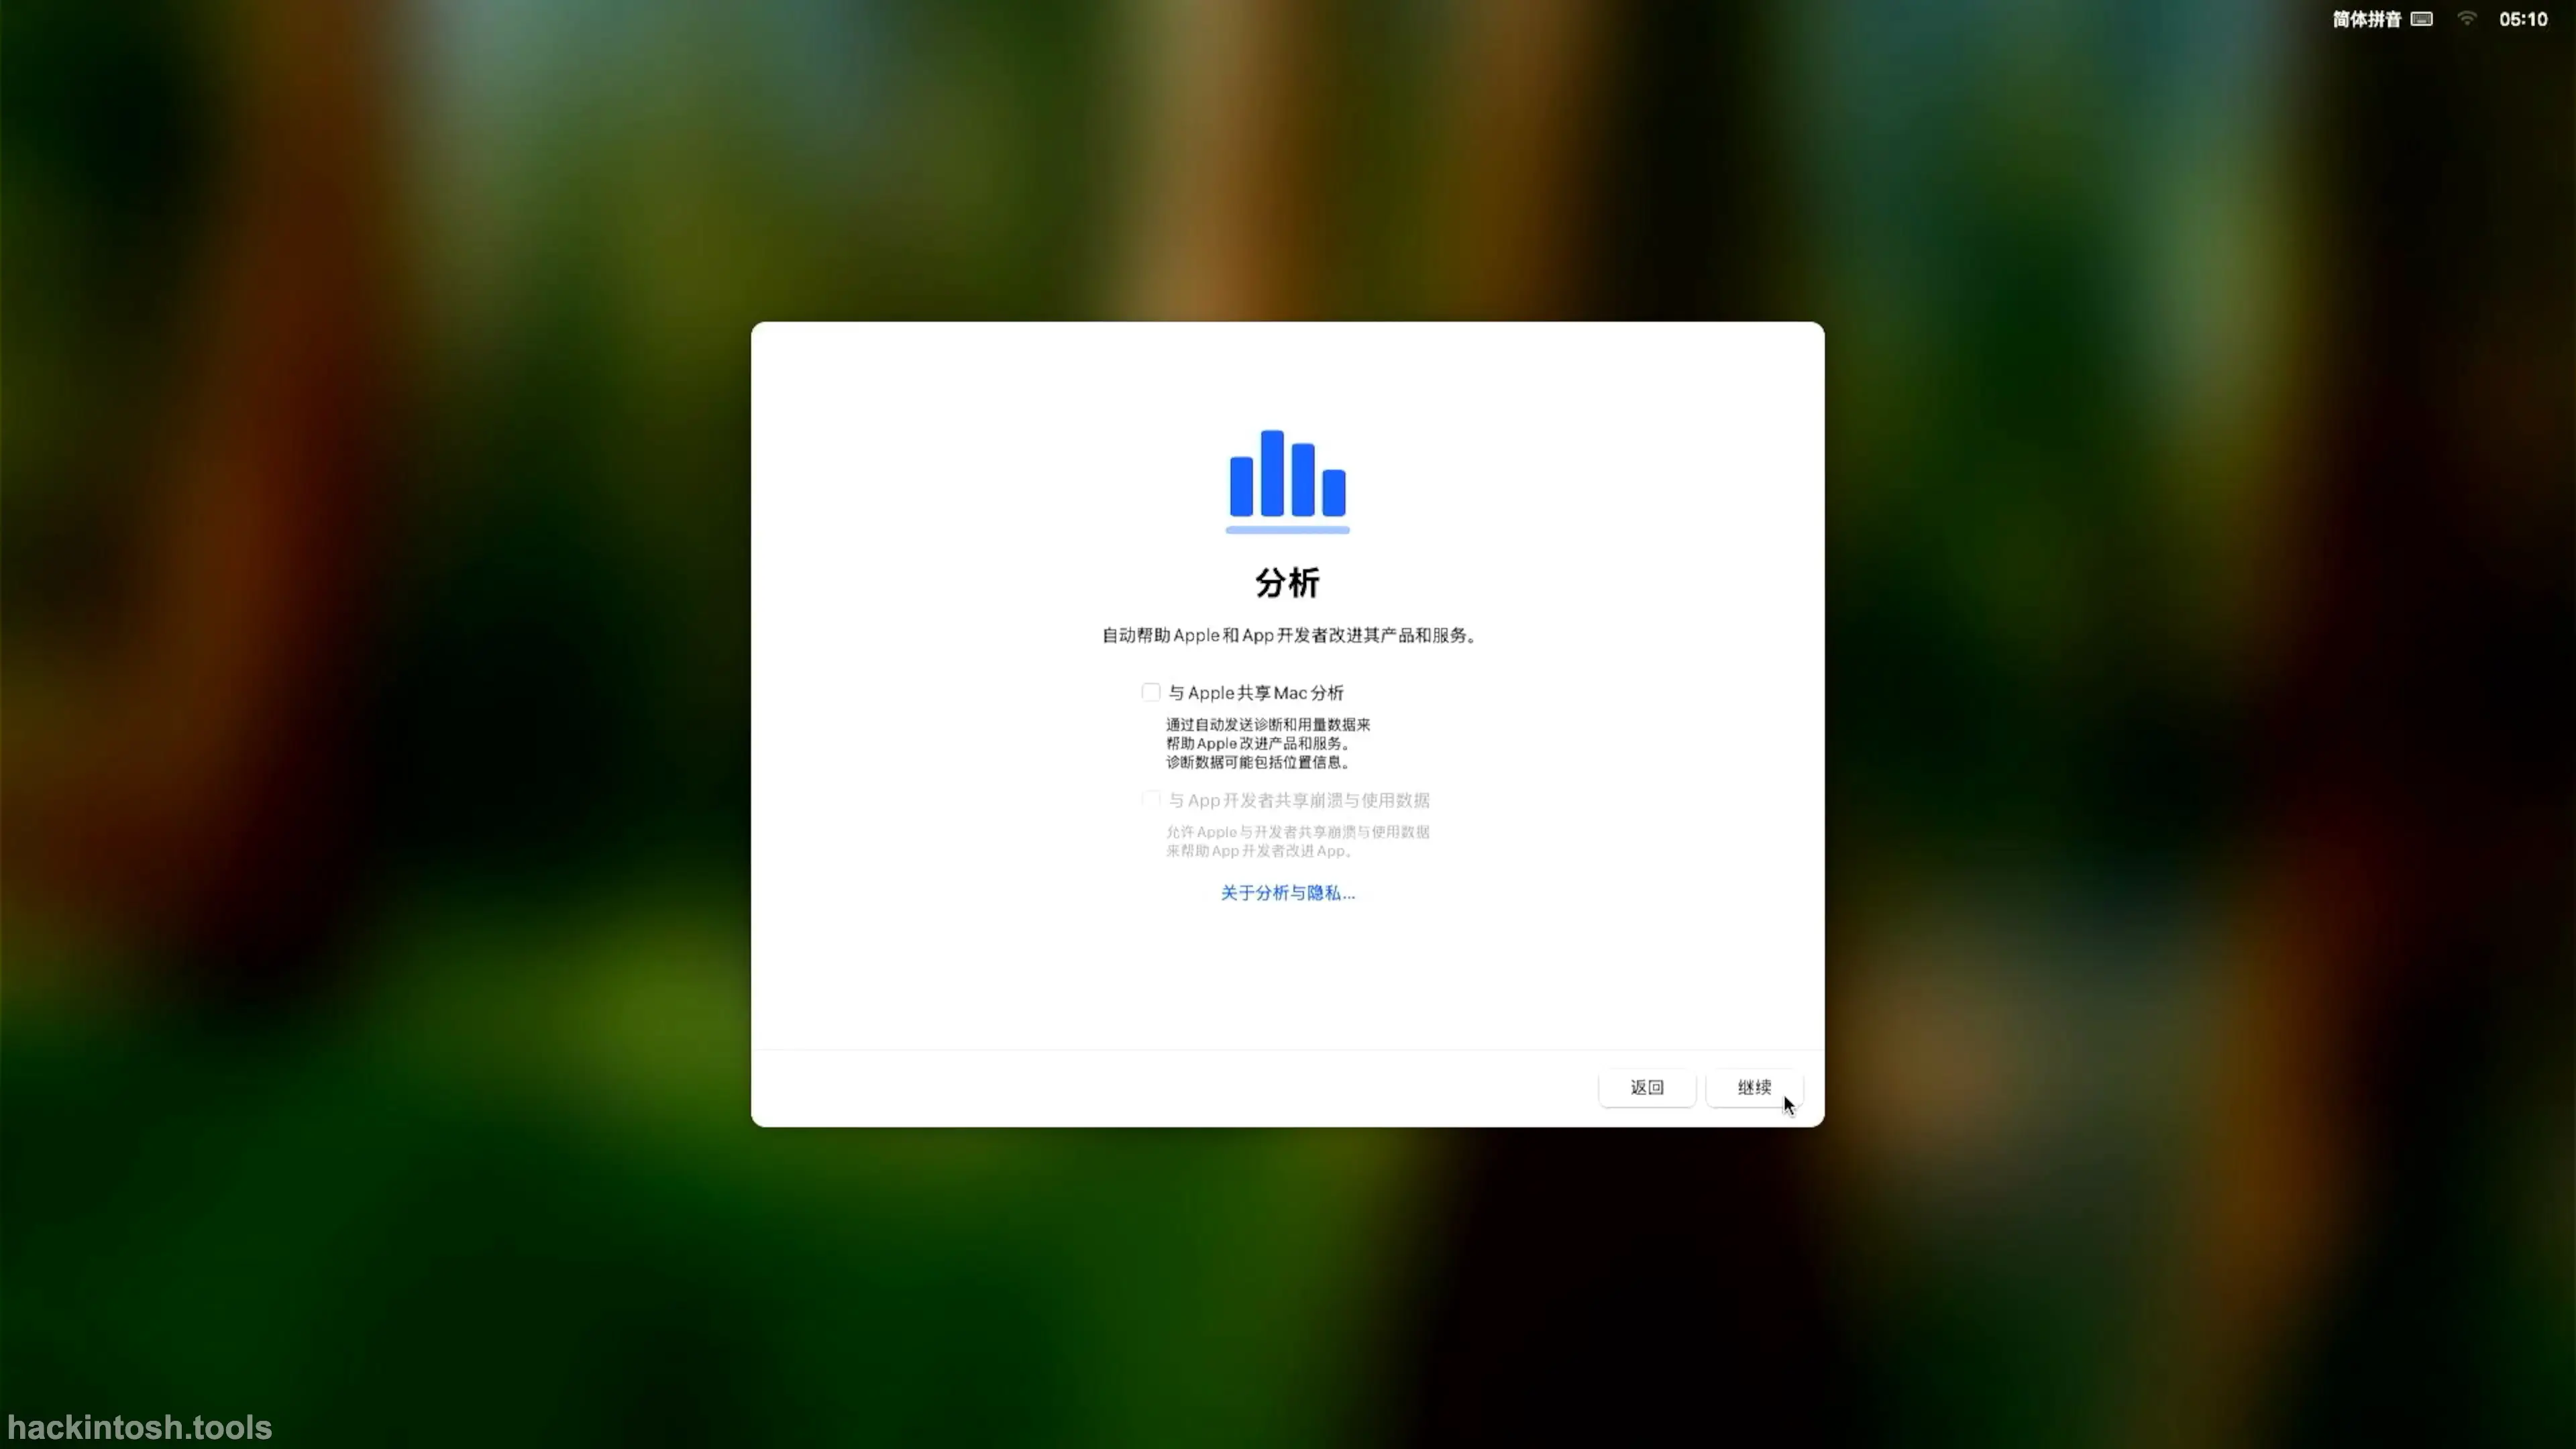
The analysis window appears. Uncheck Share Mac analysis with Apple and click the Continue button.
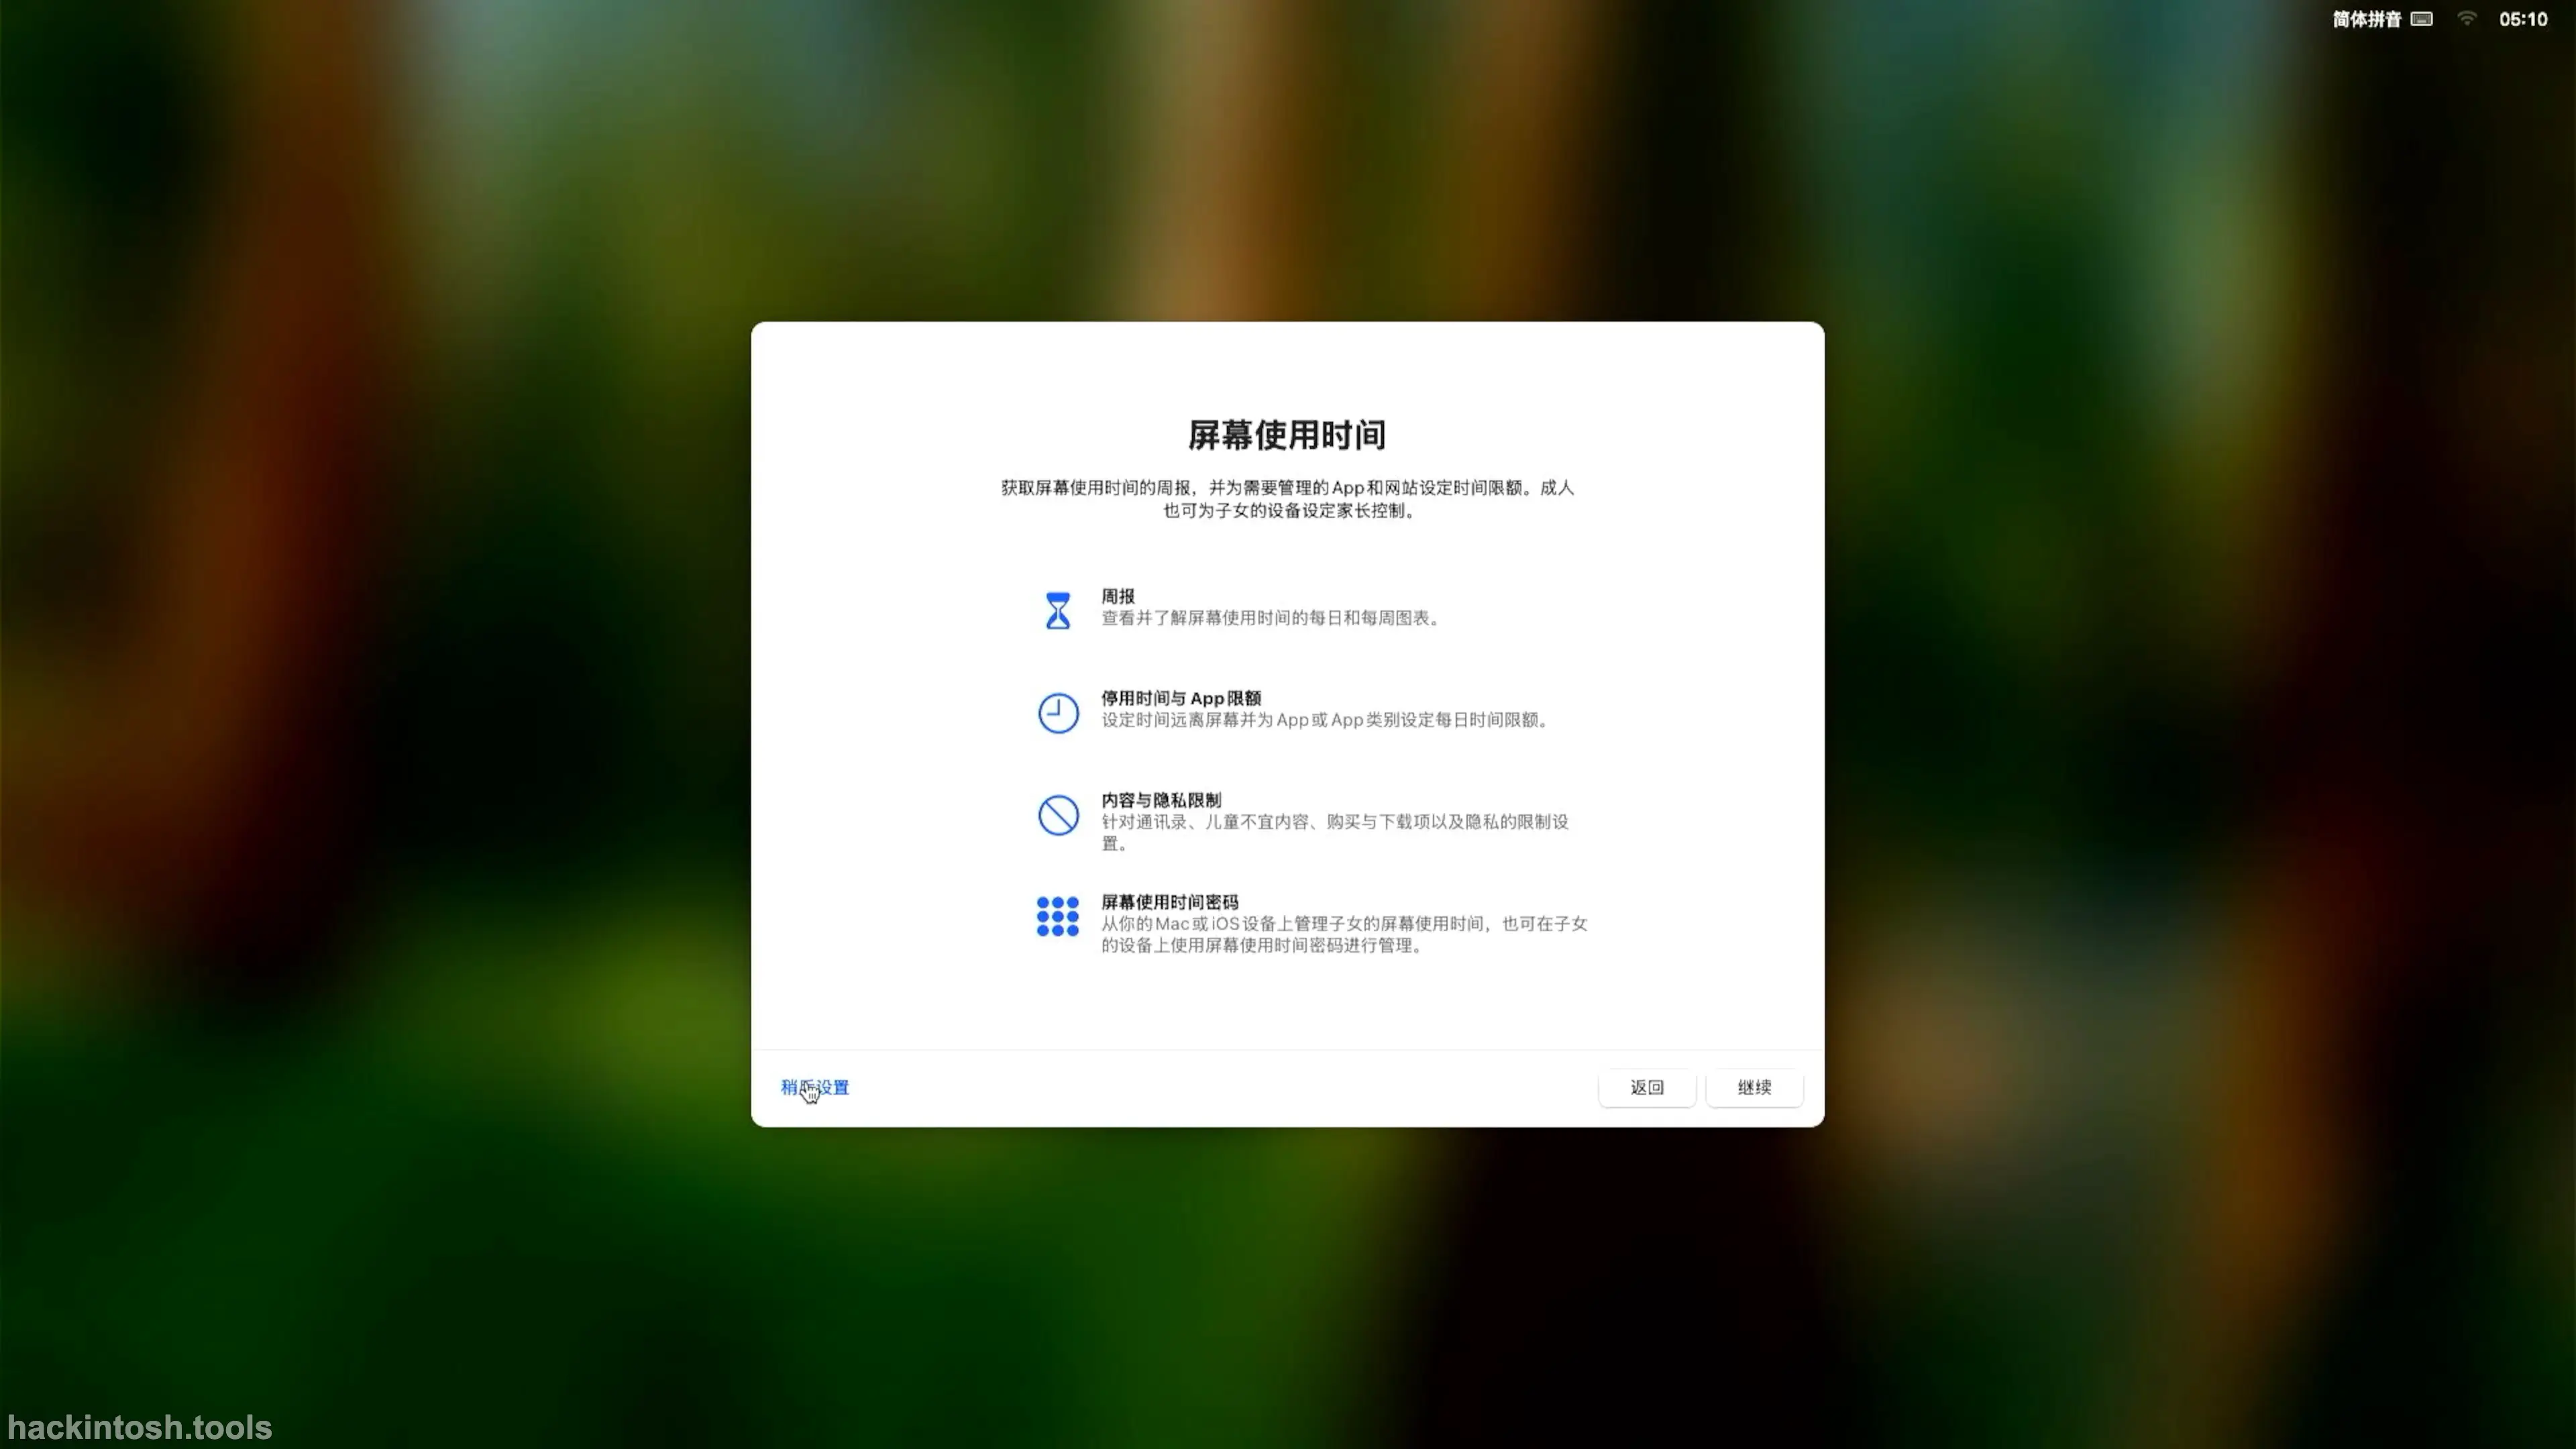
The screen time window appears. Click Set up later to continue.
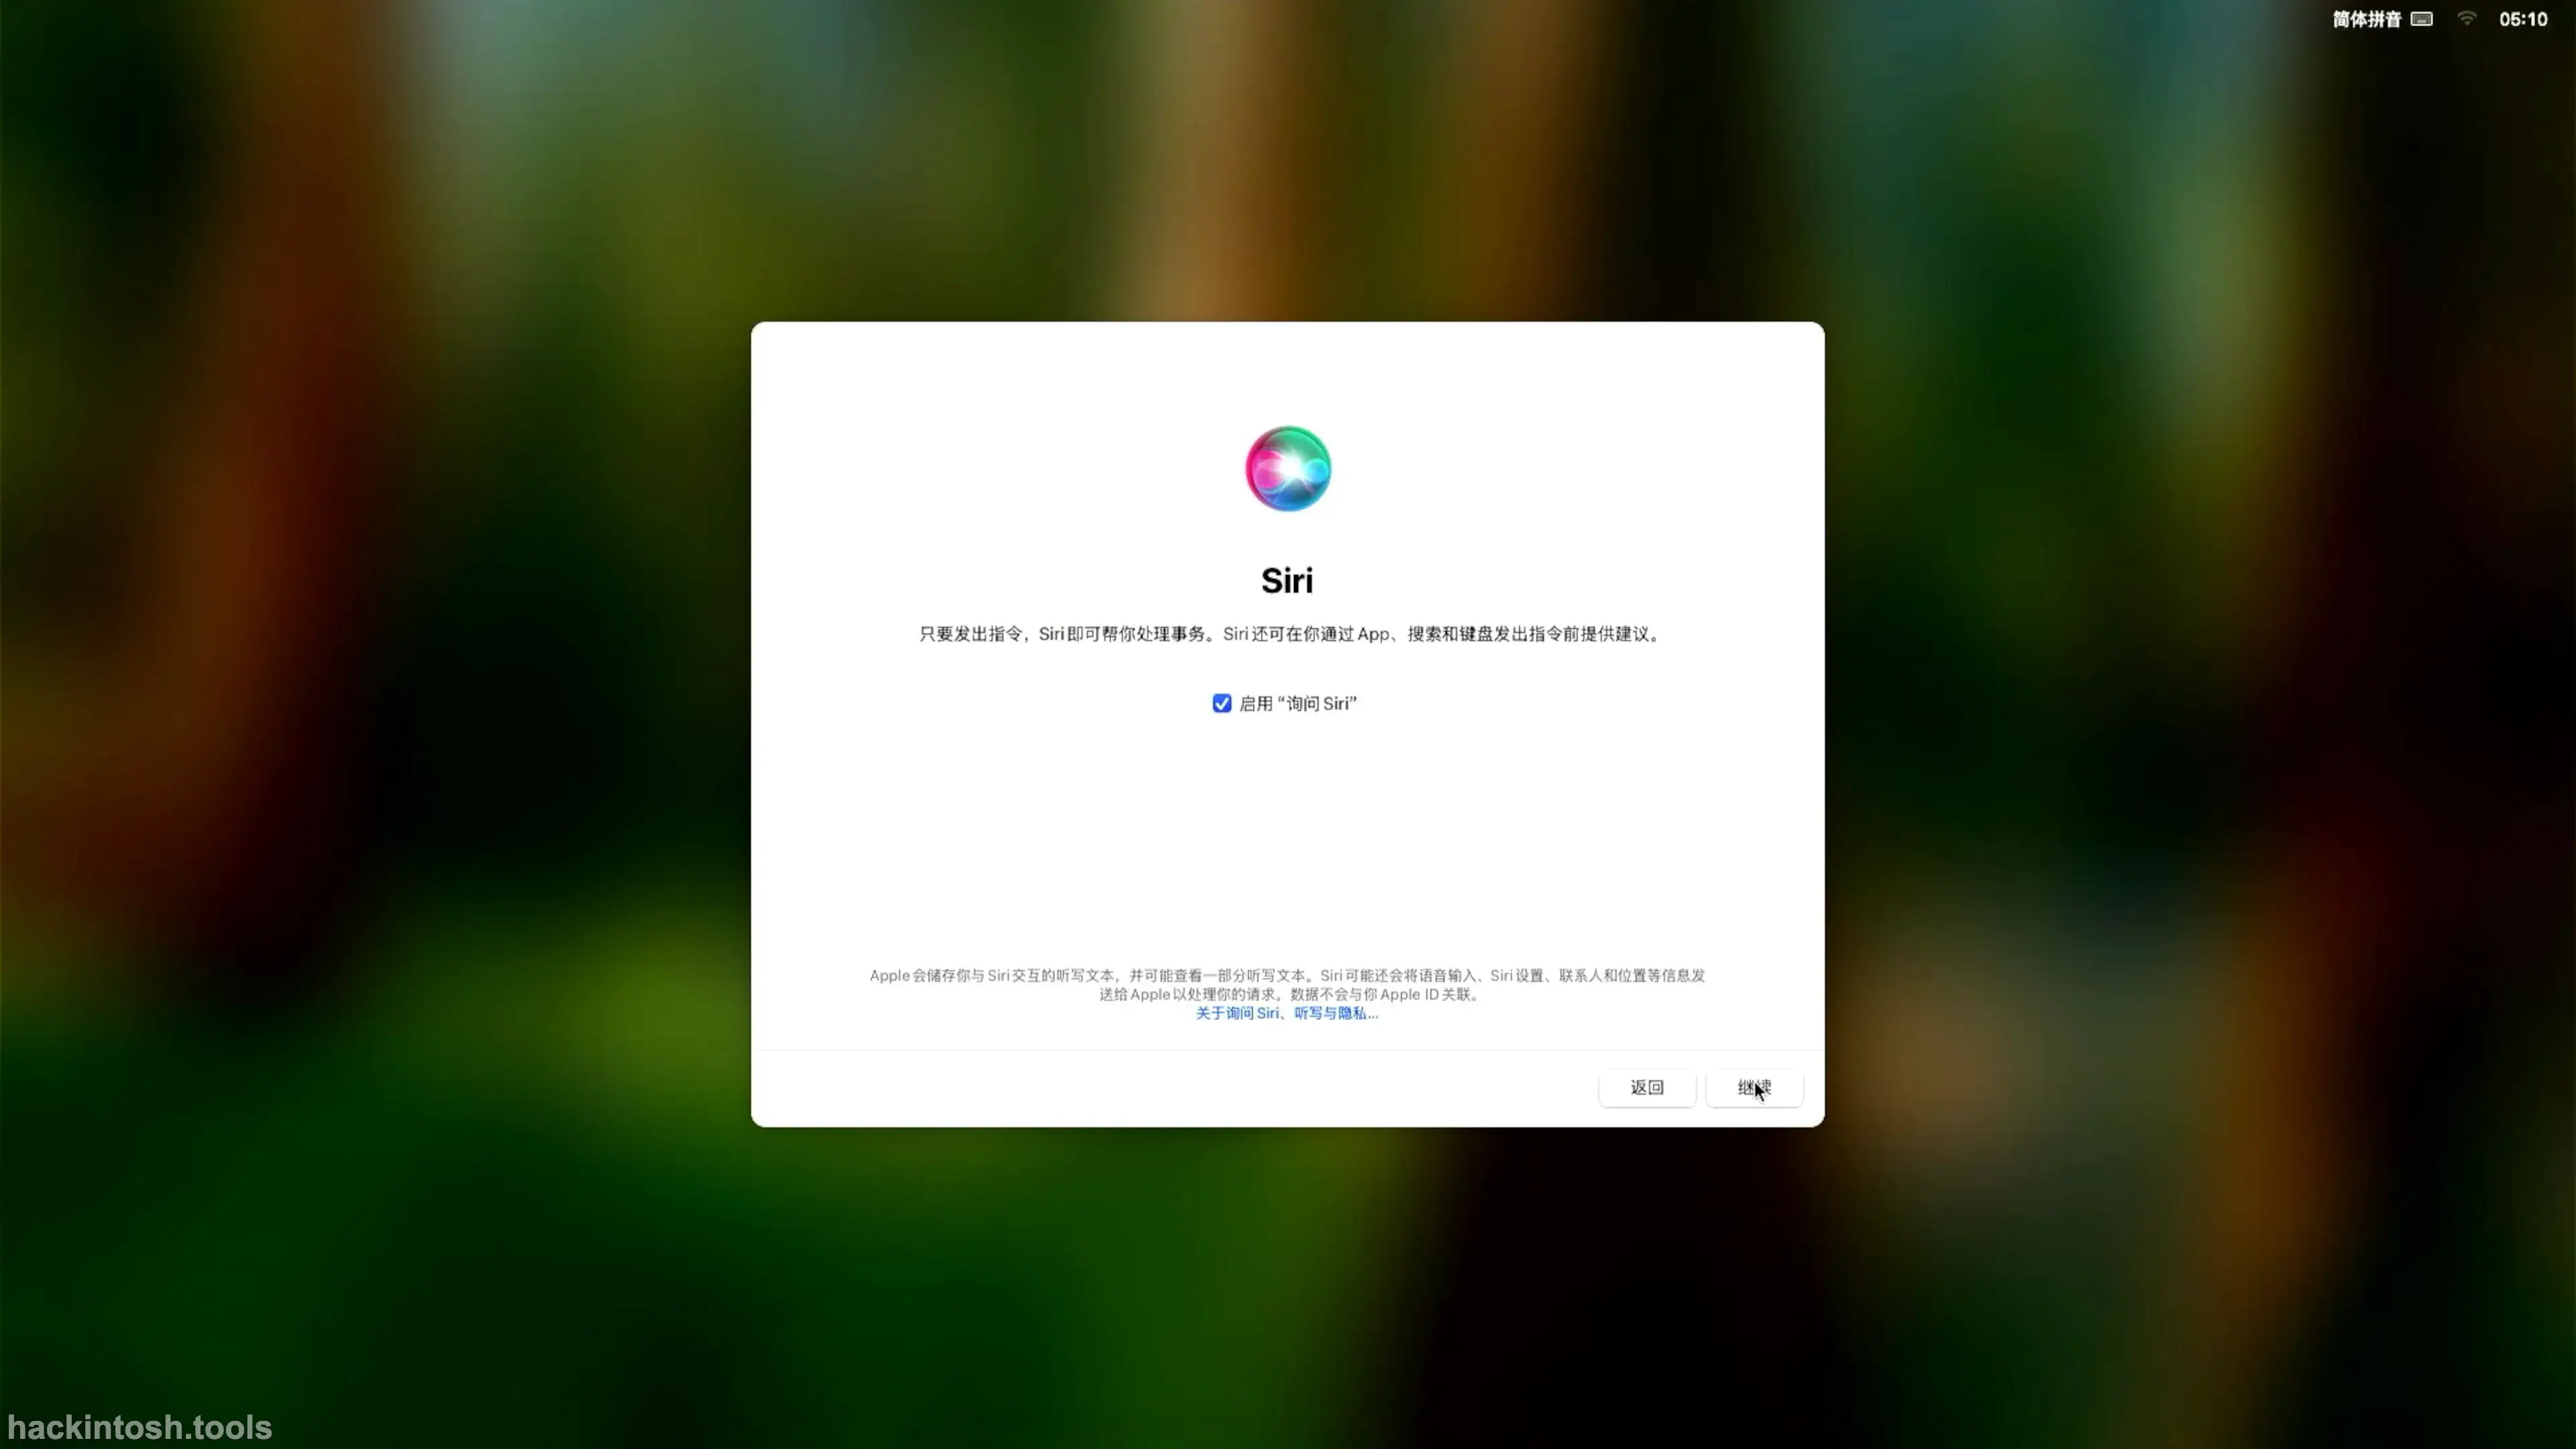
The Siri setup interface appears. Click the Continue button.
Select the Siri language and click the Continue button.

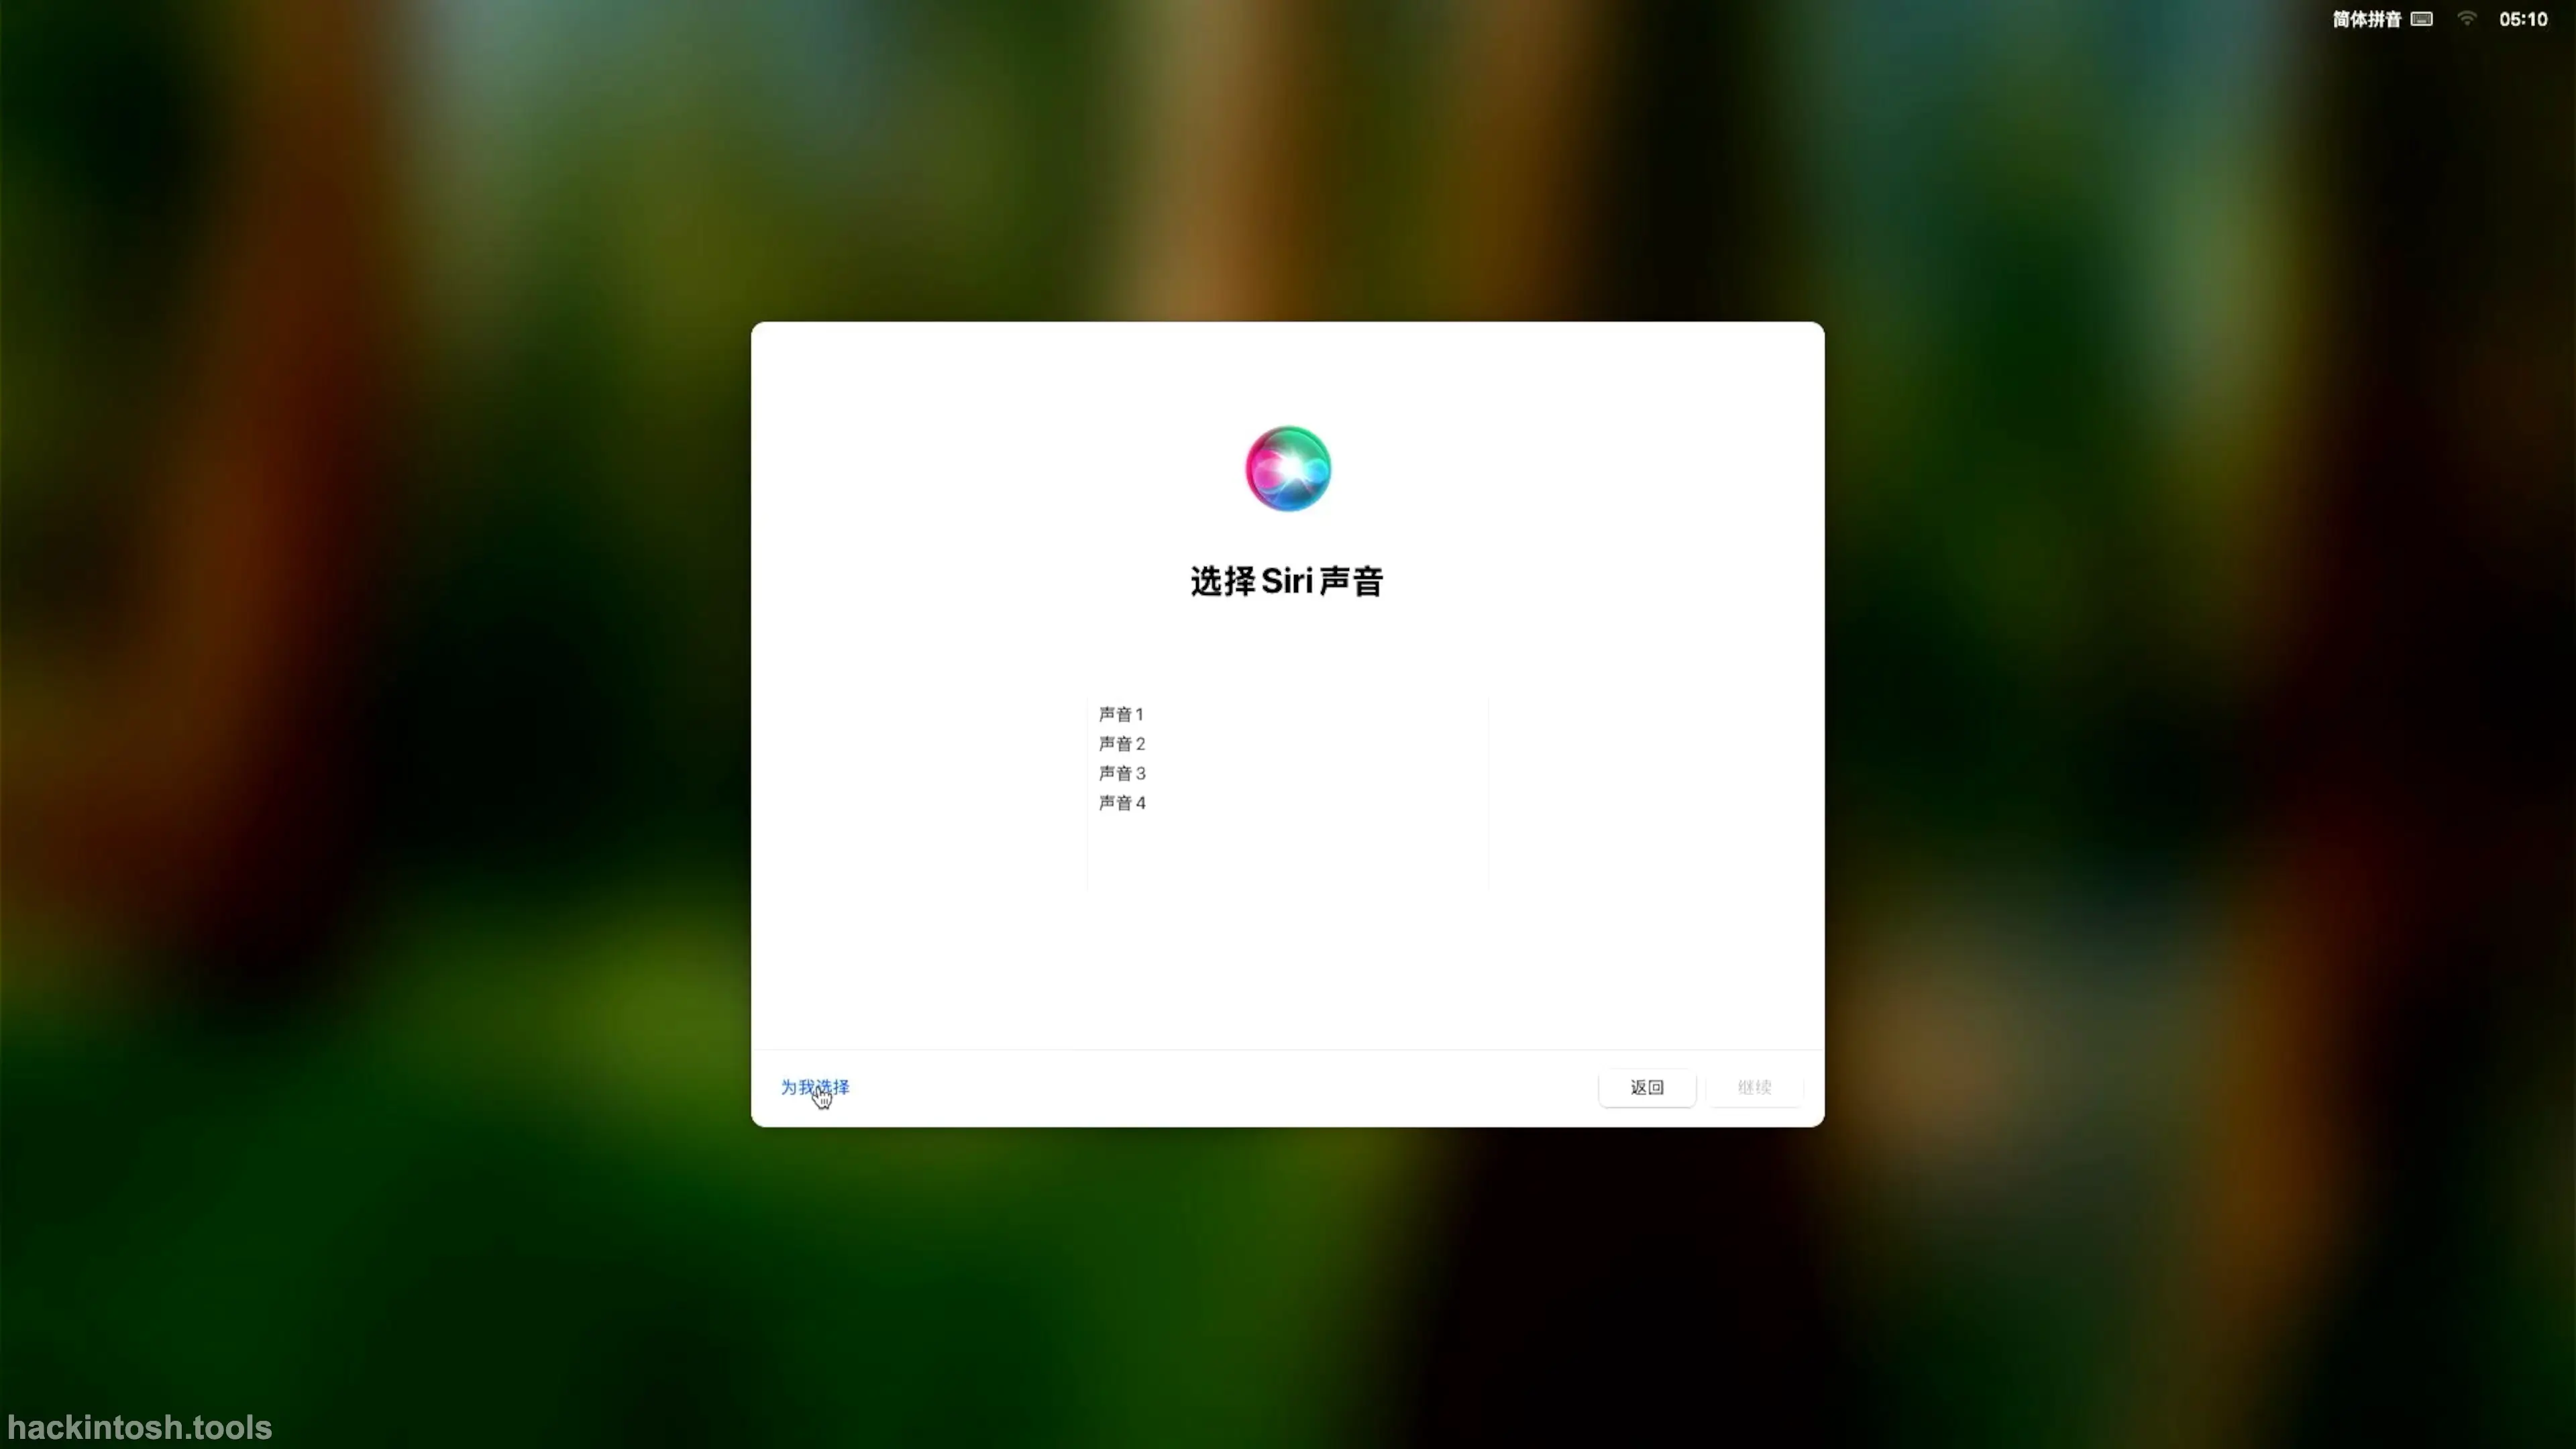
Enter the Select Siri Voice interface. Select Voice 1 and click the Continue button.
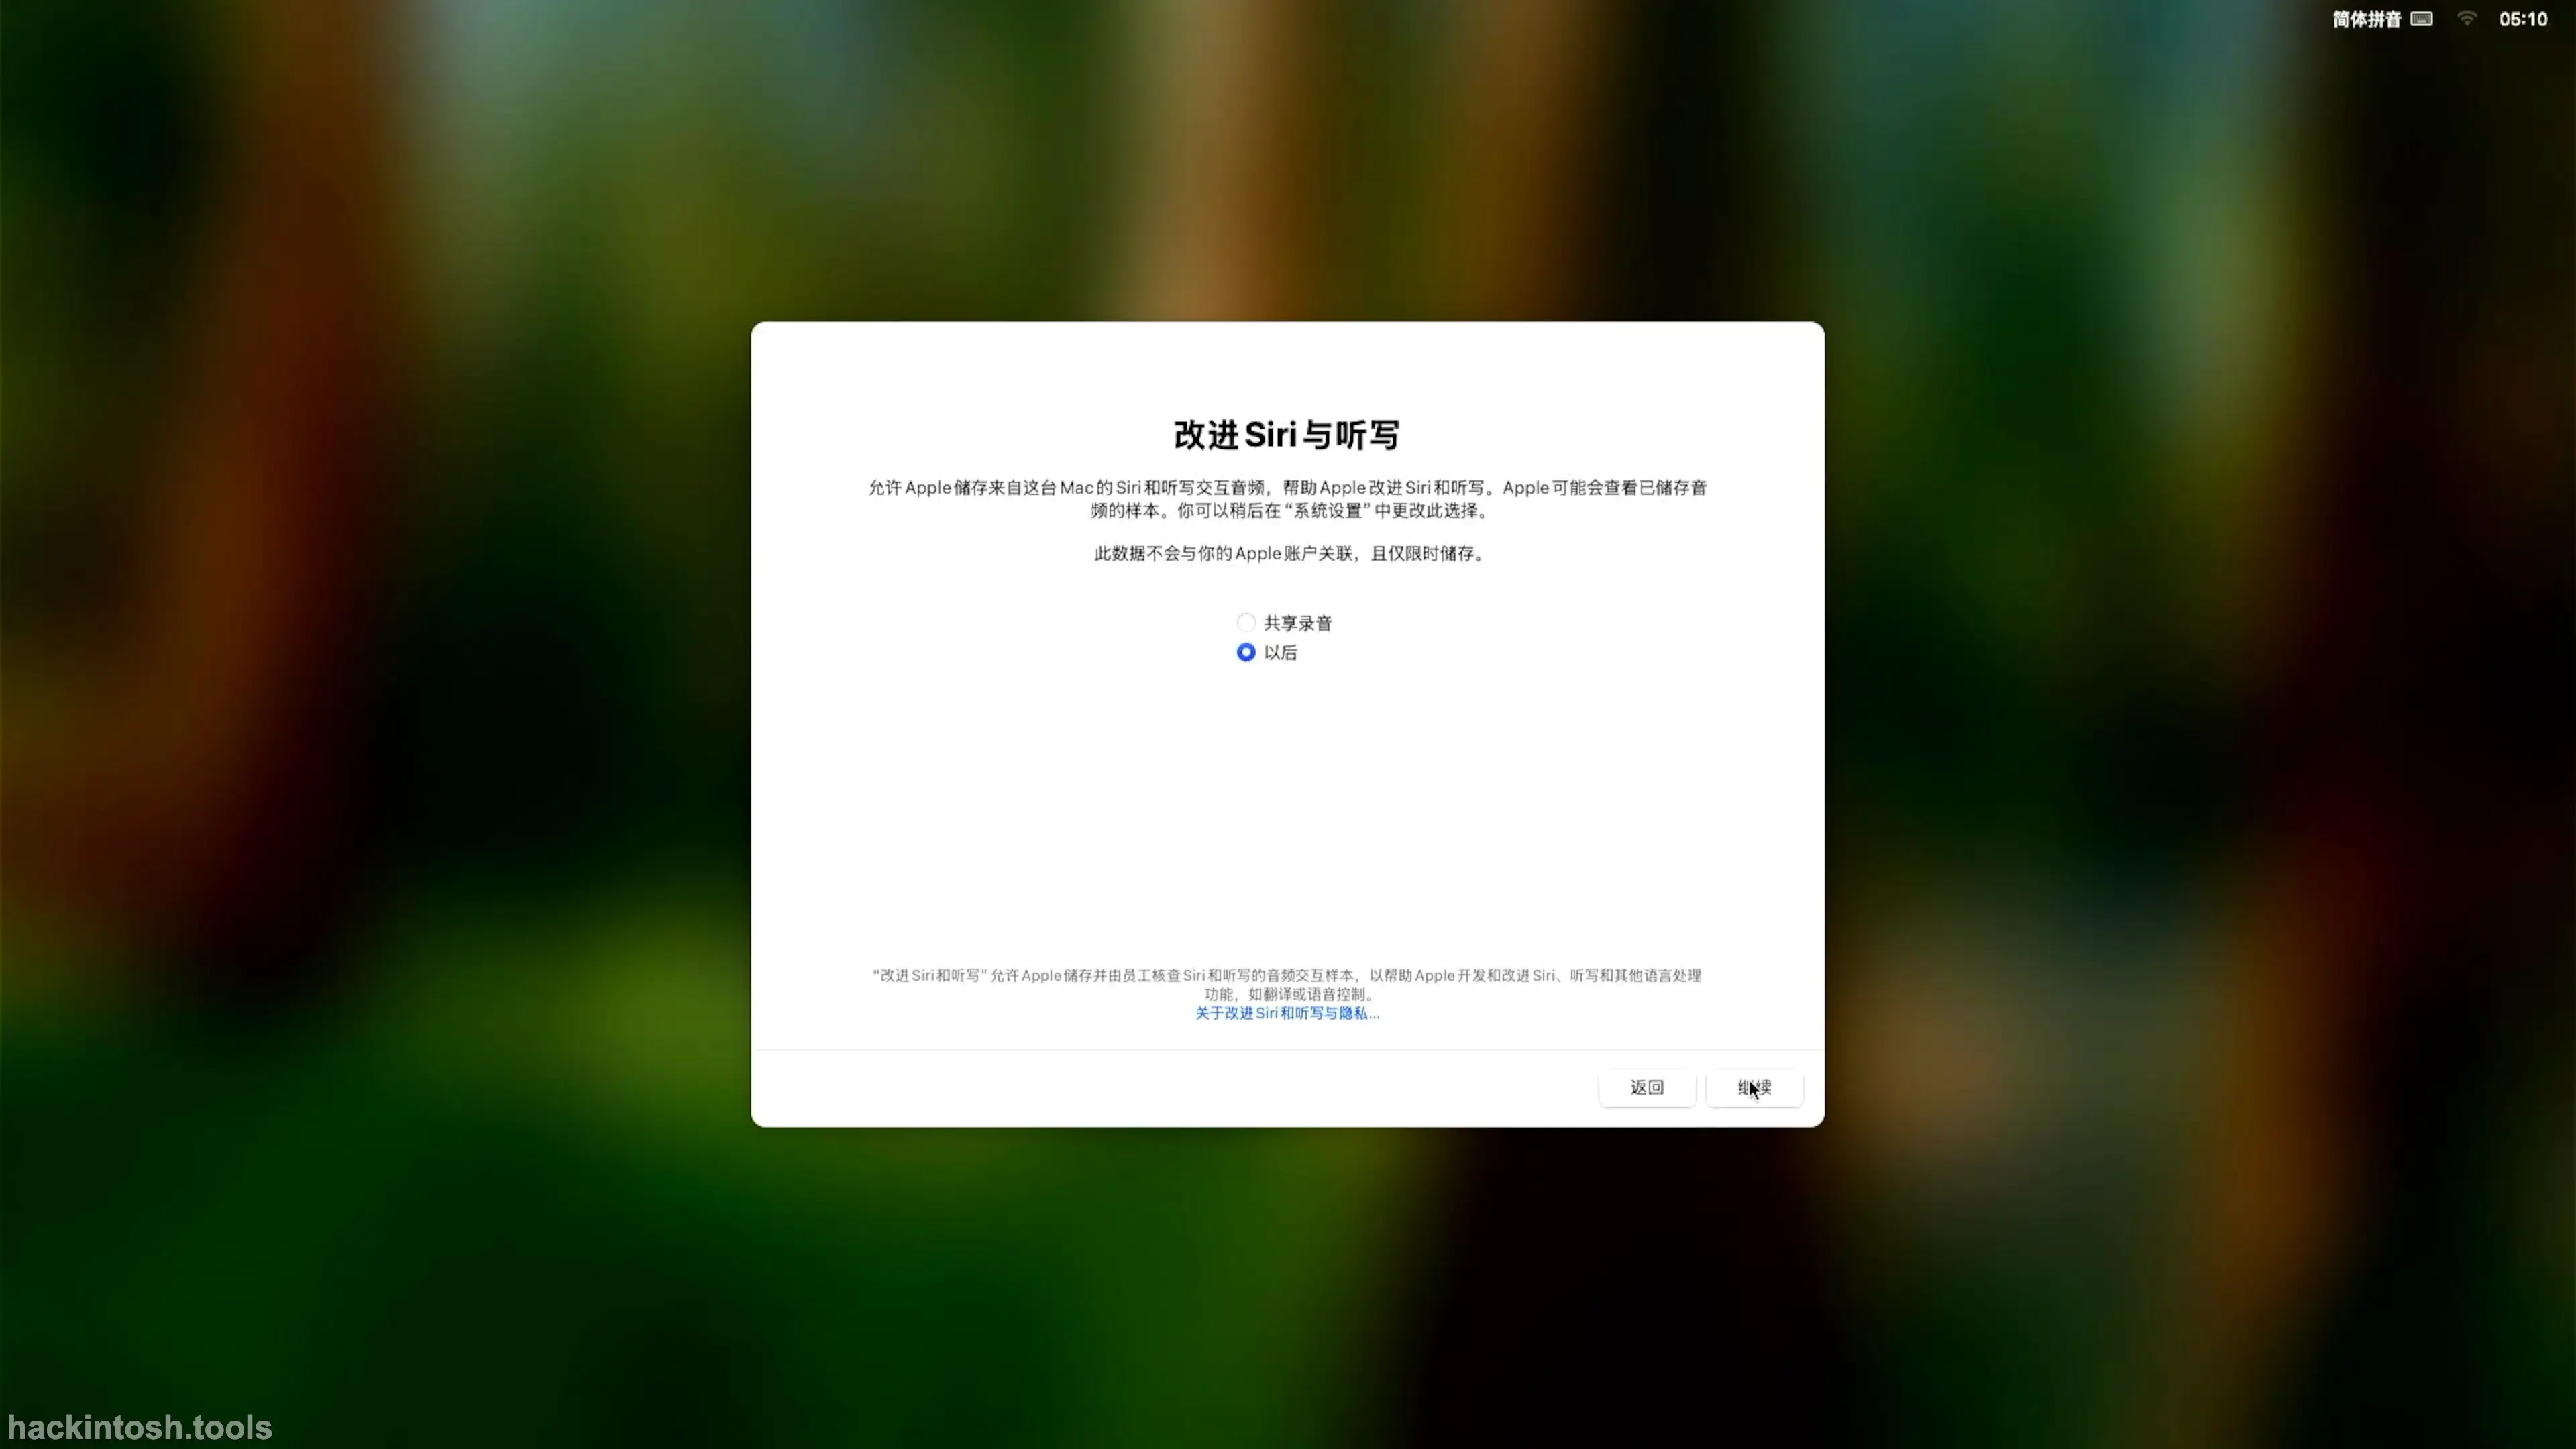
Enter the Siri improvement and dictation interface. Select Later and click the Continue button.
A pop - up interface appears, allowing you to choose the appearance.
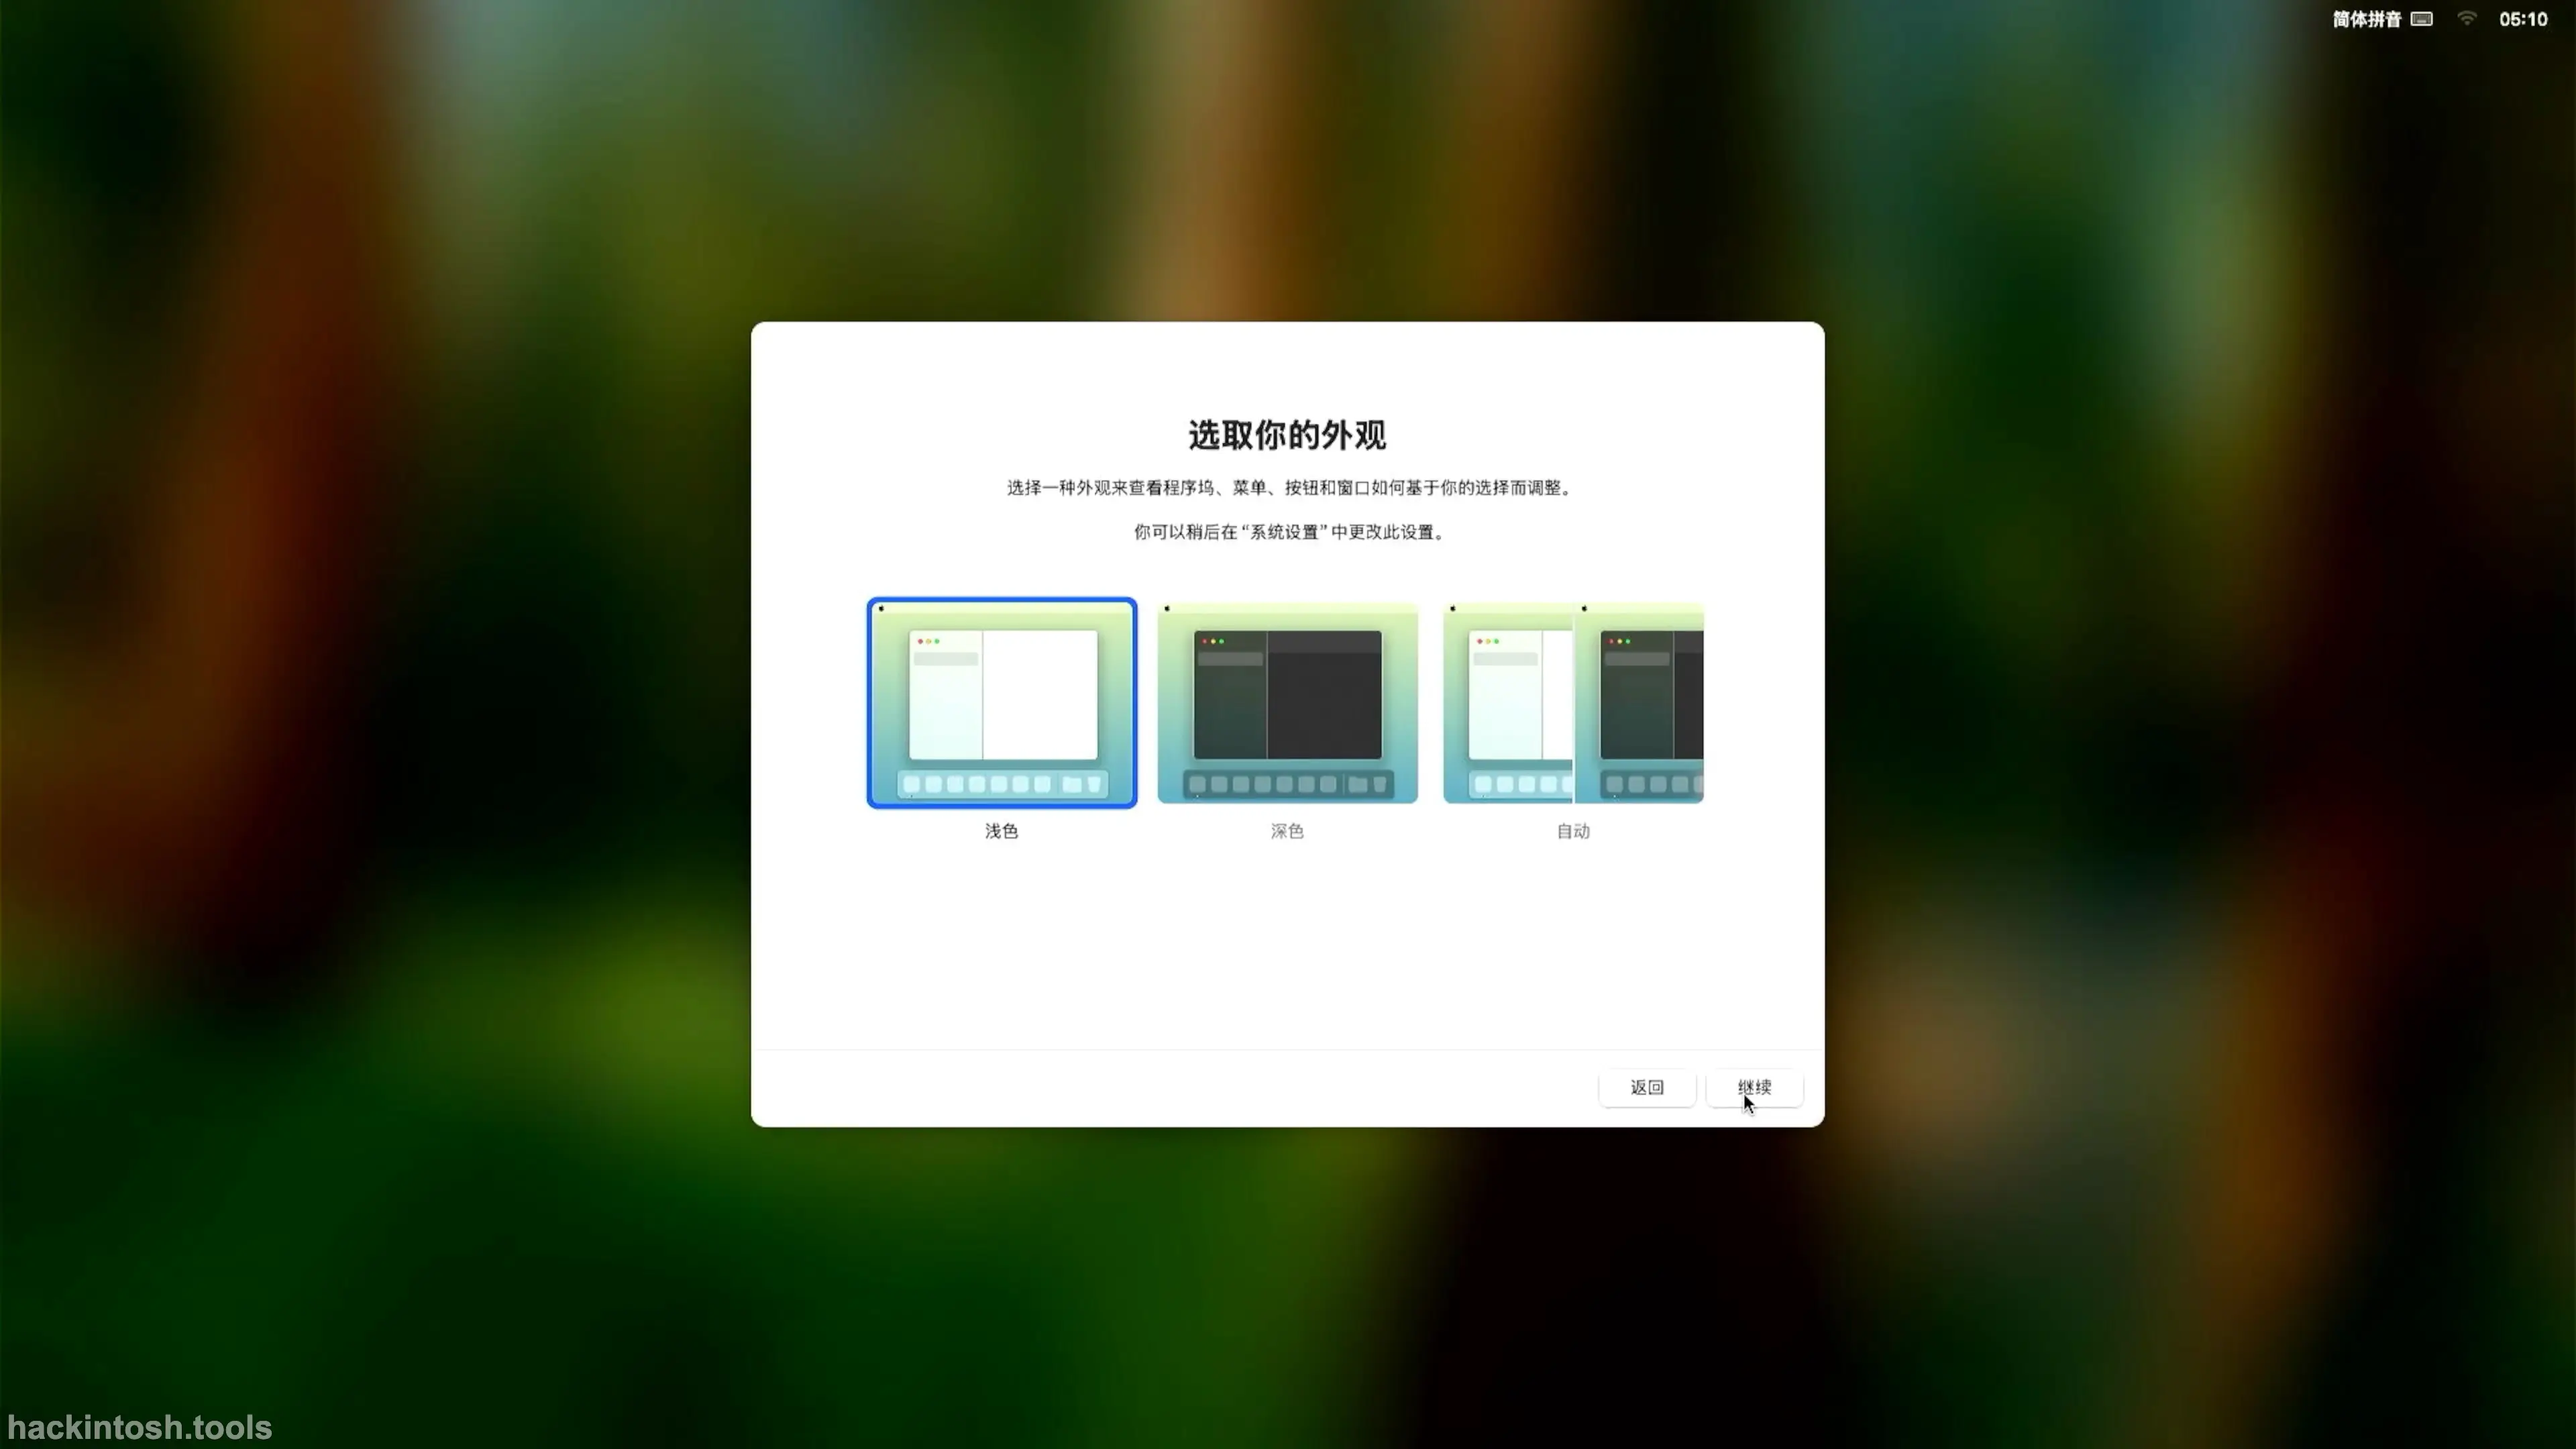
You can choose the light - colored theme or the dark - colored theme according to your personal preference, and click the Continue button.
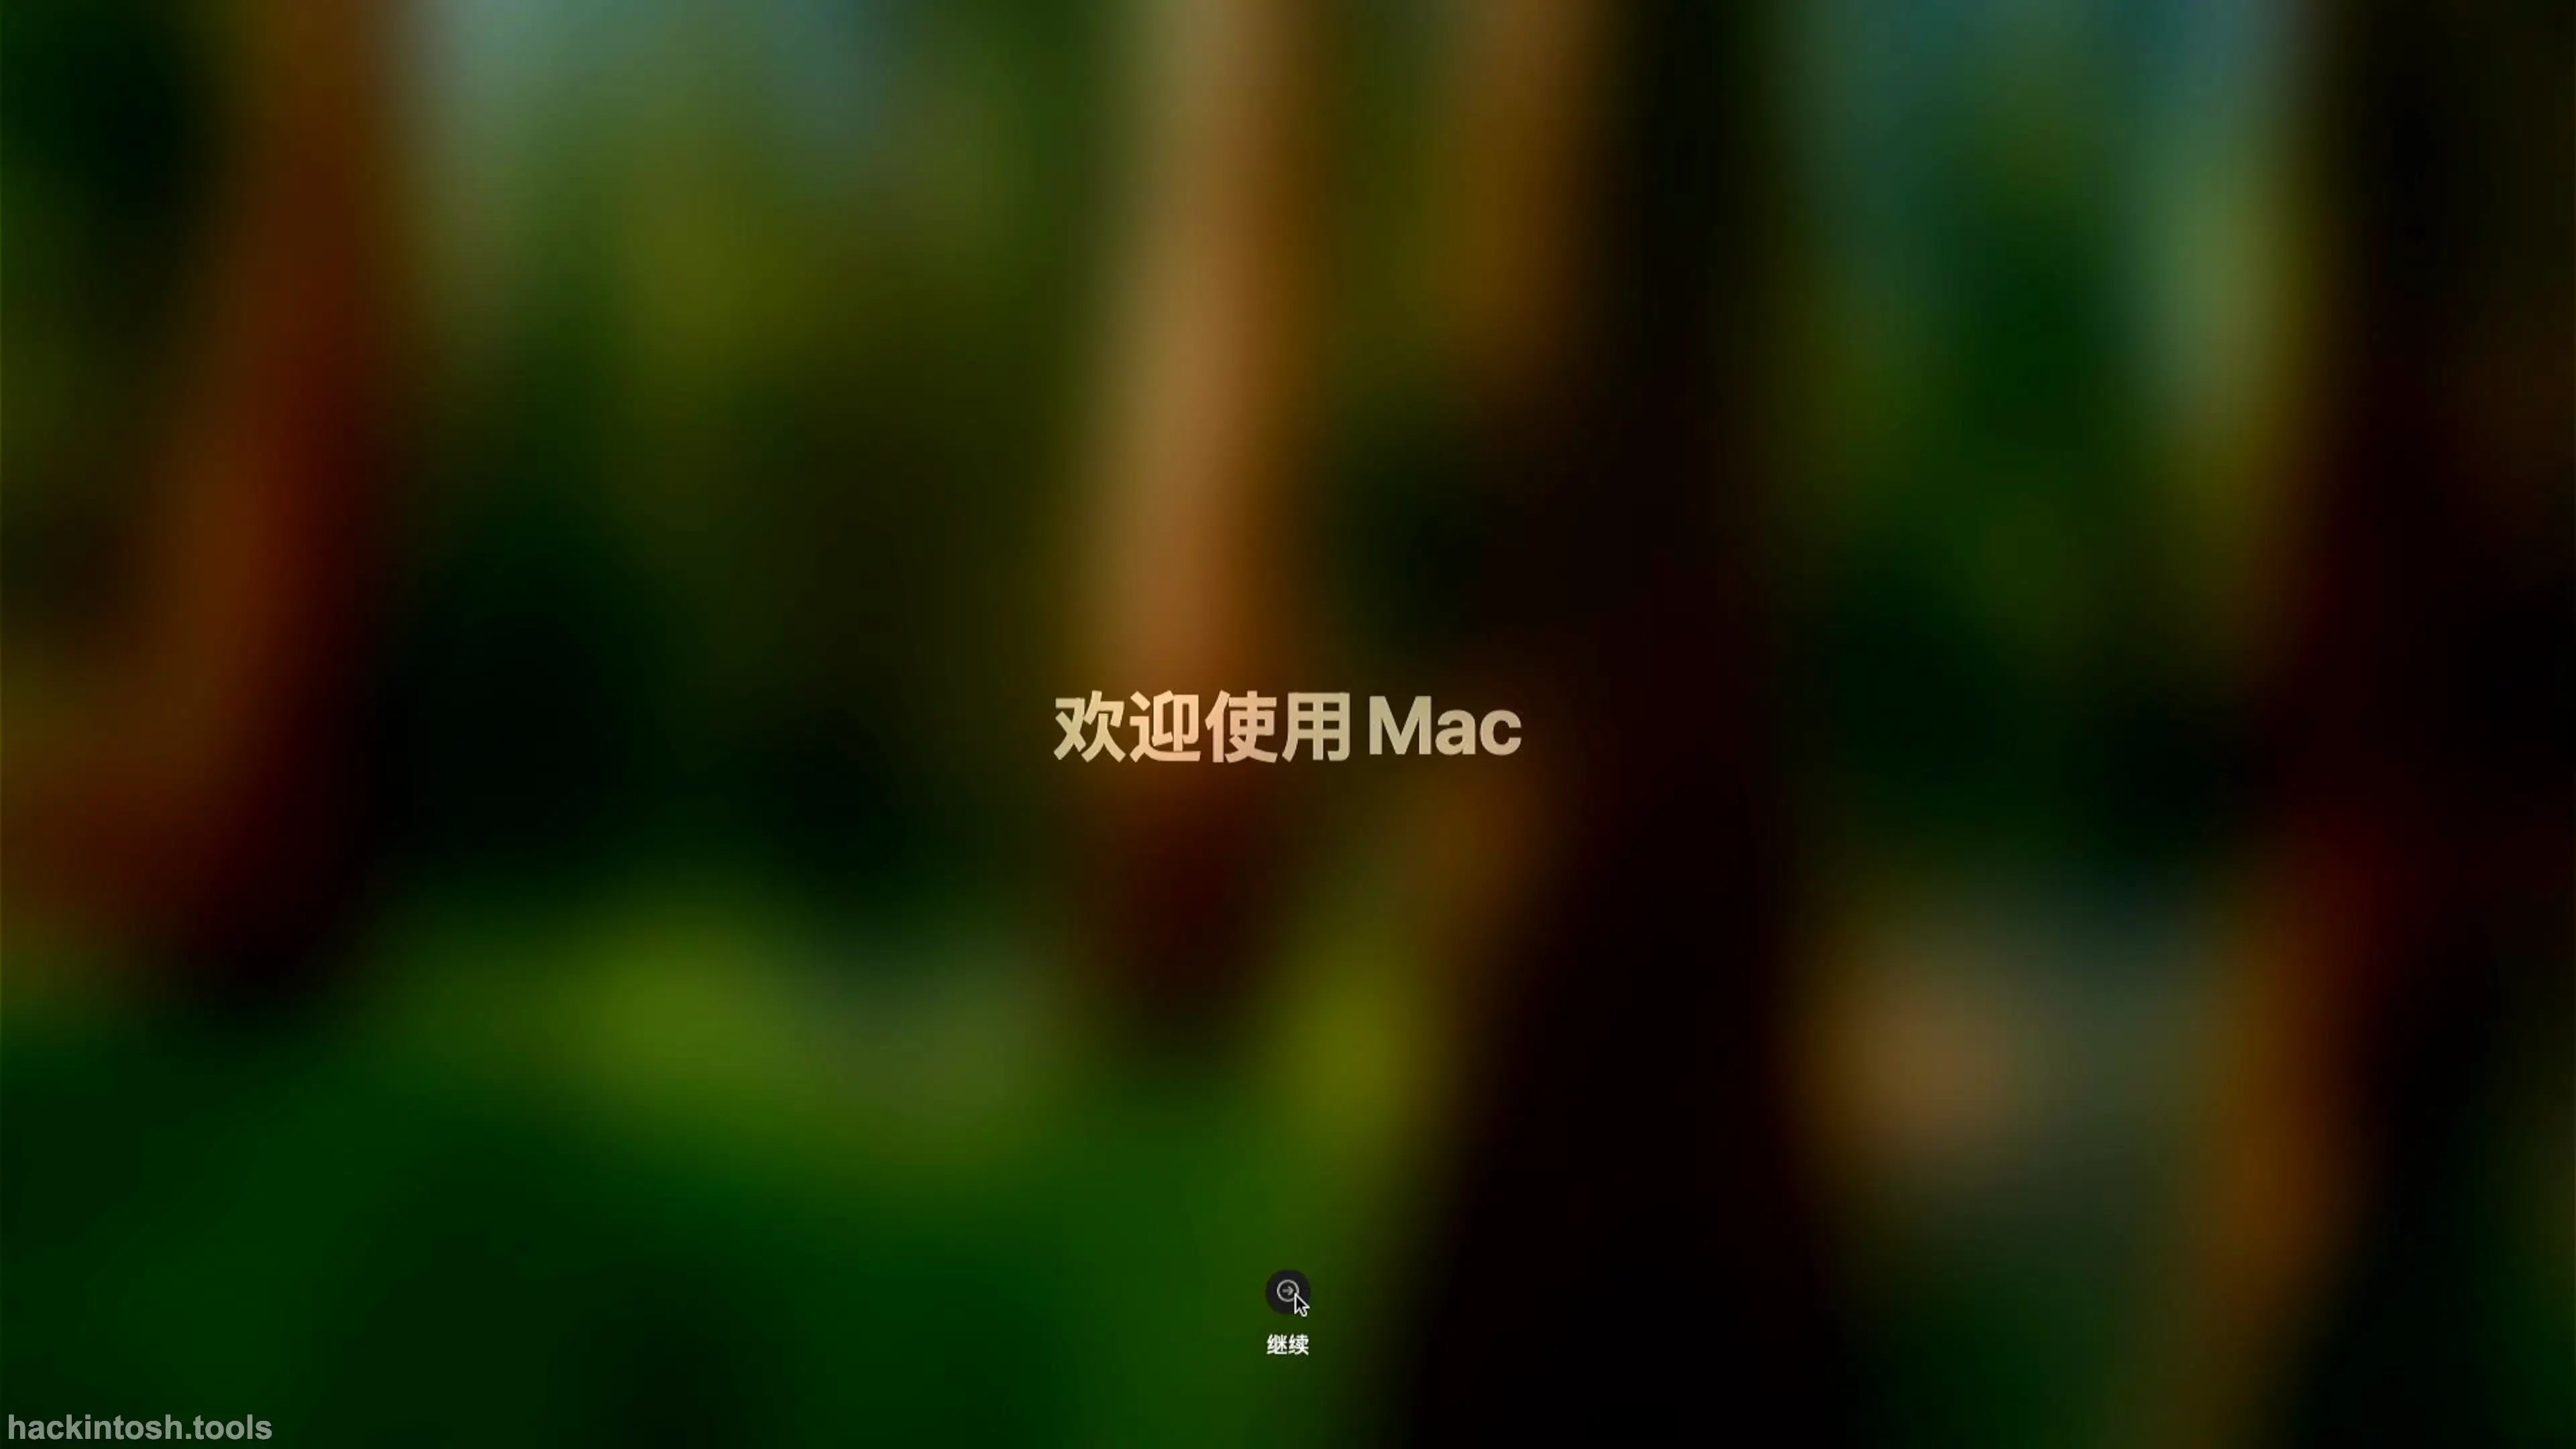
The Welcome to MAC interface appears. Click Continue.
The setup wizard is completed. Depending on the selected theme, enter different interfaces respectively.
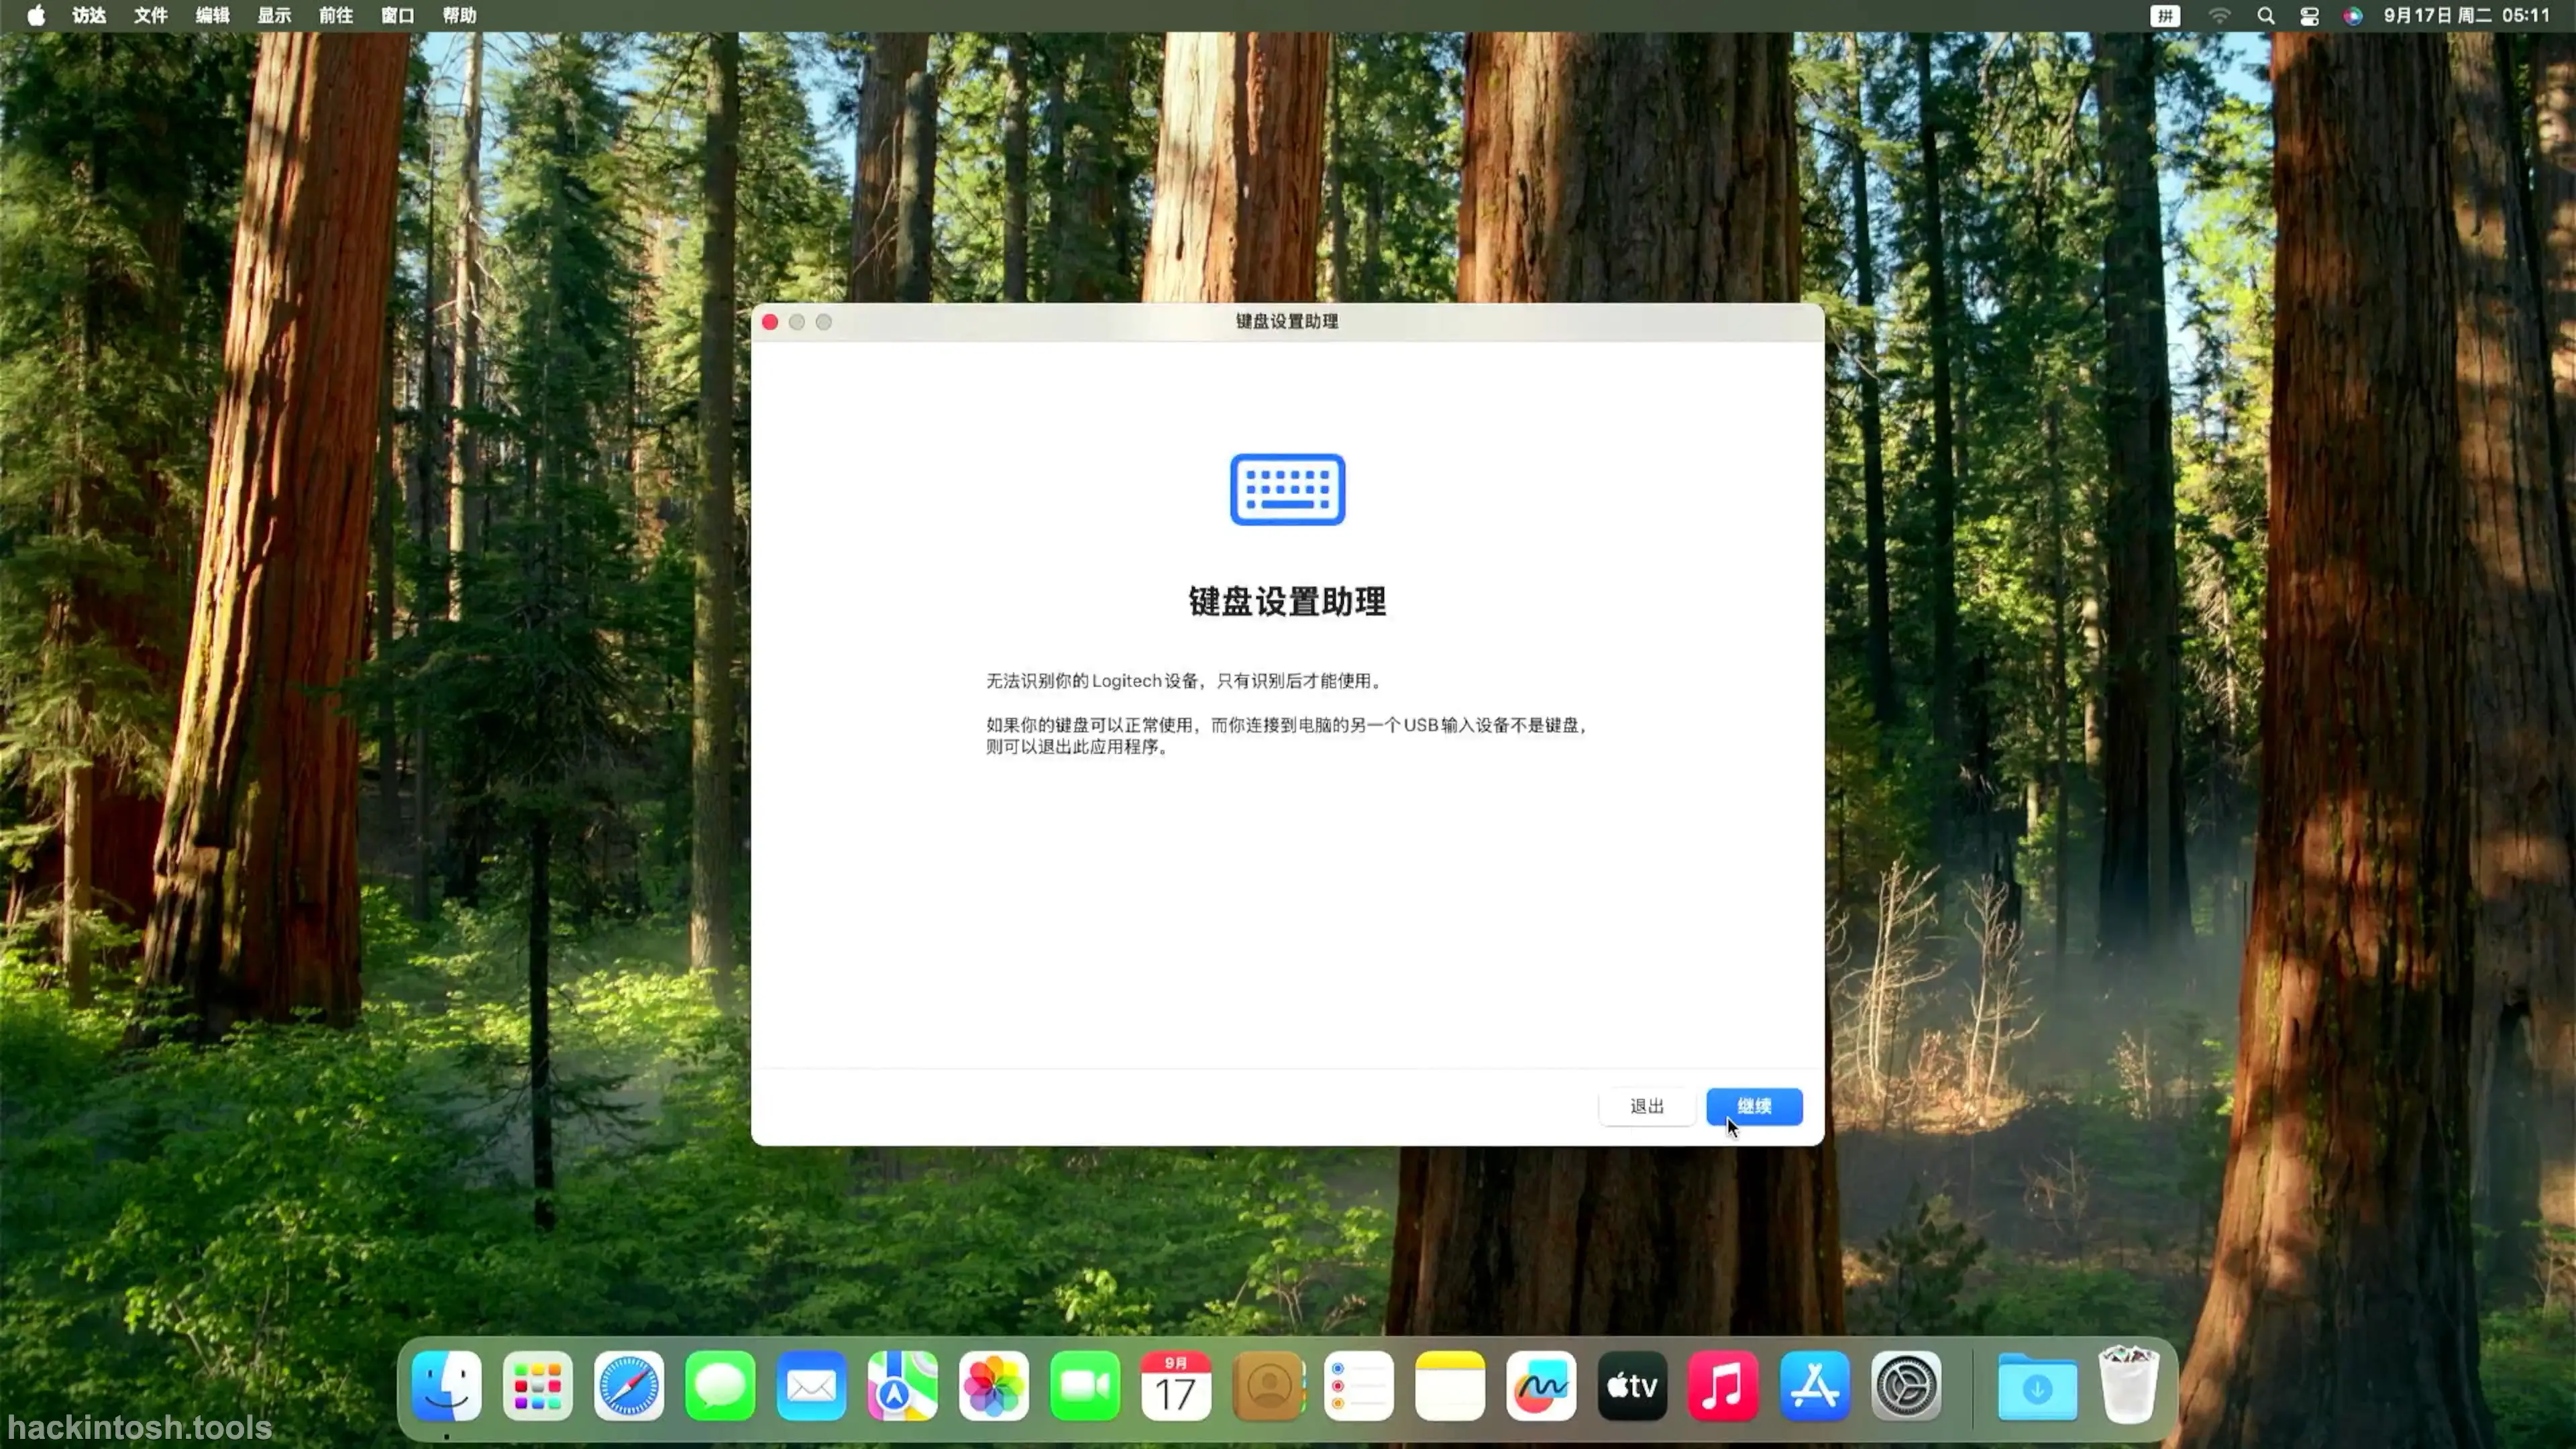
After the desktop appears, the Keyboard Setup Assistant may pop up. Click the Quit button directly. In this way, the entire installation wizard is completed.
Post - installation System Settings
After the system is installed, you can have a cup of coffee and get excited for a while. There are more arduous tasks waiting for you right away.
First, open the terminal and enter the command:
1 | sudo spctl --master - disable # Enable macOS to install applications from any source |
Enter the user password Note: The password will not be displayed on the screen.
The purpose is to allow the installation of macOS applications downloaded from third - party sources.
Continue to enter the command:
1 | sudo rm - rf /Library/Preferences/SystemConfiguration/NetworkInterfaces.plist* |
The purpose is to clear the network devices and re - order them as:
en0/en1/en2*, so that you can log in to theapp storesmoothly.
Continue to enter the command:
1 | sudo pmset - b hibernatemode 0 # Memory power supply, memory mirroring is not written to the hard disk |
The purpose is to optimize power management and solve the problem of unable to wake up from hibernation.
Continue to enter the command:
1 | sudo reboot |
Reboot the system.
I have made a one - click execution script for the above commands. If the network connection is smooth, you can directly execute it:
Open the terminal and enter the command:
1 | $ sh - c "<$(curl - fsSL https://mirror.ghproxy.com/https://raw.githubusercontent.com/daliansky/morefine - S500 - Hackintosh/main/Tools/morefine - s500.sh)>" |
Execution result:
1 | Executing the Hackintosh one - click optimization script. The script includes: |
Copy the EFI in the USB Disk to the Hard Disk
Tool Section
The purpose is to use macOS without USB disk boot, so it is the top - priority action.
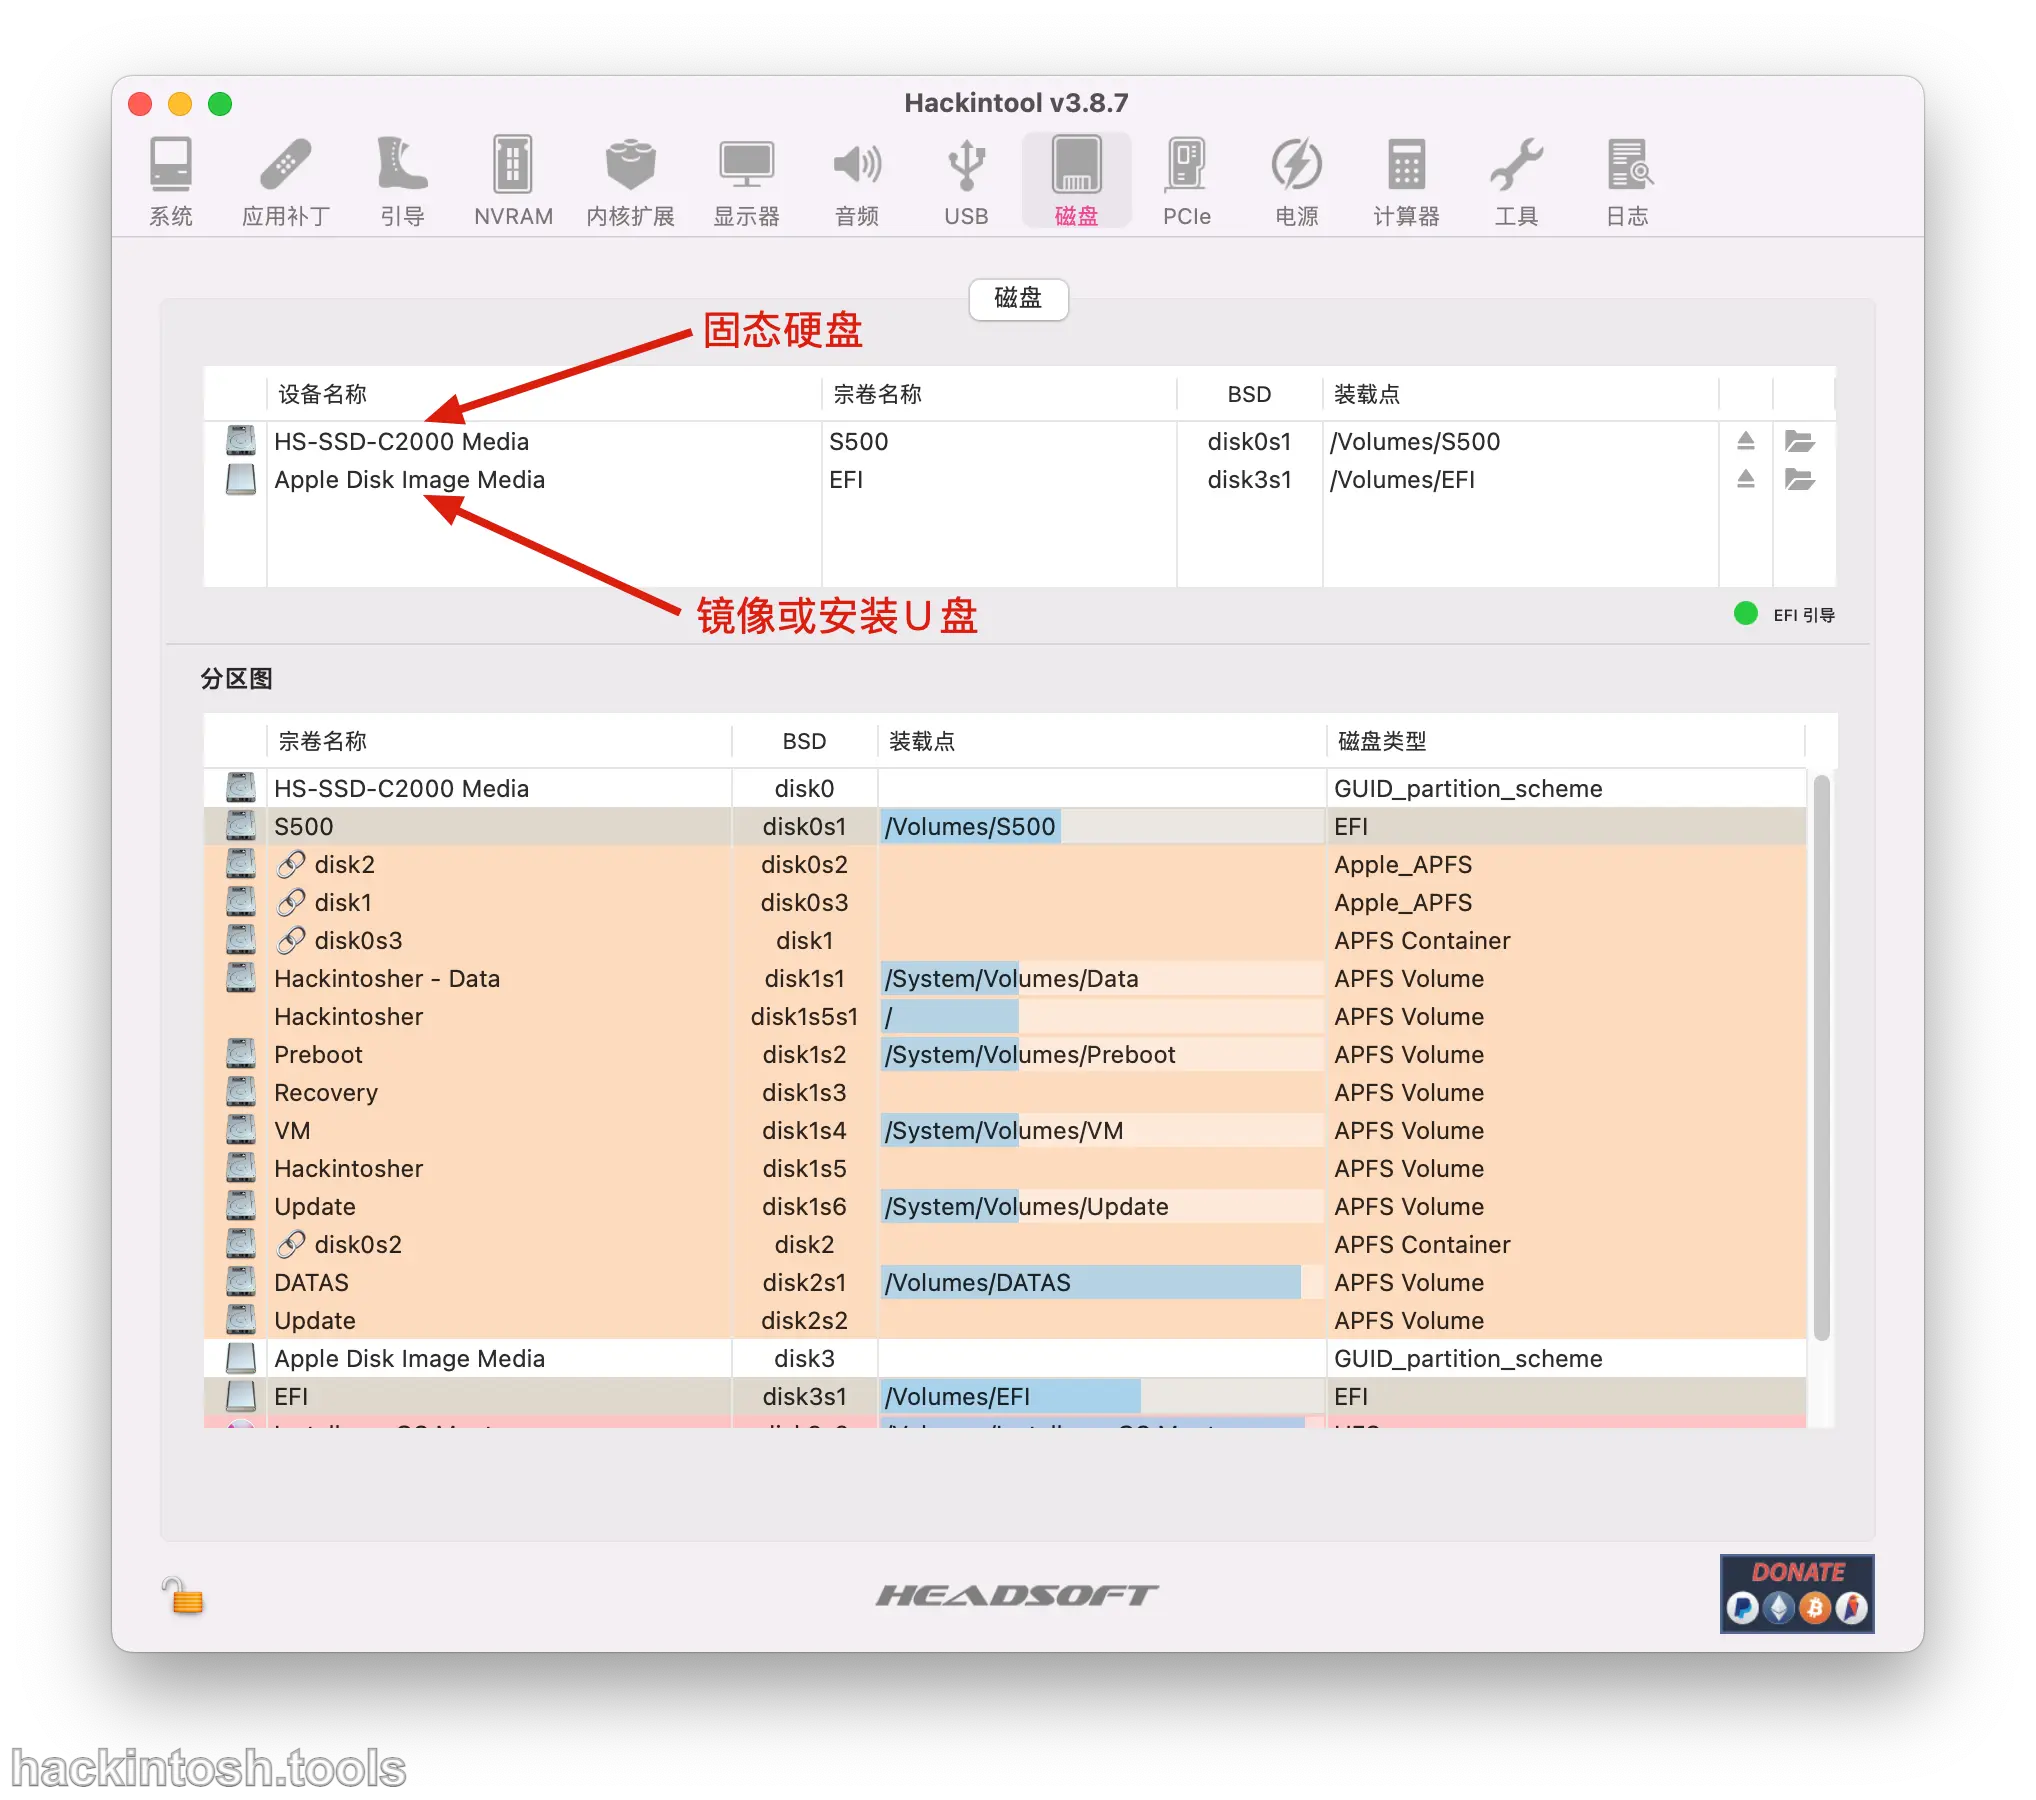
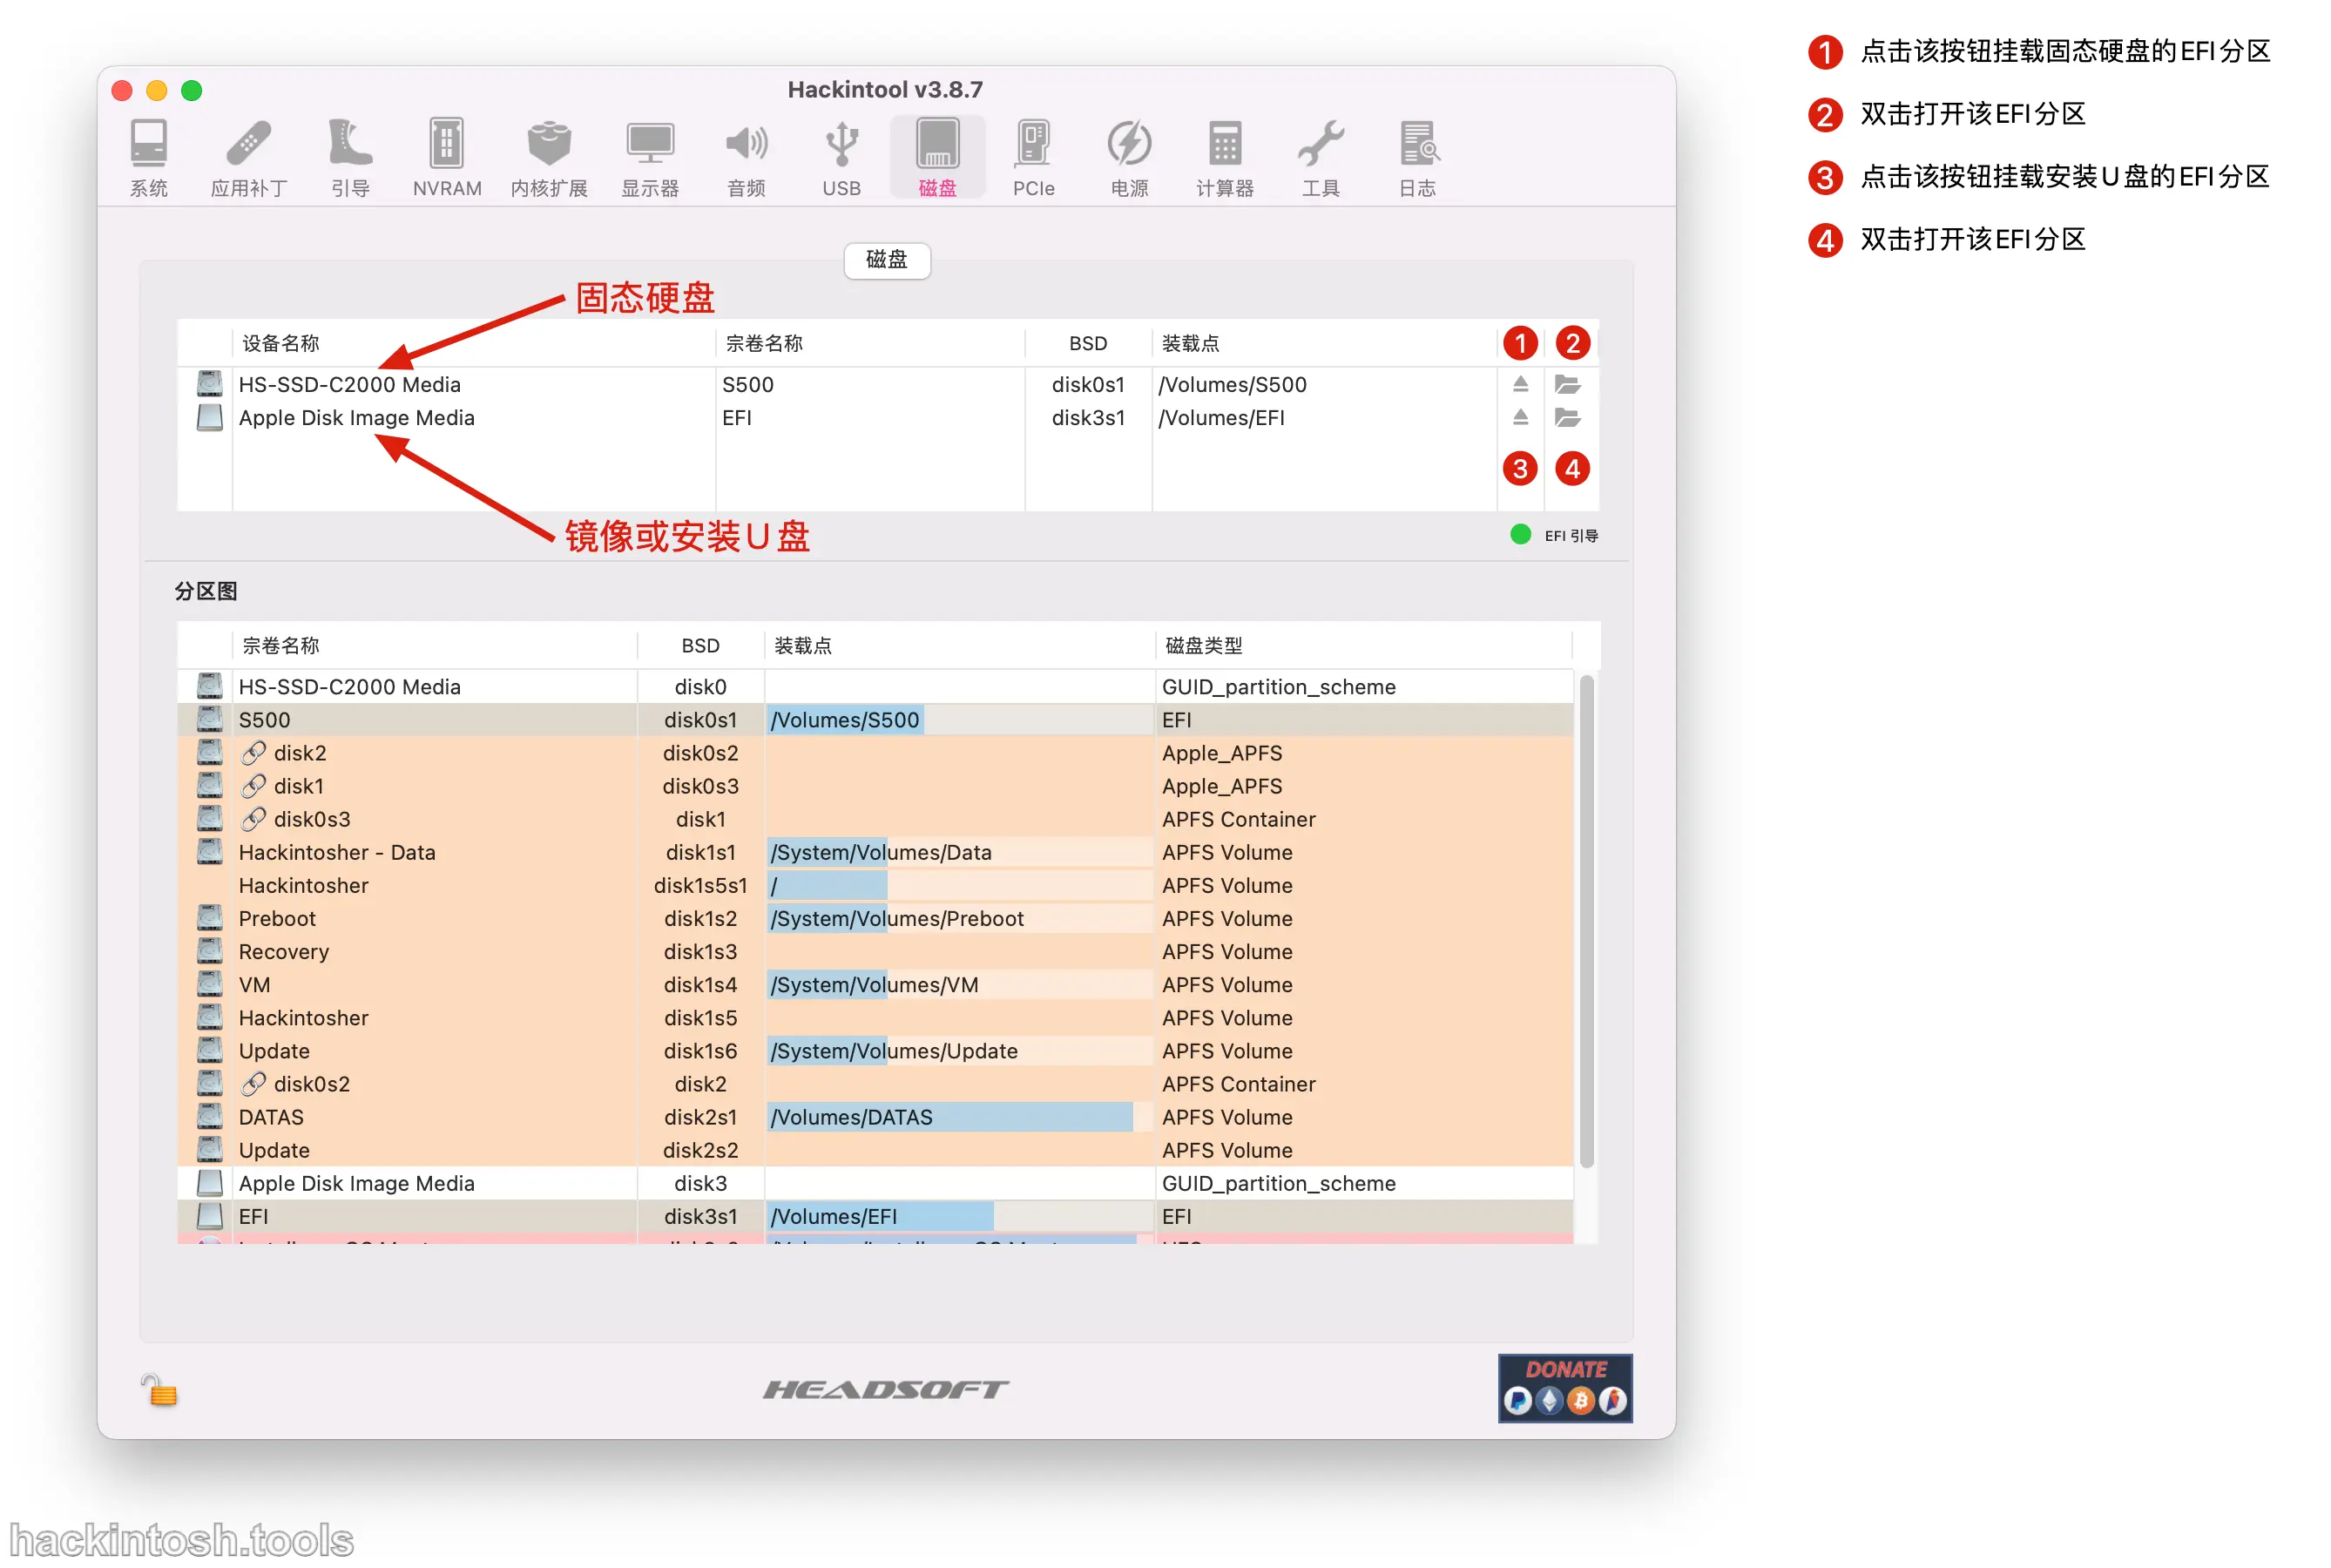
The simplest method: Use the tool Hackintool. Download the Hackintool tool As shown in the figure:
-
Open the
Hackintooltool and click theDiskicon.
-
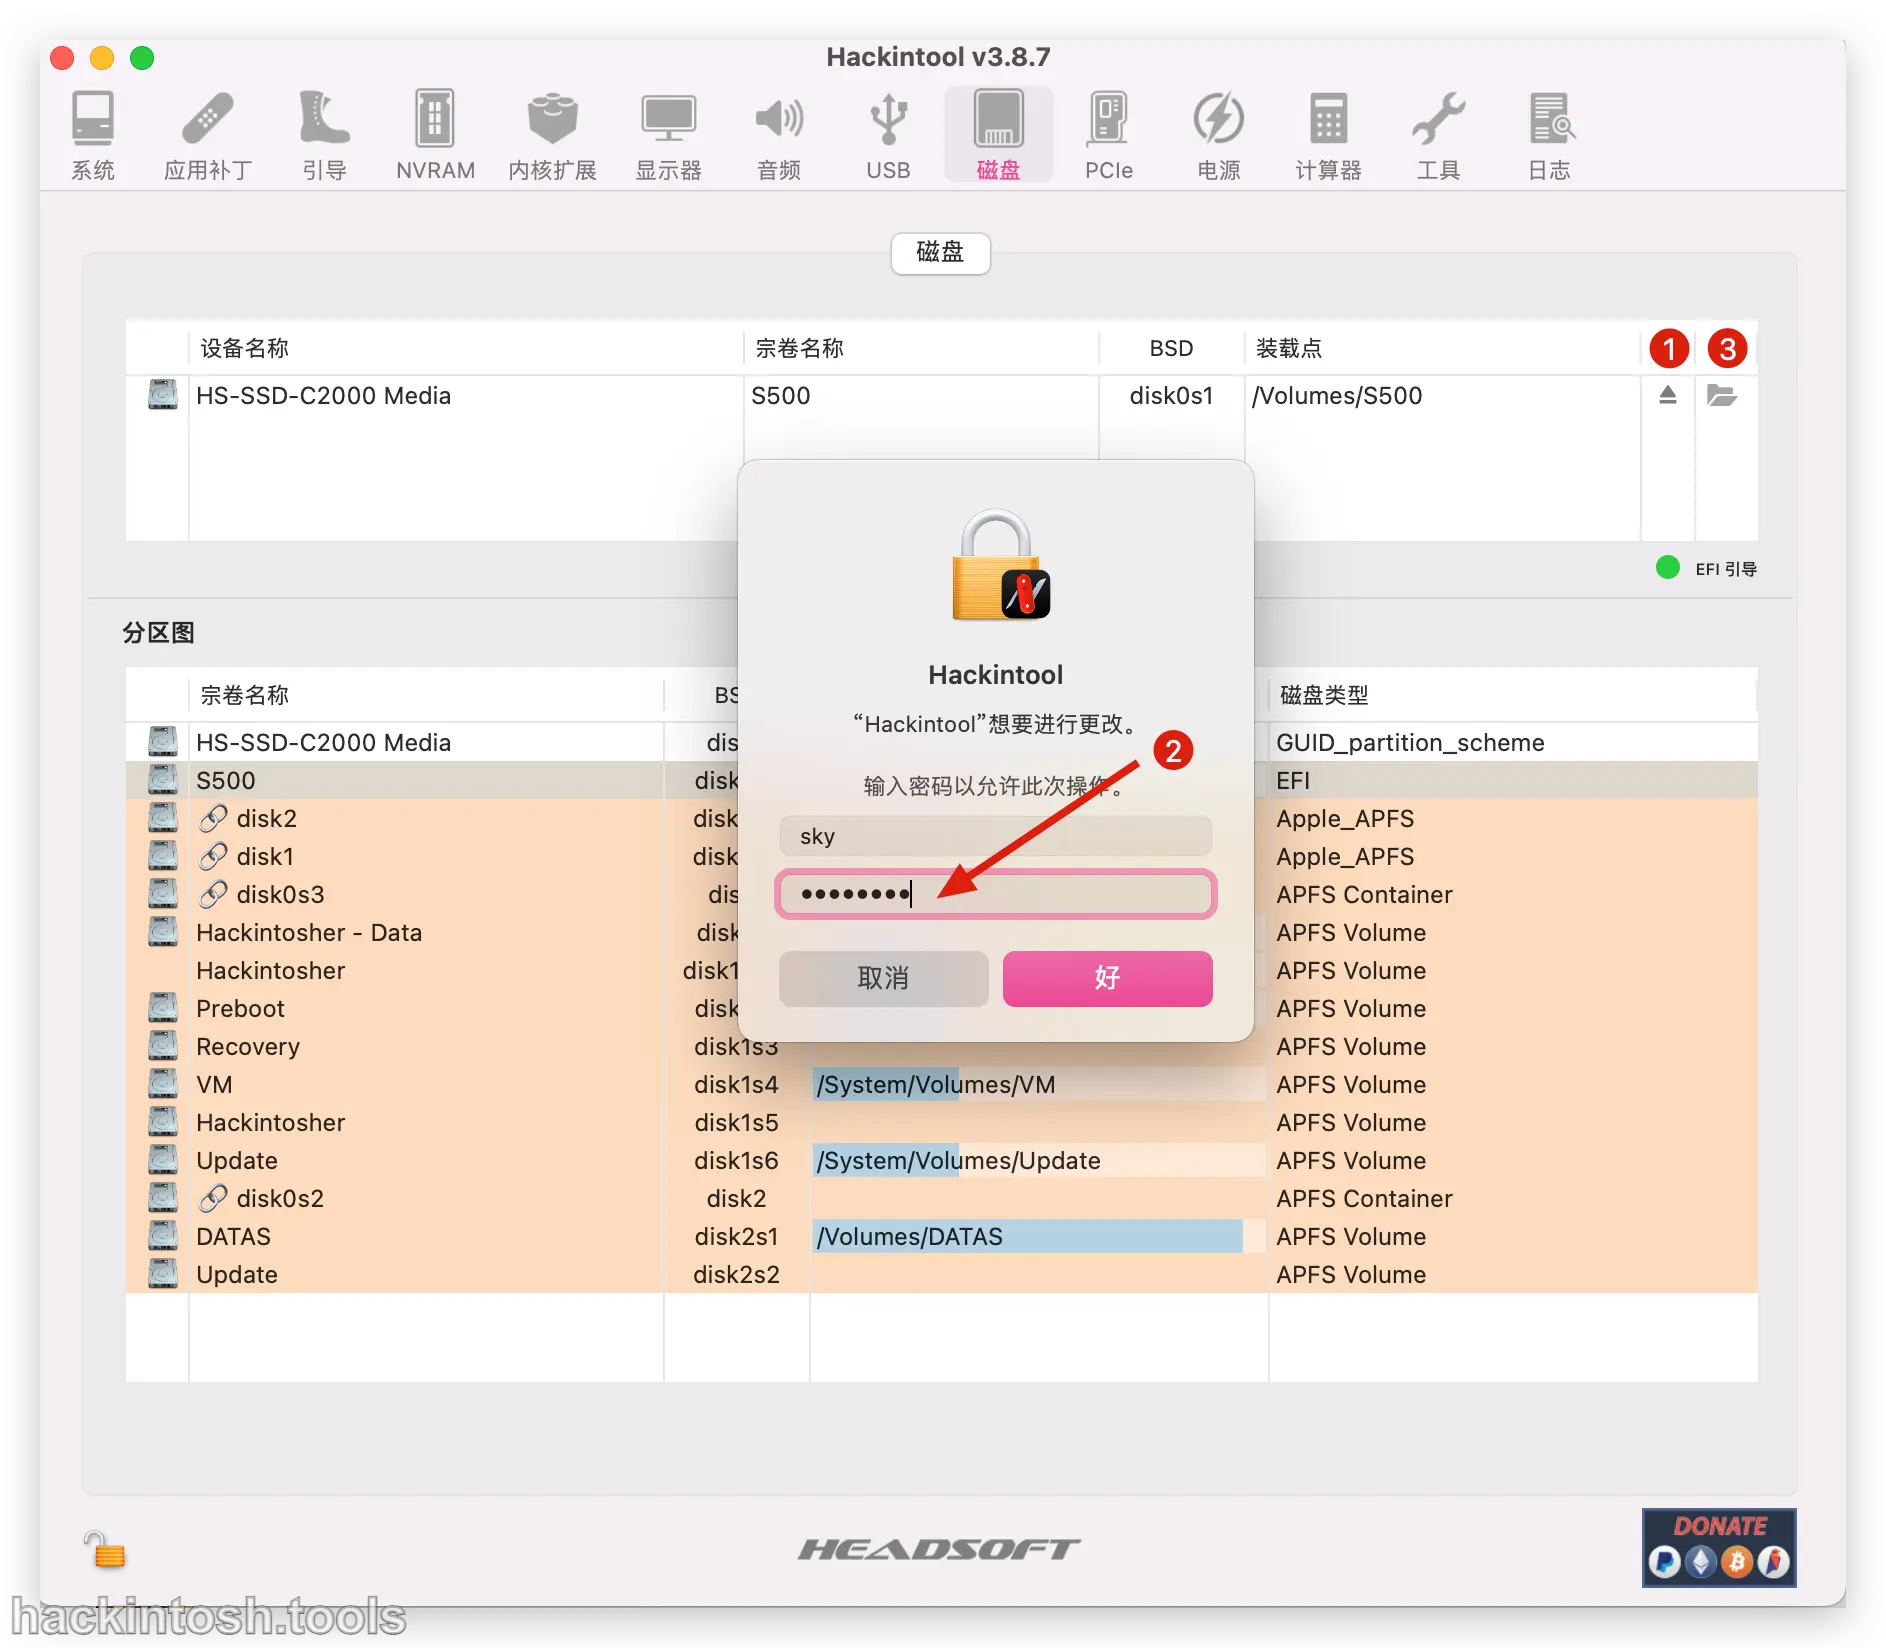
Click the mount icon and enter the user password.
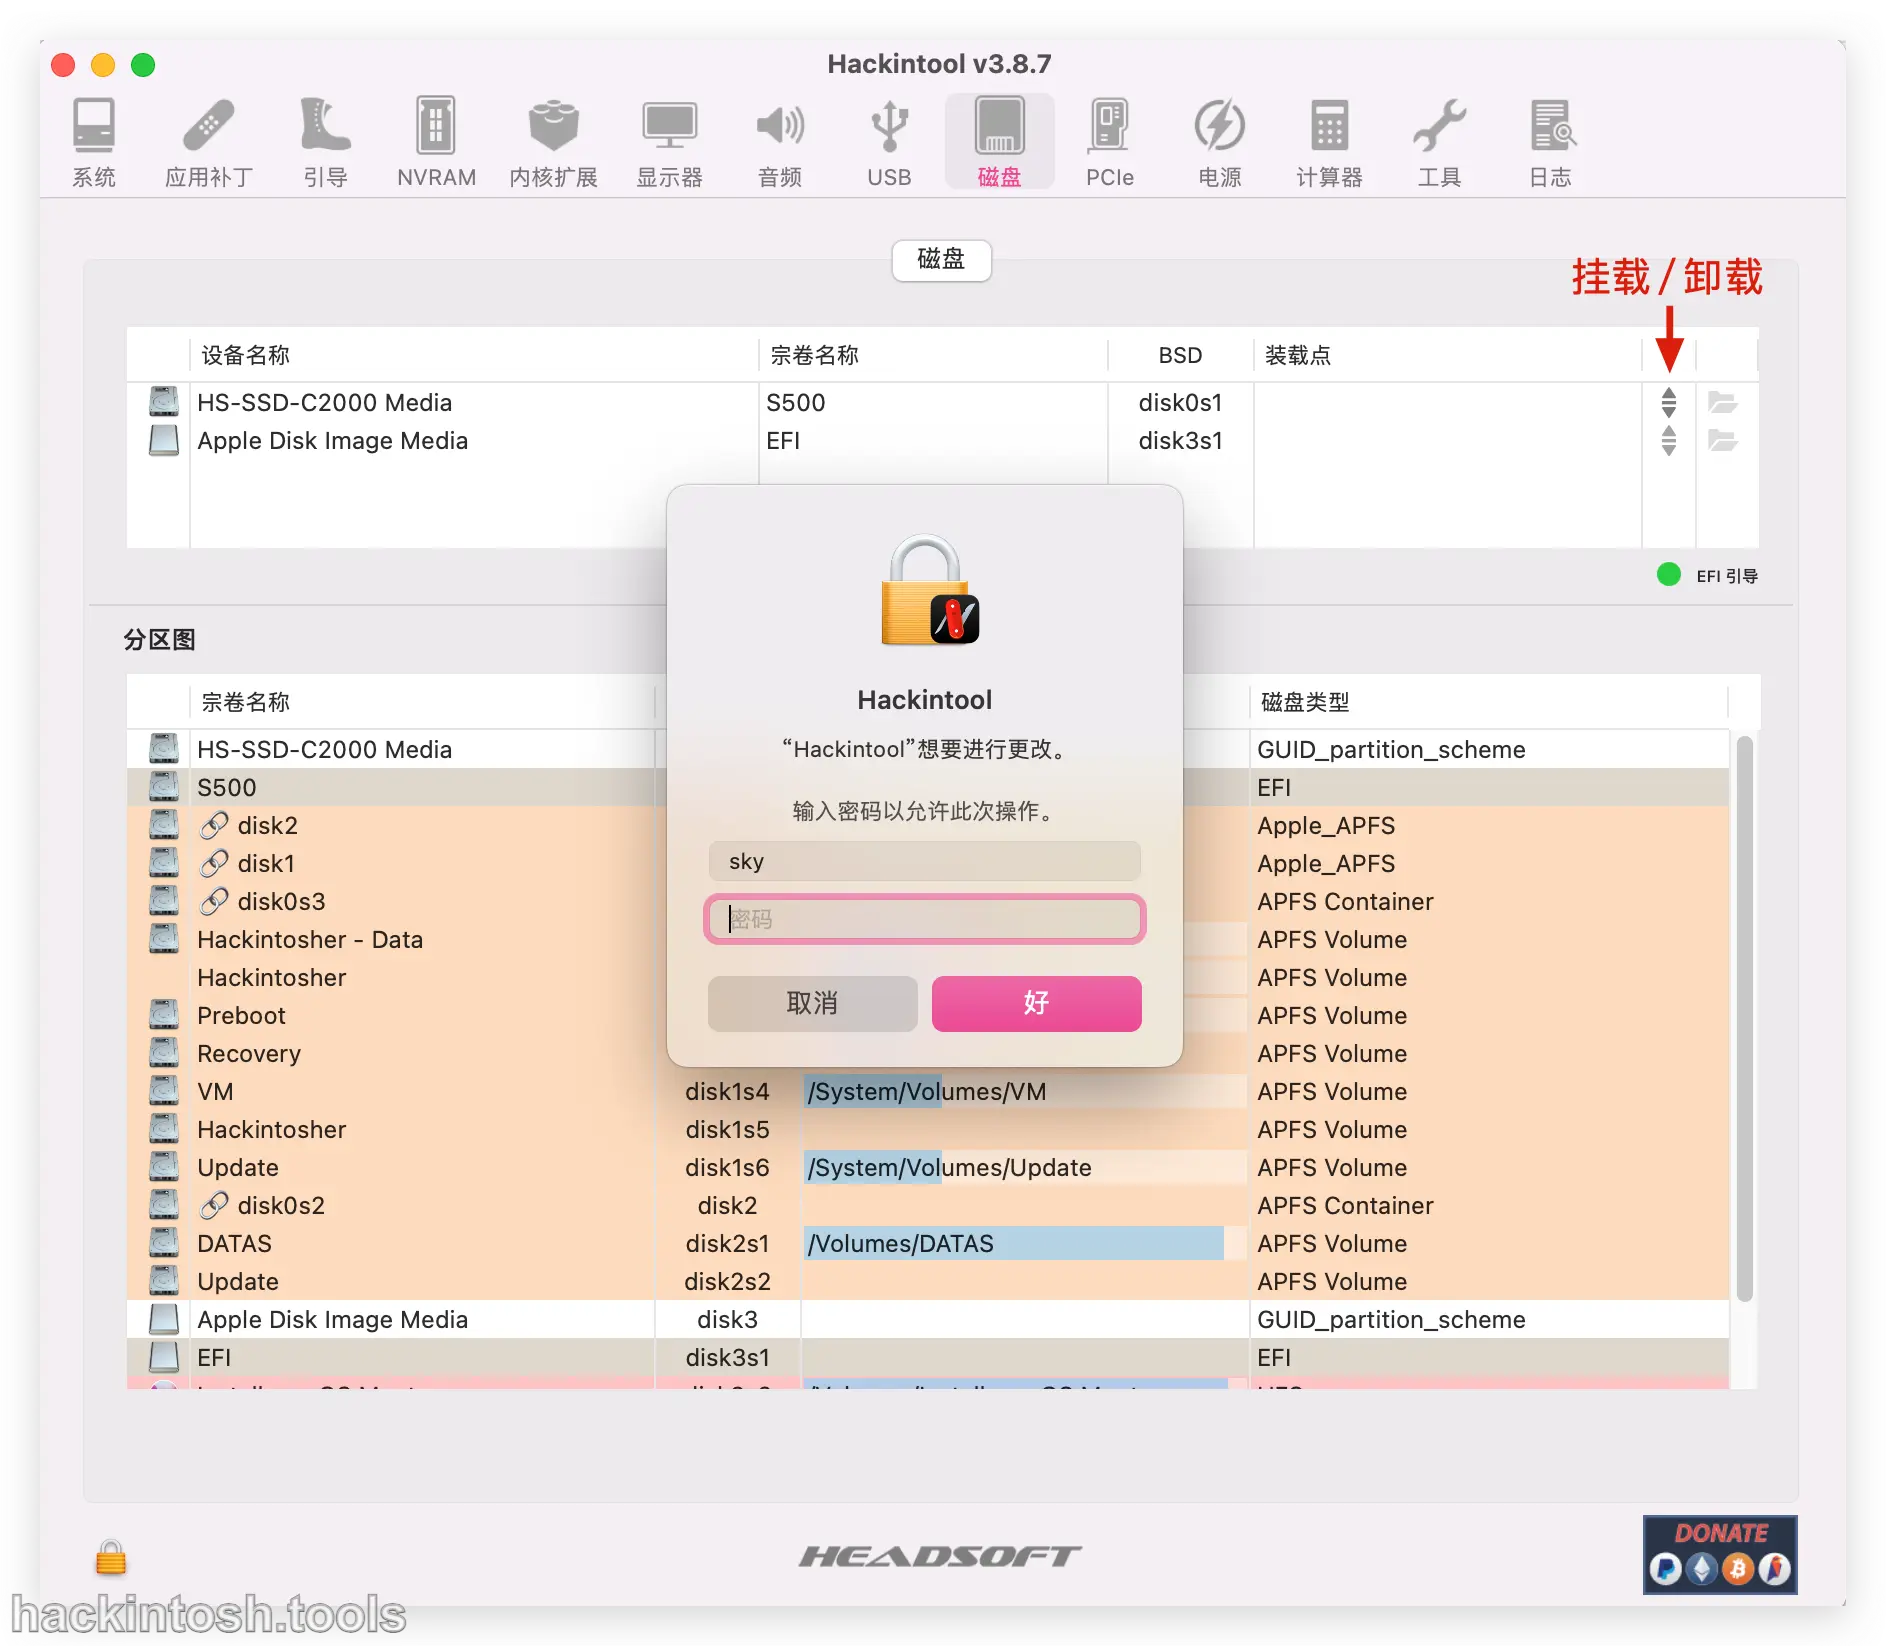
-
Click to mount the EFI partitions of the solid - state disk and the installation USB disk respectively, and open the folders.
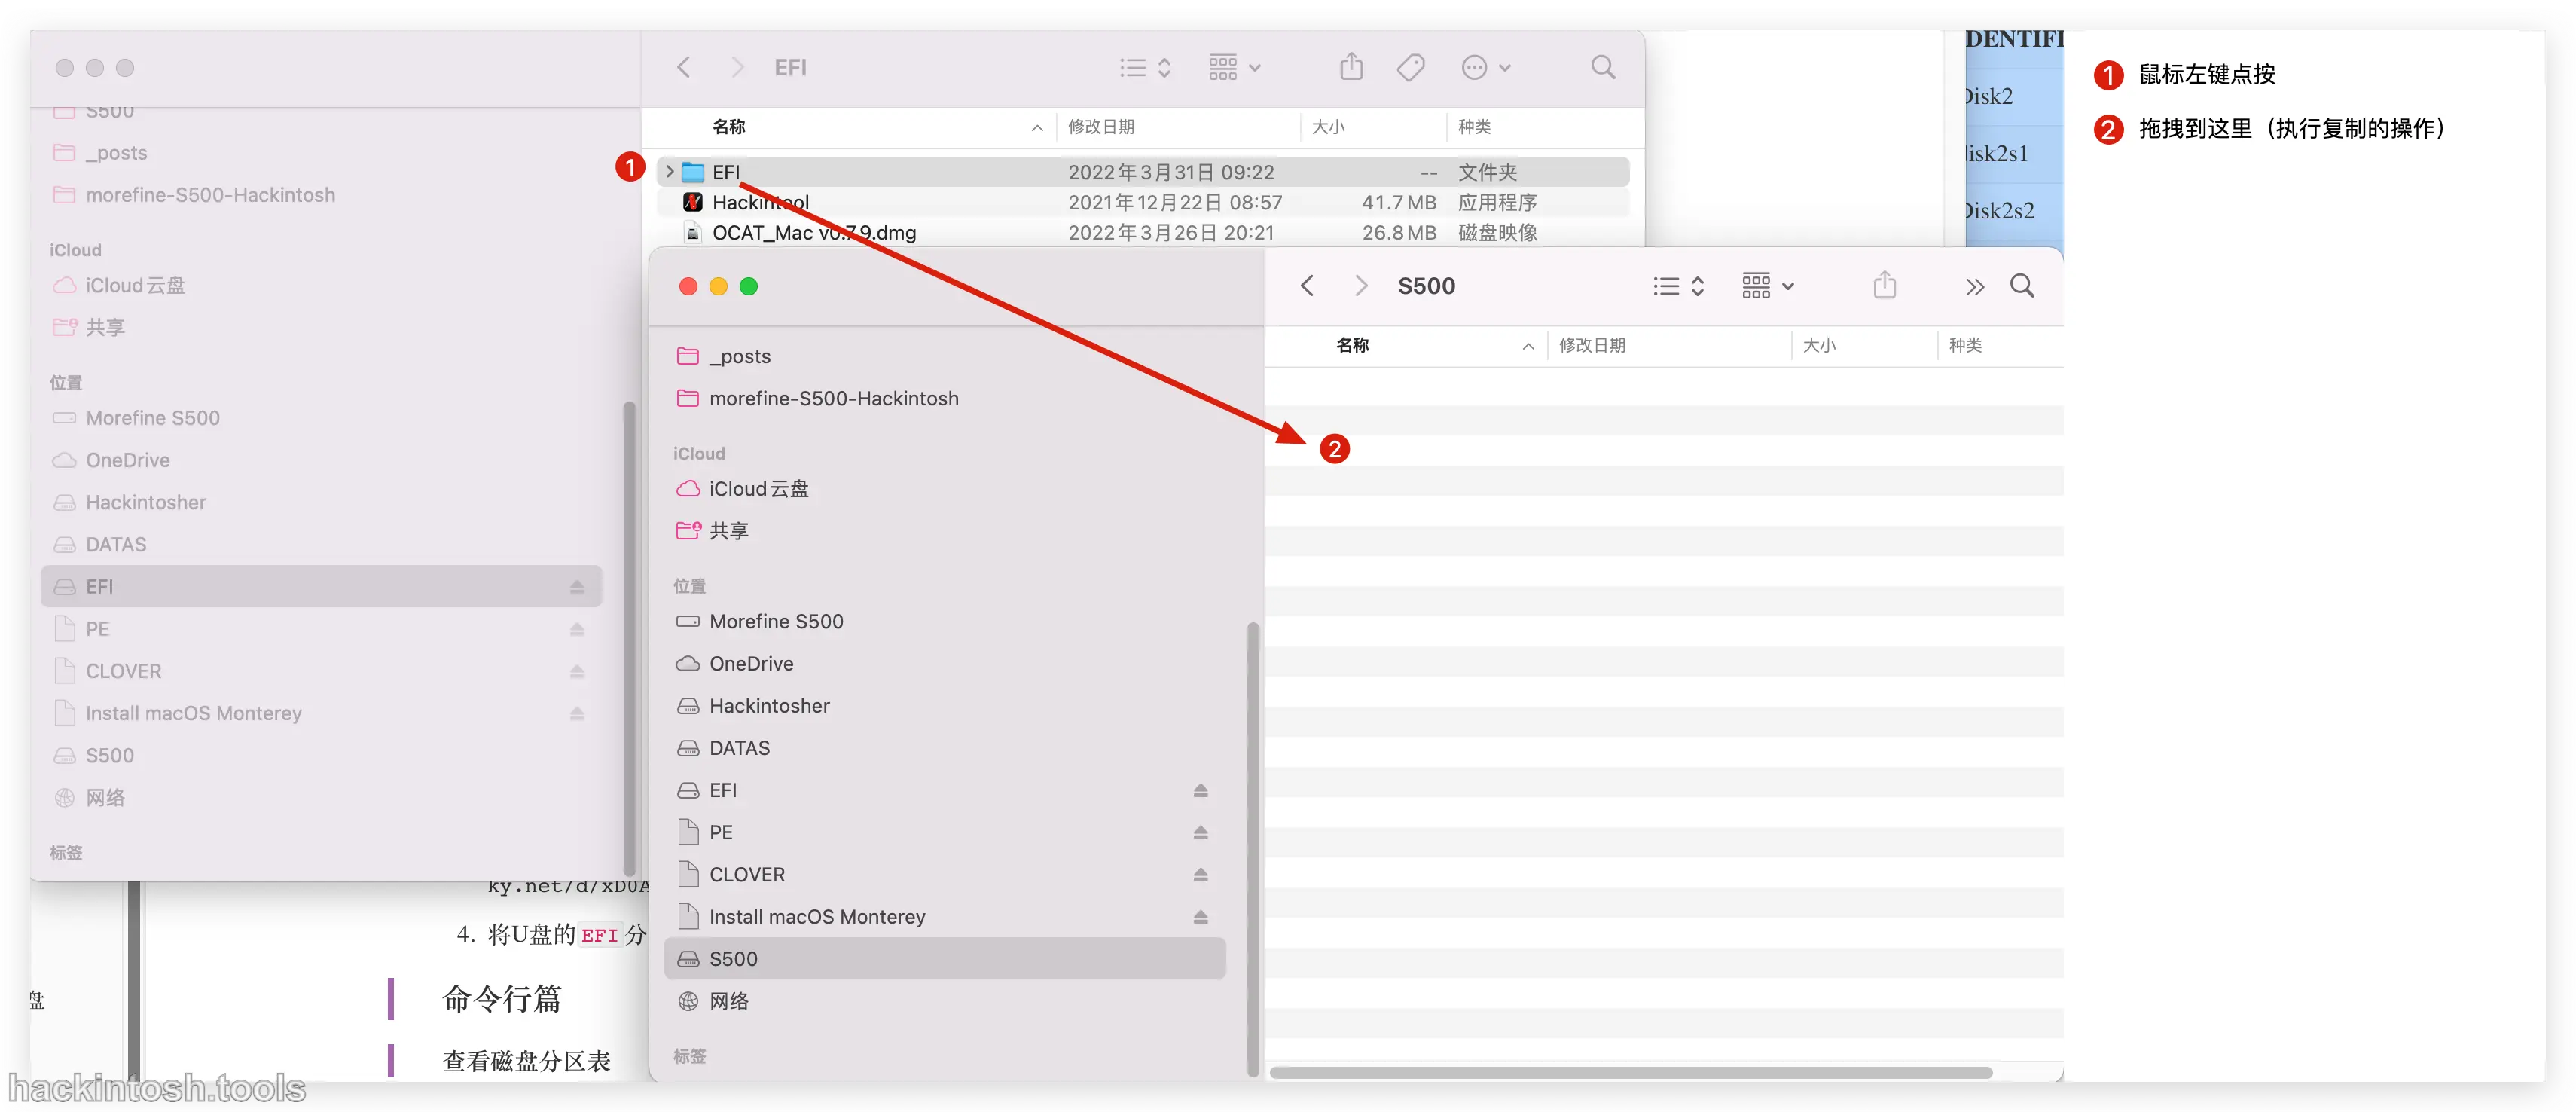
-
Copy the
EFIdirectory in the EFI partition of the USB disk to the EFI partition of the solid - state disk.
Command - line Section
View the Disk Partition Table
1 | diskutil list |
/dev/disk0(internal, physical):
| #: | TYPE | NAME | SIZE | IDENTIFIER |
|---|---|---|---|---|
| 0: | GUID_partition_scheme | 2.0 TB | disk0 | |
| 1: | EFI | B550 | 200 MB | disk0s1 |
| 2: | Apple_APFS | Container disk1 | 2.0 TB | disk0s2 |
/dev/disk3(external, physical):
| #: | TYPE | NAME | SIZE | IDENTIFIER |
|---|---|---|---|---|
| 0: | GUID_partition_scheme | 15.5 GB | Disk3 | |
| 1: | EFI | EFI | 200 MB | disk3s1 |
| 2: | Apple_HFS | Install macOS Ventura | 14.1 GB | Disk3s2 |
| 3: | Microsoft Basic Data | CLOVER | 299.9MB | Disk3s3 |
| 4: | Microsoft Basic Data | PE | 798.0MB | Disk3s4 |
Mount the EFI Partition of the Solid - state Disk
1 | sudo diskutil mount disk0s1 |
Mount the EFI Partition of the USB Disk
1 | sudo diskutil mount disk3s1 |
Open Finder, note that there is a . after it.
1 | open. |
Two EFI partitions will be shown on the left. Copy the entire EFI directory of the USB disk to the EFI partition of the disk.
How to Update the EFI
The new EFI will also fix the problems that occur when updating the
OpenCoreversion, and will also continuously provide support for future macOS versions.
Update the EFI
Use the tool Hackintool. Download the Hackintool tool As shown in the figure:
- Download the
Intel NUC9 EFI- GitHub repository: https://github.com/daliansky/Intel-NUC9-Hackintosh
- Open the
Hackintooltool and click theDiskicon.
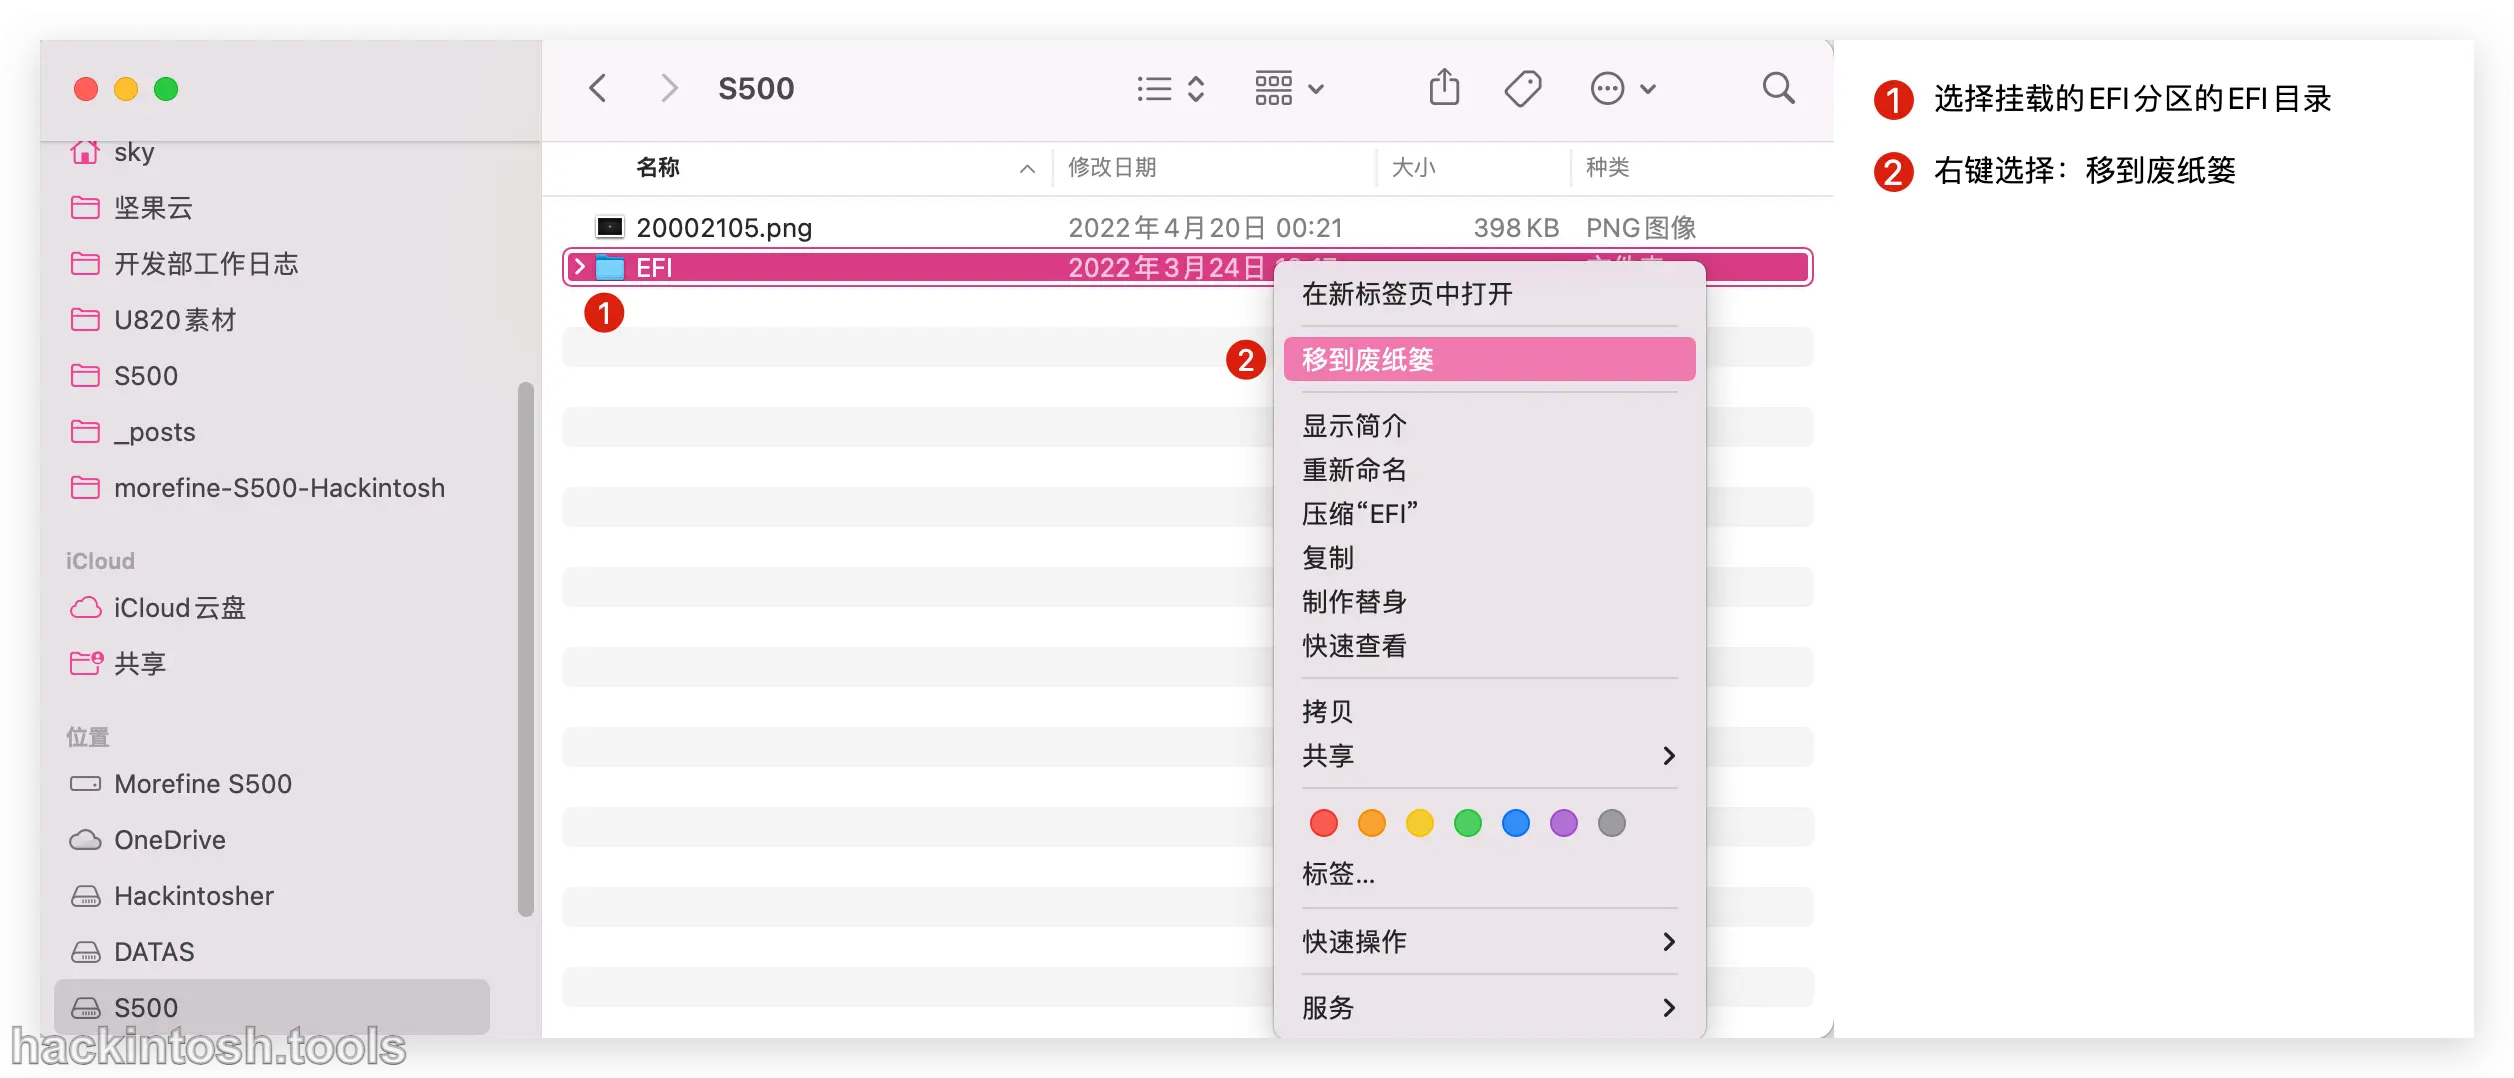
- Remove the old
EFIdirectory.
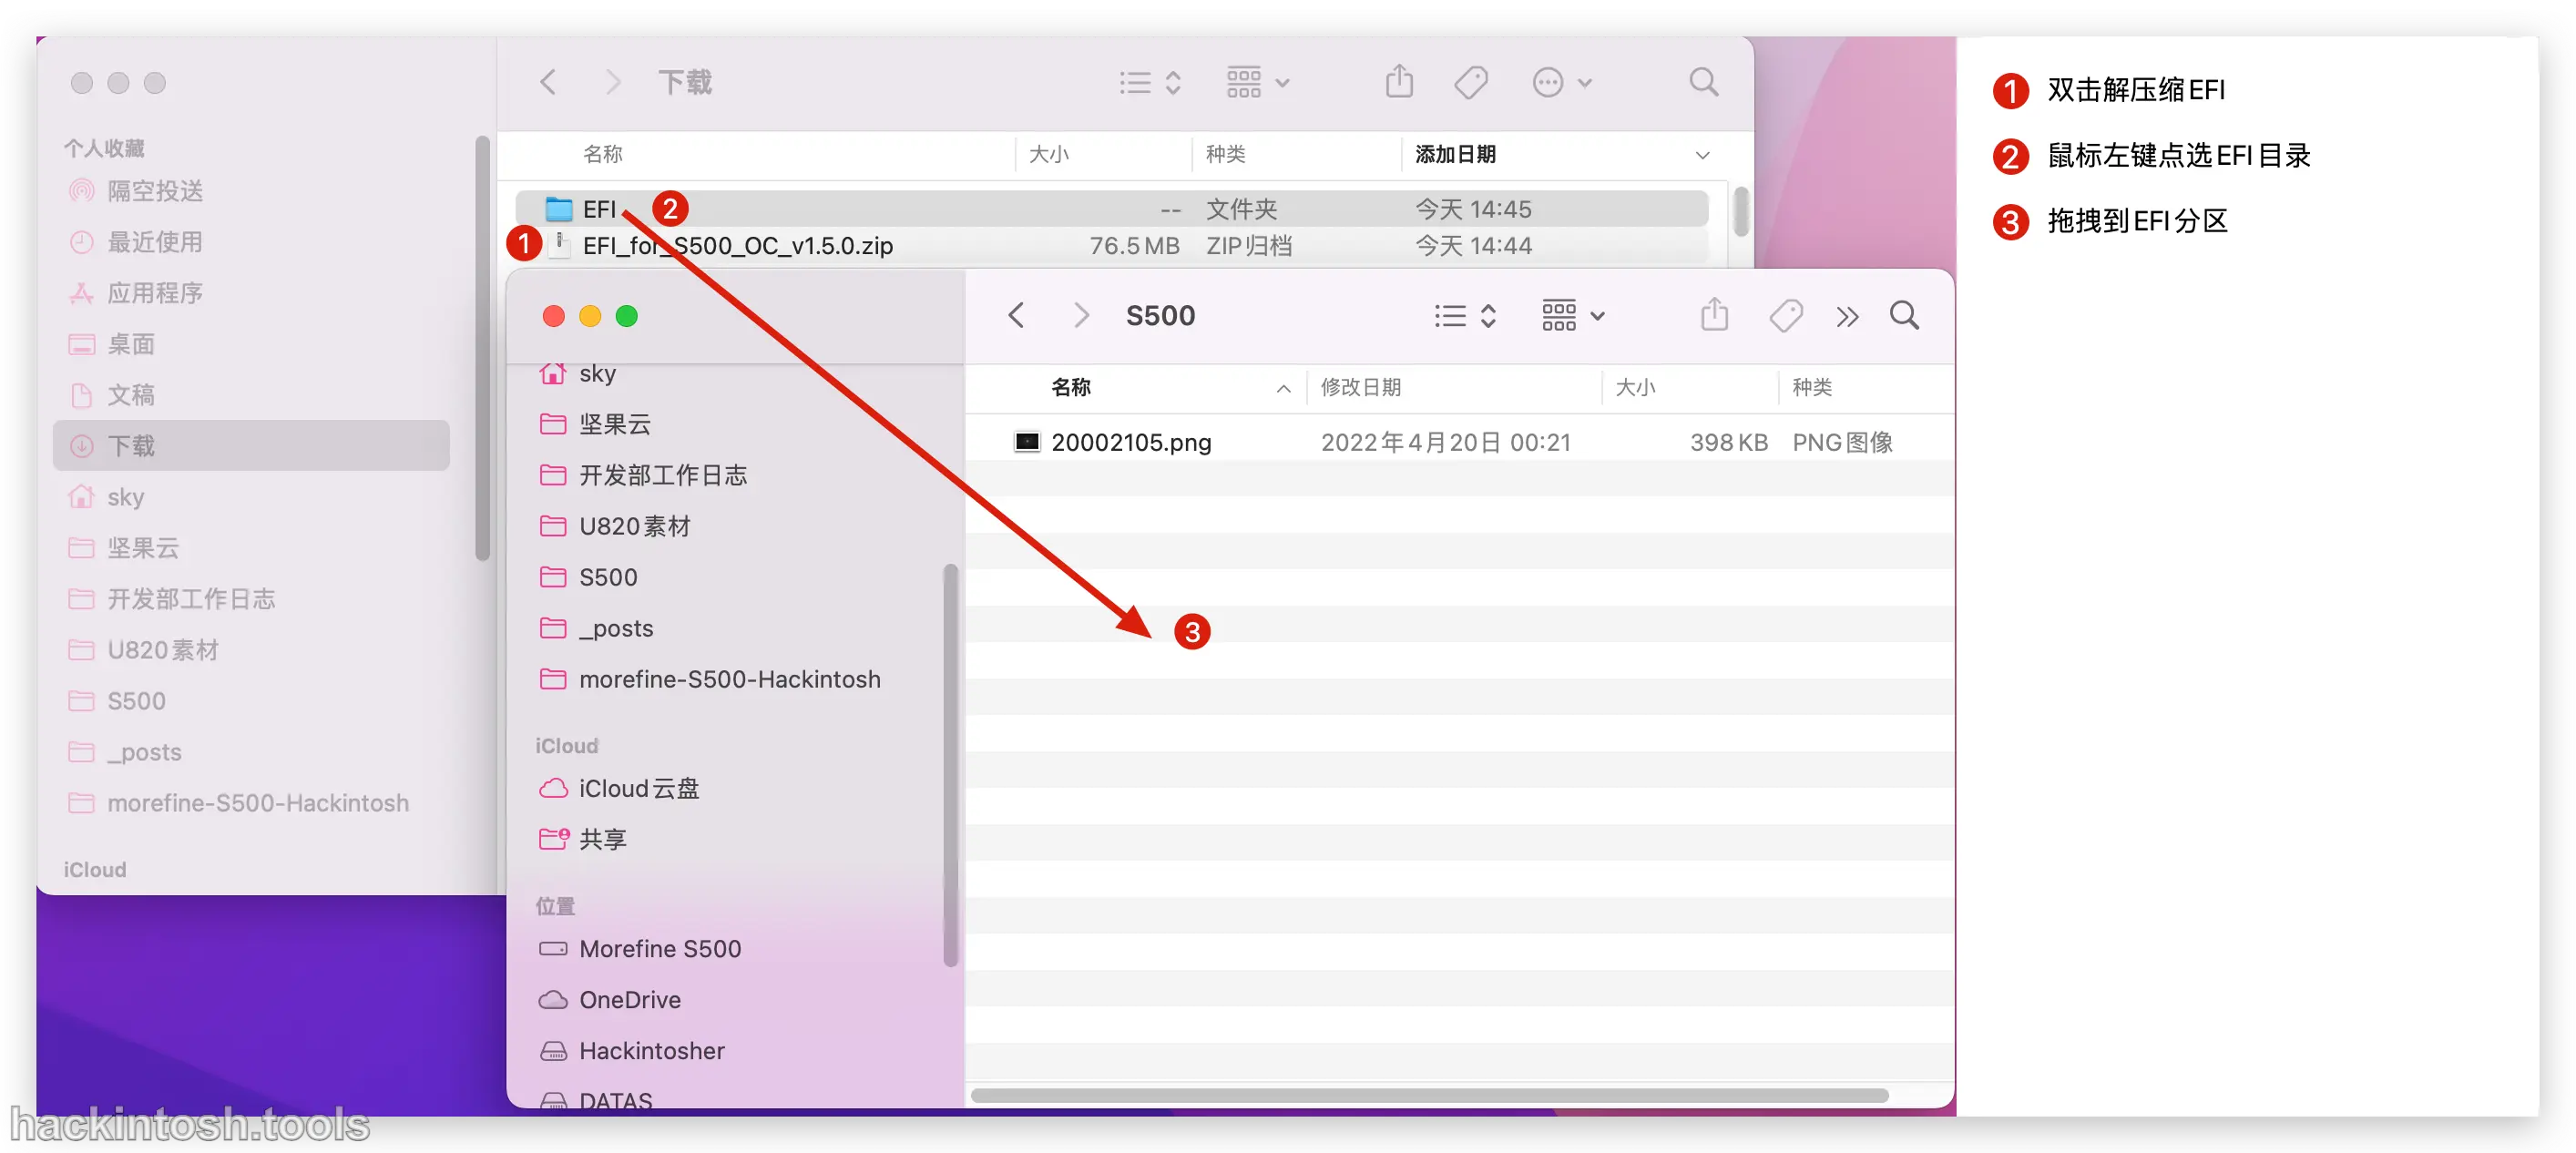
- Copy the downloaded
EFIdirectory to the EFI partition of the solid - state disk.
Acknowledgments
- macOS of Apple
- Projects maintained by RehabMan: OS - X - Clover - Laptop - Config, Laptop-DSDT-Patch, OS - X - USB - Inject - All, etc.
- Projects maintained by Acidanthera: OpenCorePkg, lilu, AirportBrcmFixup, WhateverGreen, VirtualSMC, AppleALC, BrcmPatchRAM, MaciASL, etc.
- Tools provided by headkaze: hackintool, PinConfigurator, BrcmPatchRAM
- Projects maintained by CloverHackyColor: CloverBootloader, CloverThemes
- Projects maintained by ic005k: OpenCore Auxiliary Tools OpenCore Configurator OCAT
- Organized by Xianwu: P - little, OC - little
- Projects maintained by chris1111: VoodooHDA, Wireless USB Adapter Clover
- itlwm and IntelBluetoothFirmware developed by zxystd
- Tools provided by lihaoyun6: CPU - S, macOS - Displays - icon, SidecarPatcher
- Tools provided by xzhih: one - key - hidpi
- In - depth Explanation of OpenCore updated and maintained by Bat.bat
- OpenCore 0.5 + Component Patches and Common - patches - for - hackintosh updated and maintained by athlonreg
- XiaoMi NoteBook Pro Hackintosh and one-key-cpufriend updated and maintained by stevezhengshiqi
- Configuration files of various platforms organized by Miracle - Sakuno
- github.com
- gitee.io
- coding.net
References and Citations:
- https://deviwiki.com/wiki/Dell
- https://deviwiki.com/wiki/Dell_Wireless_1820A_(DW1820A)
- Broadcom 4350 updated by Hervé: https://osxlatitude.com/forums/topic/12169-bcm4350-cards-registry-of-cardslaptops-interop/
- DW1820A - supported model list updated by Hervé: https://osxlatitude.com/forums/topic/11322-broadcom-bcm4350-cards-under-high-sierramojave/
- Bluetooth driver provided by nickhx: https://osxlatitude.com/forums/topic/11540-dw1820a-for-7490-help/?do=findComment&comment=92833
- Using OpenCore to Boot Hackintosh and The Correct Way to Use AptioMemoryFix.efi for 300 - series Motherboards (Revised Version) by xjn819
- insanelymac.com
- tonymacx86.com
- bbs.pcbeta.com
- applelife.ru
- olarila.com
- Hackintoshlifeit